If you have completed our beginner’s guide to digital photography, and read up on the best online photography courses, you’re well on your way to becoming a better photographer.
However, you might still be unsure about white balance. In which case now is the perfect time to learn. With that in mind, here’s everything you need to know about white balance and the dramatic difference it can make to your photos…
What Is White Balance?
Using the correct white balance is essential to achieving natural looking colors in your photos. Ever noticed how interior photos sometimes look very yellow? That’s down to white balance.
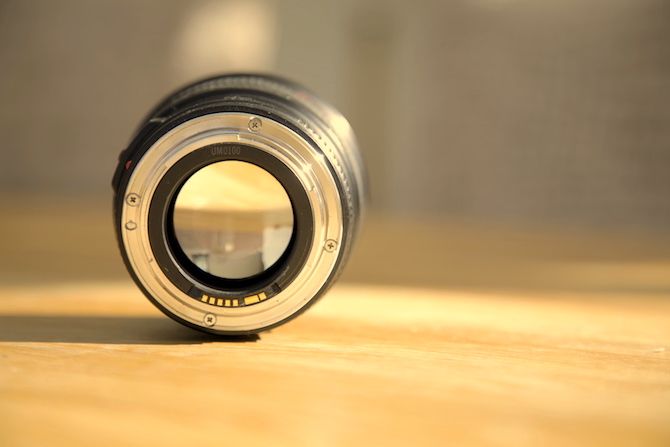
Here’s a photo with the wrong white balance:
And here’s the same photo with the correct white balance:
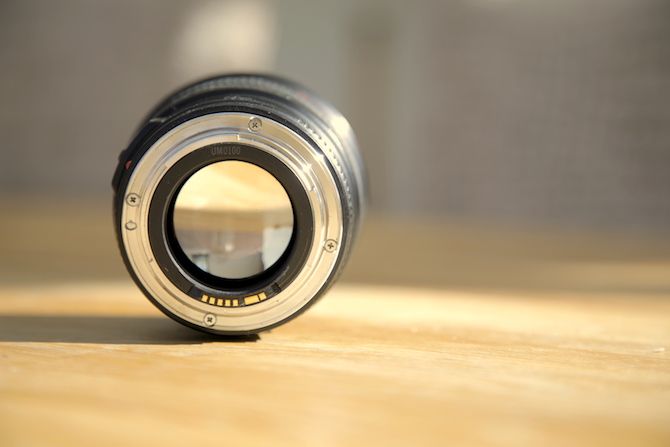
Notice how the first photo looks very orange, with a very unnatural looking silver on the bottom of the lens mount. While this photo could do with some other corrections, it has still been improved by changing the white balance.
If you’re taking photos in full auto mode, or even full manual mode with automatic white balance, your camera decides what white balance setting to use. If you’re outdoors, most cameras can get this right. Sometimes, interior photos or complex scenes can confuse the camera, and it may not set the correct white balance.
By using a preset white balance, or setting the level, you can increase the quality of your photos. White balance is a setting which can alter the perceived quality of a photo—for better or worse.
Here’s how and when to change it.
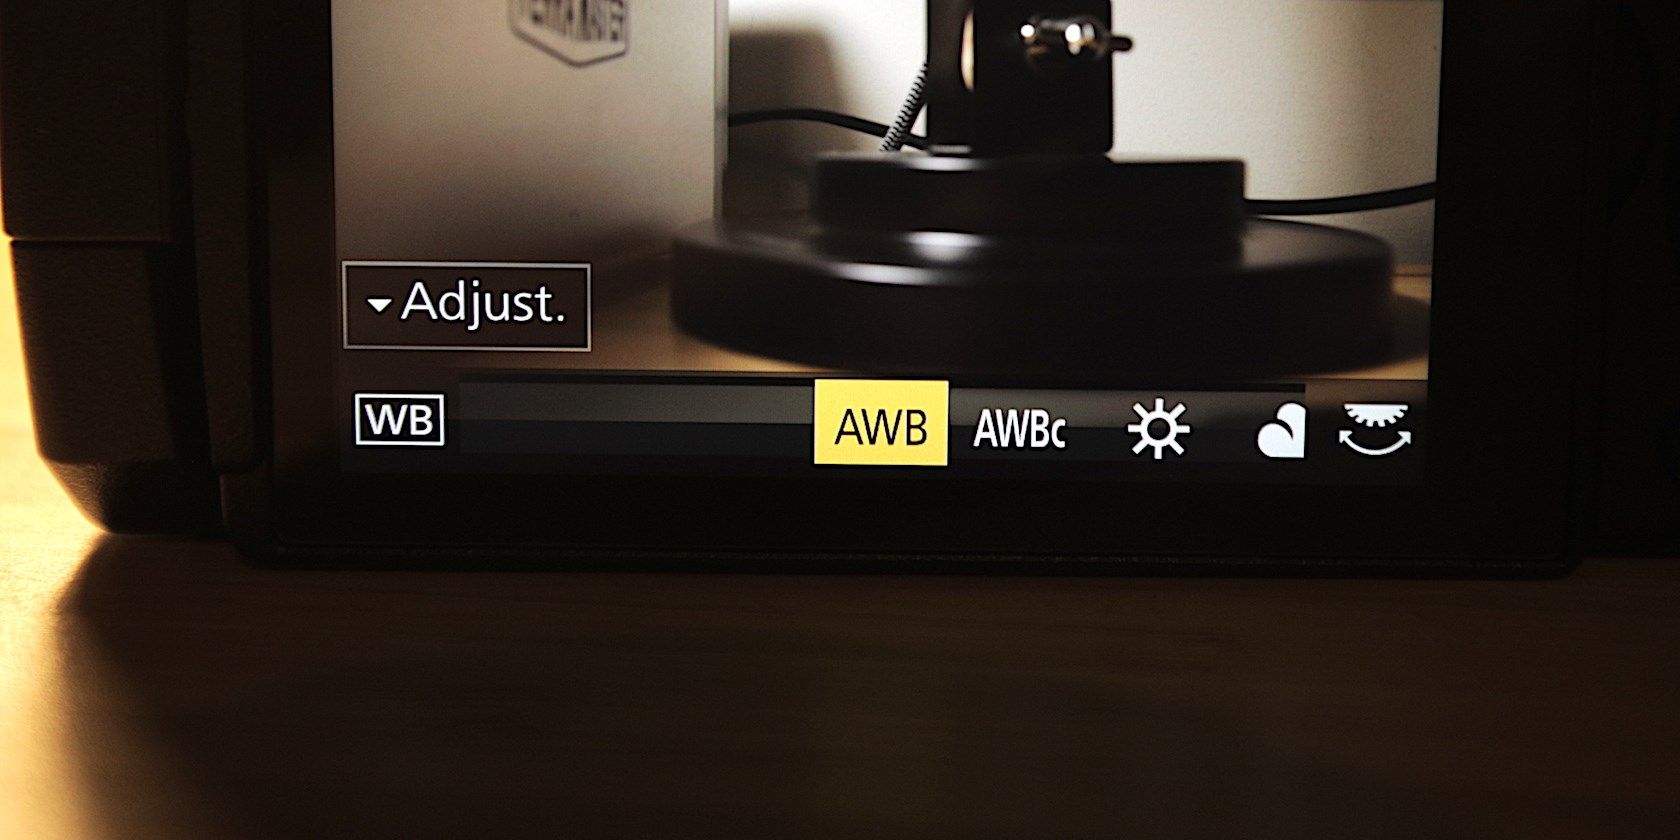
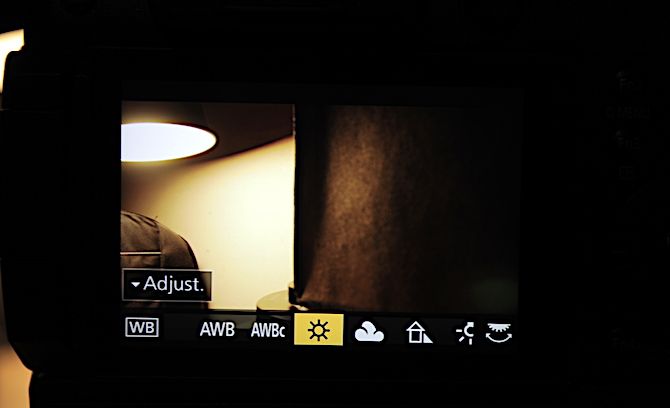
White Balance: Color by Preset
If you want to change the white balance yourself, many cameras come with several white balance presets ready to go. Select the preset to match your environment, and you’re all set.
The most common presets are:
- Daylight
- Shade
- Cloudy
- Tungsten
- Flourescent
- Flash
- Custom
- Kelvin
Daylight works best outdoors in strong daylight. You could also use this for any scene lit with natural light, like a table by a window. It may not work well with any artificial light present.
Like daylight, Shade works best outdoors with natural light, or an area with lots of shade. If images comprise of a mixture of shade and daylight, select the white balance required for the majority of the image.
Cloudy works best when there’s still a lot of light, but it’s obscured by clouds, or when you’re shooting on an overcast day.
Tungsten is perfect for tungsten indoor lighting. It should work well with very yellow indoor lights, but you may need to experiment.
Fluorescent lighting can be difficult to white balance. The fluorescent setting will sometimes work well, other times not so much. Fluorescent lights can sometimes vary in the color temperature they output. Even the same bulb can produce variable results.
Use Flash when working with external flash units.
Custom allows you to tell the camera what area in the photo should be white, and it will figure out the best balance.
Finally, Kelvin lets you set the exact white balance you want.
These presets can often do a good job, and can be invaluable in cases where auto white balance is struggling.
White Balance: Color by Kelvin
If you want full control over your white balance, you can set the exact level. This is measured in Kelvins (K).
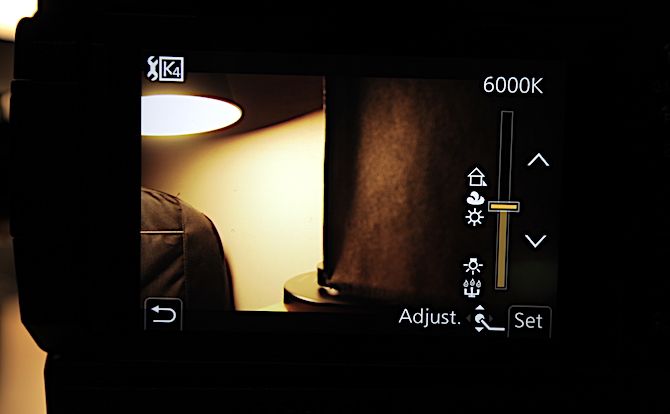
When you use a preset white balance setting, your camera is changing the Kelvin level for you behind the scenes. Each preset stores a Kelvin level to apply when selected.
Kelvins are measured on a scale between 1000 and 10,000. Here are some ranges for common light sources:
- Soft White: 2700K. Very soft light, yellow tint.
- Cool White: 4100K. Harsher, and more white than soft white.
- Daylight: 5400K. This is the level of bright daylight, and may have a slight blue tint.
Manually setting your white balance level works very well, especially when the presets are not achieving the best color.
Changing White Balance in Adobe Lightroom
If you’ve taken a photo with the wrong white balance settings, it’s an easy process to correct this afterward in Adobe Lightroom. If you’re working with RAW photos, you can change the white balance with no negative consequences.
As RAW photos store so much more data than JPGs, altering white balance afterwards is exactly the same as taking the photo with a different white balance.
Still not convinced about RAW photos? These reasons to shoot RAW should clear things up.
You can find white balance settings inside the Develop module of Lightroom, at the top of the Basic panel.

If you’re editing RAW photos, the drop-down menu on the top right of the white balance panel contains several white balance presets. These are the same as those found in your camera. Choosing a different white balance preset is often a good place to start, but it’s not always perfect.
Note: If editing JPG files, you won’t be able to choose a preset white balance.
By using the Temperature slider, you can edit your white balance to the exact Kelvin level required. To the left is blue light, or “cold”, and to the right is a yellow light, or “warm”.

Underneath the temperature slider is the Tint slider. This allows you to fine-tune the white balance tint. This is more subtle than the temperature, but it’s still useful. All the way to the left will add more green to the white balance, and all the way to the right will add more purple.
That’s all you need to know. Changing your white balance settings in Lightroom is quick and easy.
Let There Be White!
Now that you know everything there is to know about white balance, there’s nothing stopping you from improving the quality of your photos. Why not look at these essential Lightroom shortcuts, which cover Lightroom shortcuts for controlling white balance and more.
If you’re still trying to improve your image quality, even after perfecting your white balance, then it may be time to consider these simple ways to improve the quality of your photos.
Read the full article: A Beginner’s Guide to Understanding White Balance
Read Full Article
No comments:
Post a Comment