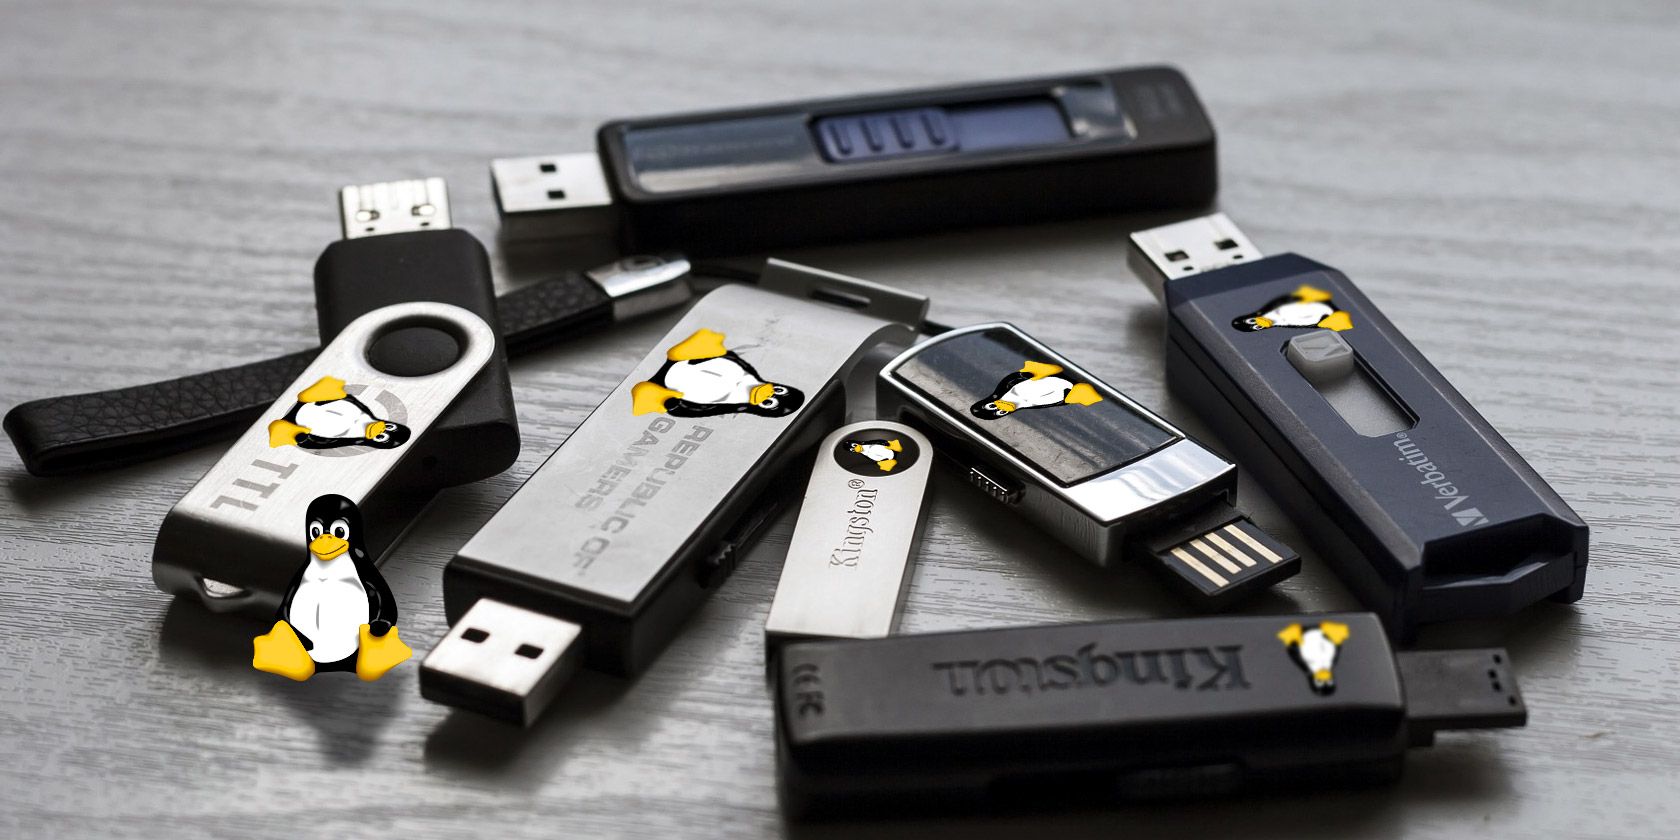
Sometimes you can’t avoid using someone else’s computer. Some airlines limit how much baggage you can bring. Occasionally you have to leave your machine at home. If your computer breaks, you might have to use someone else’s while you wait for a replacement. Except before that happens, you need a way to save your data.
What can you do in this situation? Shove a version of desktop Linux onto a USB drive and boot into it as required. But what’s the best USB Linux desktop you can install?
For some time, Puppy Linux has been seen as little more than a curiosity. Designed to be used on the most austere hardware, it could comfortably chug away on early Pentium machines without breaking a sweat. But it wasn’t that practical. Many installed Puppy Linux on their antique hardware to just to see if they could.
But Puppy Linux never went away. Updates and new versions are still regularly released. Sure, it’s still stripped down and meant for low-end or underpowered hardware. But you can now install Puppy Linux on a USB stick and get stuff done.
Puppy Linux isn’t a single Linux distribution. It consists of multiple versions based on different code but using the same tool and philosophy. One version is based on SlackWare, which is one of the most well-established Linux distributions.
People continue to use it as their day-to-day operating system. People understand it. Then there are multiple options based on Ubuntu, the most popular version of desktop Linux.
Are you a newcomer to Linux who just wants something simple and attractive to keep in your pocket? Check out elementary OS.
elementary OS offers a cross between the popular GNOME desktop environment and what you get on a Mac. The resulting experience is so intuitive, you can pick it up on your own with a few clicks.
AppCenter provides apps built only for elementary OS along with other essentials, like the LibreOffice suite, the GIMP image editor, and the Audacity sound editor. This way you can hit the ground running even if you have no idea what software is available for Linux.
Since elementary OS shares a lot in common with Ubuntu, you can be confident you won’t have to deal with any hardware compatibility gremlins. Plus, it proves to be buttery-smooth, even on low-end hardware, like laptops and cheap Atom and Celeron-powered machines.
This is important when you’re also dealing with the inherent performance bottleneck that comes with booting your operating system from an USB drive.
Hard drives consist of chunks called partitions. Your computer’s hard drive might have just one partition for all your files and folders. Or it might have one partition for your programs and another for your documents. From time to time, you might need to resize these partitions or wipe them entirely.
GParted is a common Linux tool used to manage these partitions. Many distributions come with this pre-installed. But if your computer doesn’t boot, that does you no good. You need a copy you can load from a USB stick.
It’s called Gparted Live, a USB Linux distro for your flash drive. Loading up this little program will let you reshape your hard drive as you require. Be careful though, as one mistake could potentially render your hard drive unbootable.
When malware strikes, it can often be game over. Your machine will run slowly, or perhaps not at all. Your files and folders will be held to ransom. Everything you do on your computer could be monitored. Worse, many viruses and Trojans are designed to actively fight removal.
They’ll prevent anti-malware programs from updating their definitions, or even running. But you have alternatives. By booting into a special Linux distribution, you can scan your system for problems, and resolve them.
One big name in computer security is Romania-based BitDefender, who boast an array of premium and free antivirus and antimalware solutions. In terms of sheer effectiveness, BitDefender’s products tend to rank quite highly. They happen to offer a Linux live CD.
BitDefender has provided helpful instructions, where they explain how you can use the Windows tool Stickifier to create one.
Linux USB sticks aren’t all about getting work done and saving PCs. Sometimes you just want to have fun. With Ubuntu GamePack, your flash drive is like a portable gaming PC. True, you’re limited by the specs of the machine you’re borrowing, but as long as you stick to titles with modest requirements, you shouldn’t have many problems.
Ubuntu GamePack comes with software that makes gaming on Linux easier. This includes Steam, which lets you download your existing library of Linux titles. Alternatively, you can use PlayOnLinux or Wine to fire up supported Windows titles.
If you’re at a friend’s house for a LAN party, but you don’t have your own PC, Ubuntu GamePack can serve in a pinch. You can also keep copies around on different flash drives as an easy way to ensure everyone is using the same game version with the same configuration.
Are Linux USB Sticks Practical?
How does using Linux on a flash drive work in practice? You might have concerns that running a desktop operating system on a USB stick would be an exercise in frustration. But actually, it isn’t too bad.
Modern USB standards mean there’s far less lag. Plus prices have crashed, while storage quantities have soared. You can now get a 256GB stick with as much memory as your laptop, and it won’t cost you much money.
Right now, the world of video games is buzzing with the possible release of the next generation of video game consoles.
Before Microsoft moves on to the new consoles, it looks like there’s another Xbox One on the way. The new device, which was code-named Xbox Maverick, looks to be called the Xbox One S All-Digital edition.
Xbox Maverick Aka Xbox One S All-Digital Edition
According to sources speaking with Windows Central, the new console will be called the Xbox One S All-Digital Edition, which is a completely logical name for what the console actually is.
Basically, the device should be an Xbox One S in terms of specs (check out our review of the One S for a look at the power it offers), but with no disc drive. As the name implies, the console will only be able to download and play digital games.
Right now, it’s not known whether there will be any other design changes to this console compared to a regular Xbox One S or if it will be the exact same hardware with just a disc drive removed, but we’ll keep you posted as we hear more.
The report also indicates that Microsoft may release a special Fortnite edition of the console when it releases, which could do quite well with the incredible popularity of the battle royale game.
Xbox One S All-Digital Edition Release Date and Price
Unfortunately, the price for the upcoming Xbox One S All-Digital Edition isn’t known yet, though the fact that Microsoft is dropping the disc drive leads us to believe that it’ll be the cheapest Xbox on the market to justify the removal of a key piece of hardware. Currently, the Xbox One S sells for $299, so we’d expect to see this device hit the market for less than that.
According to the report, the console will be available for preorder starting in April, and it’ll release in May.
This is still a rumor, as nothing has been officially announced by Microsoft, so there’s always a chance that this console may not come out, or that it might take longer to release.
Of course, the One S isn’t as powerful as the Xbox One X, but for gamers looking to save money, this could be a great deal that’s worth getting once it comes out.
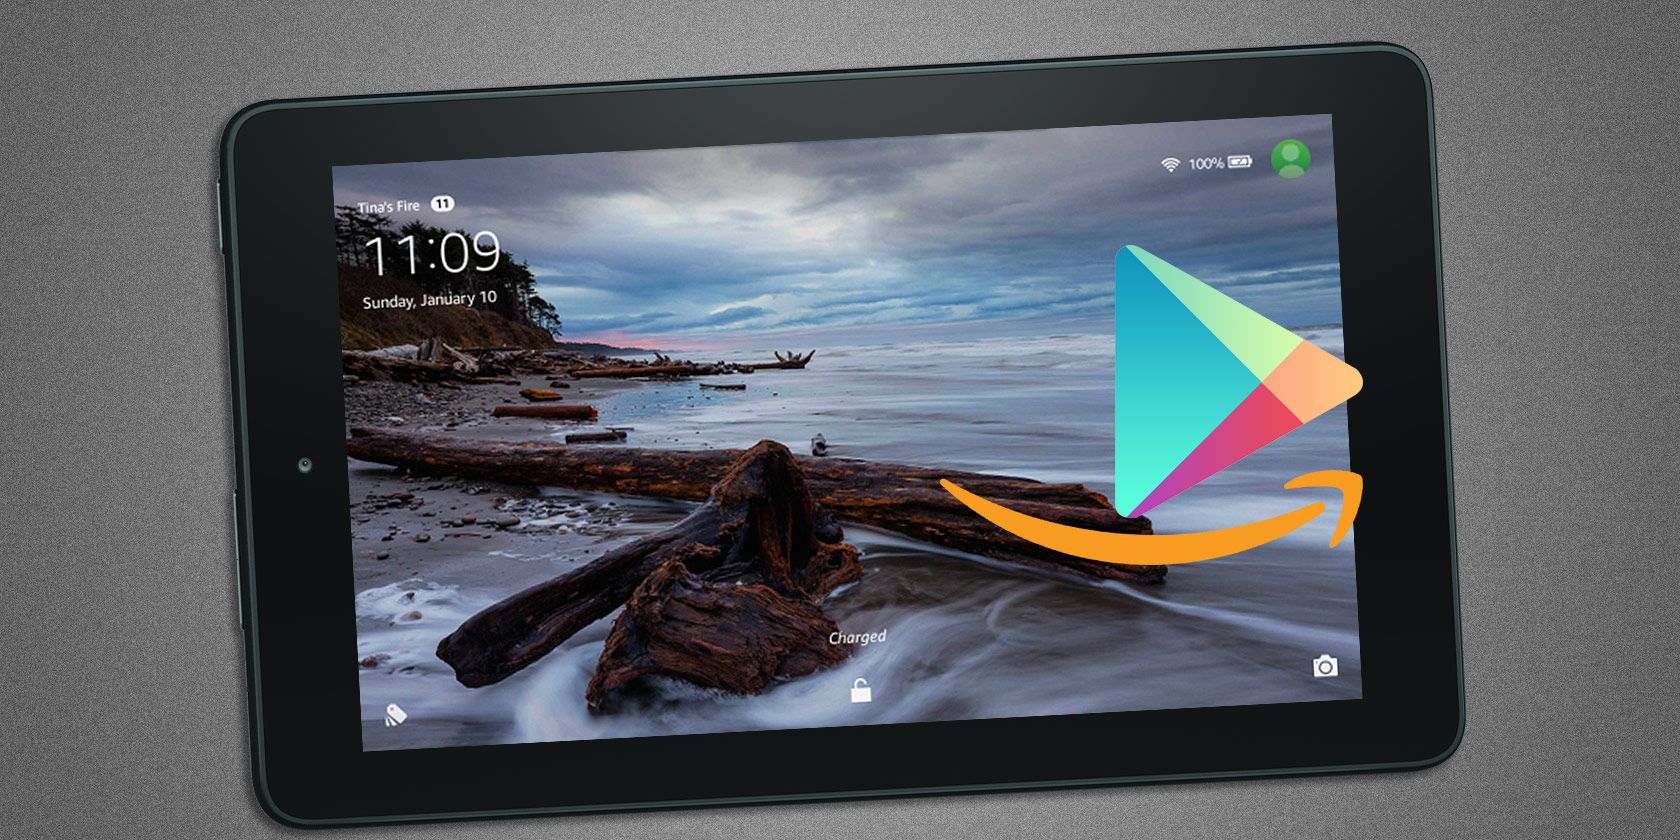
The Amazon Kindle Fire (now know as Amazon Fire) remains an incredible deal. Paired with an Amazon Prime subscription, it’s the perfect companion for streaming movies and TV shows while on the go. What speaks against the Kindle Fire, however, is the lack of apps and aggressive Amazon ads on the lock screen.
But we’ll show you how to install Google Play and remove ads from your Kindle Fire without rooting the device—and with no computer needed, either!
This guide demonstrates how to install the Google Play Store on a 5th generation Kindle Fire 7″ (Fire OS version 5.3.6.4, from November 2018) and remove the lock screen ads, all without rooting. You also won’t need a Windows PC.
If these methods didn’t work for you, check the comments for help with other Kindle Fire or Fire OS versions.
To Root or Not to Root?
While Amazon preps the Fire with its own Appstore, several Google apps (including Gmail) are not available on Amazon’s market. For some, that’s a deal breaker and a reason to prefer Google Play over the Appstore.
While rooting the Amazon Fire tablet allows you to install a standard Android version and thus the Google Play Store, doing so loses the interface optimized for consuming Amazon Prime content. More importantly, rooting can void your warranty and—in the worst case—brick your device.
Fire OS, the operating system running on the Amazon Fire, is a custom version of Android. Thus, it only takes a few tweaks to install the Google Play Store and remove lock screen ads—no root access required.
When you’re done, your lock screen will resemble the screenshot below; this looks so much better than a screen covered in Amazon ads!
How to Install Google Play on Amazon Kindle Fire
We’ll first show you how to get Google Play onto your Kindle Fire with no Windows computer needed. If for any reason that doesn’t work, scroll down for an alternative method.
Have you added an SD card to your Fire tablet? Before you start, disable app installations to your SD card under Settings > Storage > SD Card. While this wasn’t a problem on my unit (the apps didn’t install onto the SD card, even though the option was enabled), it’s a known reason for the installation process to fail.
1. Download APK Files
Before you download the files, be sure to permit the installation of third-party apps. Go to Settings > Security and enable Apps from Unknown Sources.
Now download the following APKs on your Kindle Fire:
Note: These APKs will work for Android 5.1+. They should be upward compatible. You can check the Android version on your Kindle Fire under Settings > Device Options > System Updates. If you’re running Android 6 or 7, you can scroll through the more recent versions of the respective APK and download the latest one for your Fire OS.
To download the APK files, open each link, scroll down, and tap the Download APK button. Before the download starts, a popup will warn you that the file can harm your device. Press OK to confirm that you want to download it anyway.
2. Install the Google Play Store APK Files
Once the downloads have completed, head to your home screen. Then open Docs > Local Storage > Download.
Here, tap to install each file in the following order (identical to the download order above):
com.google.android.gsf.login
com.google.android.gsf
com.google.android.gms
com.android.vending
You’ll have to scroll through the privacy and device access notes to turn the Next option in the bottom-right to Install.
3. Set Up the Google Play Store
With the installation of all four files completed, you should see the Google Play Store app on your home screen. Tap it to start the setup process. You may see a spinning circle for a few minutes while the apps run updates in the background.
Next, you should see a “checking info” screen. When the app finally lets you sign in with your Google account, you’re almost set.
Once you’ve logged in successfully, you can download apps to your heart’s desire, including other Google apps like Chrome and Gmail.
How to Remove Ads From Amazon Kindle Fire
We’ll cover three different methods. Try them in the order listed.
1. Remove Ads From Your Kindle Fire for Free With a Tool
This is the most elegant method, but it requires a Windows PC and some fiddling. You’ll also have to enable developer mode and ADB on your Kindle. Scroll down to the “How to Install Google Play on Your Kindle Fire From a PC” section and complete the first step to enable ADB and (if needed) step two to install Google ADB drivers.
Once you’ve enabled ADB and your Amazon Fire shows up under My PC when connected (if not, install Google ADB drivers as below), download RootJunkie’s Amazon Ad Remover Tool. Unpack the ZIP archive, run the Run Me To Remove Ads.bat, and follow the onscreen instructions.
When I tried this method, the tool claimed it had successfully removed ads. When I rebooted, however, ads were still there. Running the tool and rebooting again didn’t change that. So I tried the next method.
2. Ask Amazon to Remove Ads From Your Kindle (for Free)
Before you use this method, check whether or not you see the Special Offers option, as described under the third point below, for your Fire. If not, you’re basically forced to contact customer service. As a result, they might be more willing to help you.
Find your local Amazon Fire support form or hotline. For the U.S., it’s (206) 922-0880, but they will also call you back if you’re in the US and use this support form. Log into your account, switch to Devices, choose your Fire, and under Tell us more, select General question about the device/accessory > Special Offers/Ads as a screensaver on device.
This will bring up instructions to remove them yourself. You can check it out, but skip to talking to a real person. You can choose phone or chat; I went with a phone call. The agent asked for my email address and mailing address to confirm this was my account.
Here are some talking points, some of which worked for me:
When the agent mentioned the price to remove the lock screen ads ($15) I said that was a steep price, considering the device was five years old.
When she replied that she didn’t have another option, I argued that I had seen reports online where Amazon customer service had removed ads for free as a courtesy.
When she said they used to remove the ads for free, but were not allowed to anymore, I repeated that this was disappointing, given the age of the device.
If you can’t use the age of your device as an argument, but are a current Amazon Prime subscriber (and maybe have been for years), I’d use that as an argument instead.
You could also mention that you don’t see the Special Offers option and were forced to call them.
In my case, she excused herself, saying she wanted to check something. When she came back, she had good news. She was able to remove the ads, but repeated several times that it was just this one time only, as a courtesy.
Note: I don’t know whether this actually made a difference, but when asked whether I would permit recording of the call for quality assurance, I chose not to. So in theory, there was no record of my conversation with the customer service agent, meaning they might have been slightly more willing to go off protocol and help me out.
3. Pay Amazon to Remove Ads From Kindle
I hope you’re not that desperate to remove the annoying lock screen ads from your Amazon Fire, but this is your final option. Log into your Amazon account, then open the Account & Lists menu and click Your Content and Devices.
Switch to the Devices tab and expand the Actions menu for your Kindle Fire. Here you might see an option called Special Offers. Click Edit next to this option and proceed to pay to remove the ads. This requires that you have set up 1-click payment.
How to Install Google Play on Amazon Fire From PC
If the first method for installing Google Play on your Amazon Fire tablet didn’t work, you can try this alternative. We’ll use a tool from RootJunkie that also lets you remove the lock screen ads from your Kindle Fire.
1. Enable Developer Options and ADB
Before we start, you have to enable developer options on your Fire. Go to Settings > Device Options and scroll down to Serial Number. Then tap the serial number entry seven to 10 times, until Developer Options shows up underneath.
Now open Developer Options and under Debugging turn on Enable ADB.
2. Install ADB USB Driver (optional)
On Windows 10, you should be able to connect your Kindle Fire and see it pop up under This PC. Windows should automatically recognize the device and install the required drivers.
If the device doesn’t show up, you’ll need to manually install the Google USB driver so you can perform ADB (Android Debug Bridge) debugging on Windows. You can download the drivers manually, or you can use RootJunky’s Amazon Fire 5th Gen SuperTool.
Before you proceed:
Disable driver signature enforcement on Windows 8 and 10 (instructions below).
Completely turn off (check Task Manager!) any emulators running on your system, such as the BlueStacks Android app player.
How to Turn Off Driver Signature Enforcement in Windows 10 and 8
To successfully follow the instructions above, Windows 8 and Windows 10 users will need to turn off the enforced driver signature.
Windows 8: Press the keyboard shortcut Windows key + C to open the Charms menu, then go to Settings > More PC Settings > General. After this, the steps are identical to Windows 10.
Windows 10: Press the keyboard shortcut Windows key + I to open the Settings menu, then go to Update and Security > Recovery.
Under Advanced Startup, click Restart Now.
On the reboot screen, choose Troubleshoot > Advanced options > Startup Settings > Restart.
You’ll find yourself on the Startup Settings screen. Here, choose option seven: Disabled driver signature enforcement.
After your computer reboots, you’ll be able to install drivers that weren’t signed digitally. Once you restart again, the driver signature enforcement will enable once more.
Steps to Install the ADB USB Driver
Meanwhile, you should have downloaded and unzipped RootJunky’s SuperTool. Now it’s time to connect your Fire to your computer. At this point, you might see a popup regarding ADB debugging mode. Confirm it and proceed, then make sure the Fire shows up under This PC.
Next, launch the first batch file in the SuperTool folder: 1-Amazon-Fire-5h-gen.bat
If everything works, you should see the following screen on your desktop.
To install the ADB driver, press 1 and hit Enter. You will see a second screen with two options:
Again, press 1 and hit Enter. Another screen will remind you which the conditions you must meet before you can proceed.
Press any key to continue and follow the instructions on screen. At this point, you’ll have to do a few steps manually.
The Windows Device Manager will open automatically. Find the Fire under Universal Serial Bus devices, then right-click it and select Update Driver Software. From here, choose Browse my computer for driver software > Let me pick from a list of device drivers on my computer > Have Disk and browse to the usb_drivers folder that came with the SuperTool. Select the android_winusb.inf file and click Open, followed by OK.
If you encounter an error message at this point, chances are you didn’t disable the driver signature enforcement in Windows 8 or 10 (see above).
You might also see the following error:
“The folder you specified doesn’t contain a compatible software driver for your device. If the folder contains a driver, make sure it is designed to work with Windows for x64-based systems.”
In that case, you can try to use the universal ADB Driver Installer and skip this step, or download the driver from Android Studio and point the Device Manager to that resource.
Once you succeed, return to SuperTool and press any key to continue, followed by Enter to return to the initial SuperTool menu. Now you’re ready to tweak Fire OS.
All the steps we’ve just gone over are demonstrated in the video below, in case you need more guidance.
3. Install the Google Play Store and Remove Lock Screen Ads
If you don’t already have it open, launch the 1-Amazon-Fire-5h-gen.bat SuperTool. To install the Google Play Store and remove lock screen ads, press 2 and hit Enter, followed by any key to confirm the conditions. If all goes well, SuperTool will go through four installation stages.
If you run into an emulator-related error at this point, open the Windows Task Manager and make sure all emulators (hint: BlueStacks) are completely turned off.
More Tips to Get More Out of an Amazon Fire Tablet
The Amazon Fire isn’t the lightest, thinnest, or otherwise best device on the market, but it offers great bang for your buck. Once you’ve successfully followed this guide, you can enjoy the best of both worlds: a user interface optimized for Amazon Prime and all your favorite Android apps from the Google Play Store.
Thanks to remakes and remasters of retro video games, pixel art has made a return to the spotlight. Although new video game graphics have reached a hyper-realistic level, it still can’t beat the charm of pixel art. Which is why game developers and artists alike turn to pixel art tools to create throwback video games and artwork.
Do you want to try your hand at creating pixel perfect artwork? Then these pixel art tools will help you get started.
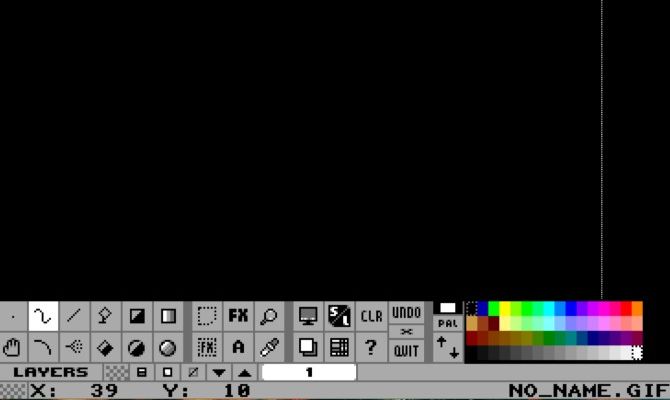
1. GrafX2
You can’t get any simpler than GrafX2. After the developer abandoned the code in 2001, not much has changed, which (rather ironically) makes it an even better tool for creating pixel art.
This 256-color bitmap program comes with the option to draw in 60 different resolutions. If you’re familiar with AmigaOS, you’ll find that it closely resembles Deluxe Paint and Brilliance.
Since GrafX2’s reboot in 2007, a few new features have been added. Basic shading tools, shape tools, grid settings, and animation options will definitely come in handy for game developers.
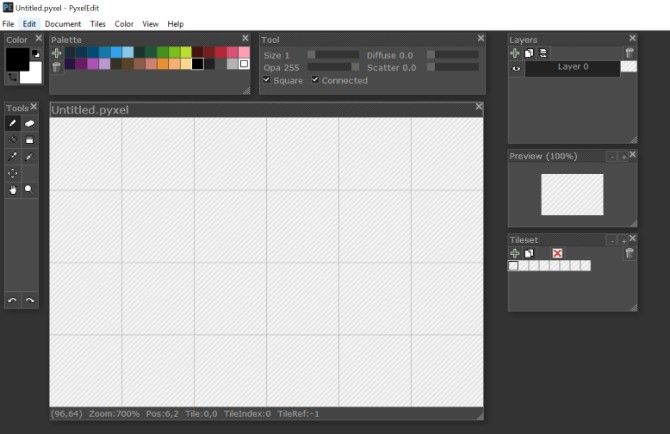
Pyxel Edit hasn’t been fully completed yet, but it still packs a ton of helpful features for pixel artists who prefer working with tiles. Its clean, Photoshop-inspired look makes it simple to learn and use.
When you draw inside of one tile, all other tiles change instantaneously. You can even flip or rotate a tile without changing its contents.
Download: Pyxel Edit (Free, $9 for the beta version)
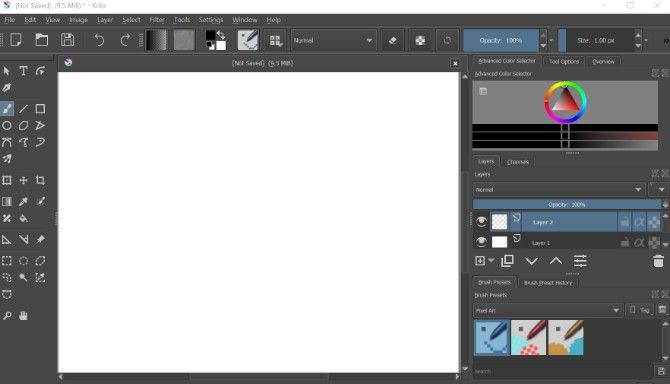
3. Krita
Krita comes equipped with mostly typical drawing tools. However, its small selection of pixel art tools lands Krita on this list.
Changing your brush setting to Pixel Art unveils three brushes made specifically for drawing with pixels. Some other exciting features include brush stabilization, layer management, mirroring, and more.
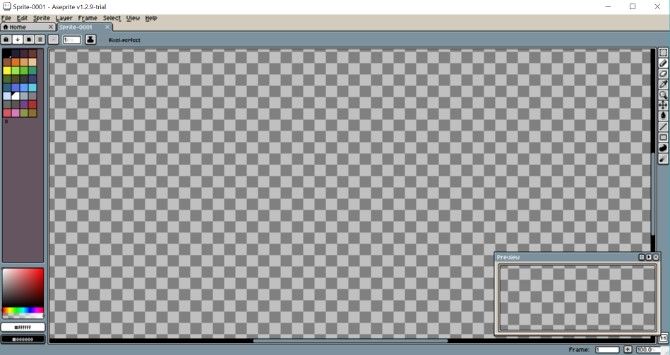
Aseprite combines the old with the new in its quirky interface. It might not look it, but this tool is a powerful pixel art tool that comes highly recommended.
Aseprite comes with a toolbox of pixel art essentials that includes onion-skinning, shading mode, tile mode, and blend modes. And it even gives you the ability to create sprite sheets.
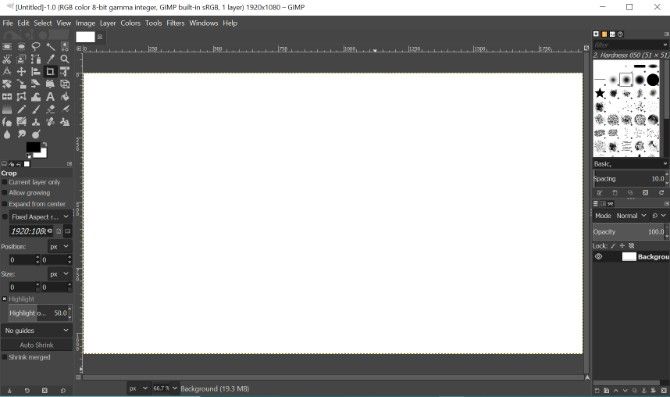
GIMP has become one of the most popular names in pixel art creation and photo editing for good reason. Although it might be difficult for first-time users, it’s still worth learning.
Before diving into GIMP, make sure to set it up correctly. Unlike some of the other programs listed here, GIMP isn’t focused solely on pixel art tools. Simple adjustments, like adding a grid, can make it ideal for pixel art. You can then take advantage of awesome features like the color indexing mode, the floating window mode, and the selection tool.
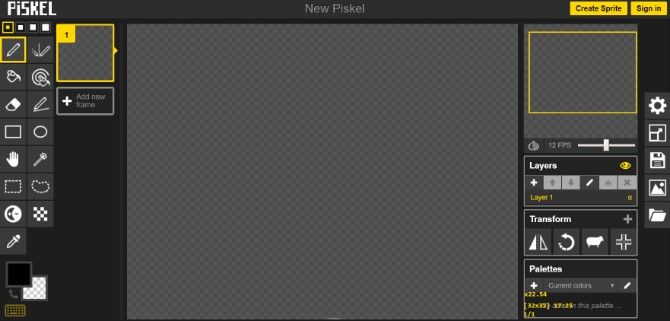
Piskel is a great tool to make 2D pixel sprites online for free. Its small pen size makes it ideal for sprite creation and animation, rather than designing entire landscapes.
Piskel streamlines the sprite animation process. Simply draw your sprite, and keep adding new frames until you complete the animation.
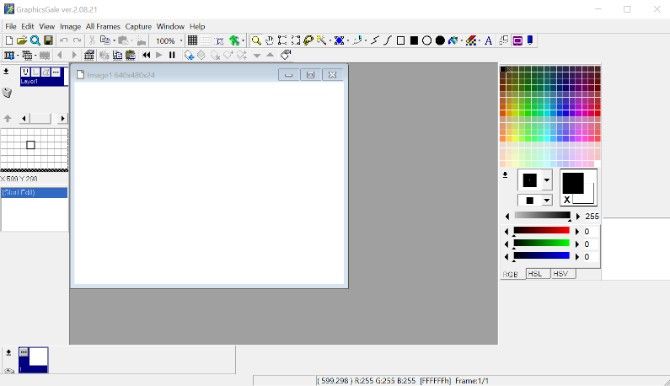
GraphicsGale offers several useful tools for pixel art, such as layer management, color palette adjustments, and even onion-skinning. Do you ever get frustrated at the fact that you can’t easily preview your animations? GraphicsGale lets you watch your animation in action during the editing process.
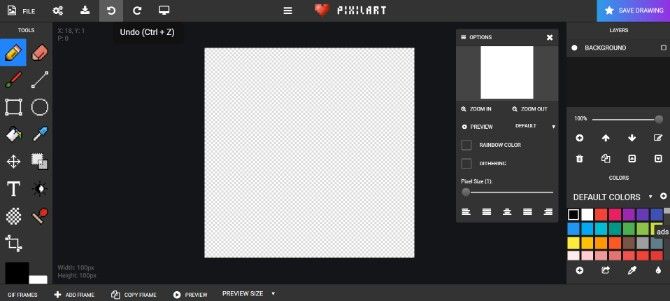
Fire up Pixilart from the comfort of your own web browser or mobile device. Some of its basic features include the line tool, a dithering tool, a pen tool, a brush tool and more. The menus to the right of the screen display color and layer management.
It may not have all the bells and whistles of some of these other programs, but it’s still a valid option. Plus, you get to share your designs with the Pixilart community.
You know that Photoshop has some of the best photo editing capabilities, but did you know that you can also use it for pixel art? Like GIMP, creating pixel art on Photoshop just takes some time to set up.
Nothing can stand in the way of your art when you can manage several layers, palettes, and create custom brushes. Once you master these essential Photoshop productivity tips for pixel artists, you’ll find yourself working much more efficiently.
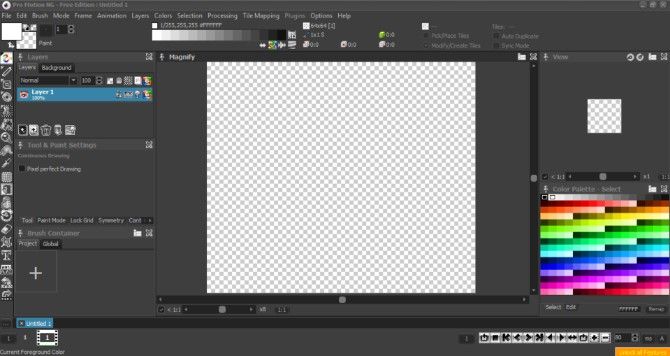
Whether you’re looking for a way to create animations or in-depth designs, Pro Motion NG can lead you in the right direction. It comes with everything you could ever ask for in a pixel art program: tile maps, onion skinning, pixel clean-up, layers, and more.
If its array of features isn’t enough to entice you, you should note that professional studios like UBISoft and Gameloft use Pro Motion NG for their games. Game developers who design mobile retro games for nostalgia junkies can truly get the most out of this program.
Download: Pro Motion NG (Free, $39 for the full version)
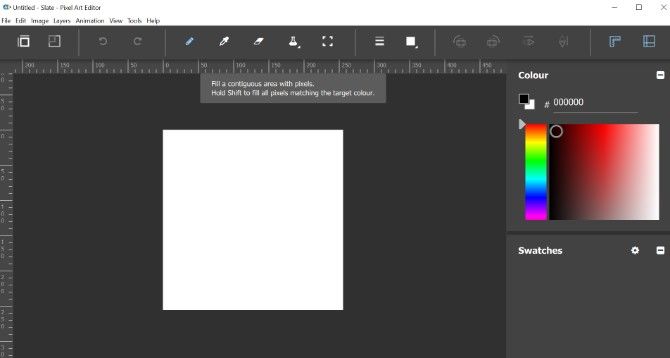
11. Slate
If you’re new to pixel art, start off with Slate. It doesn’t sell you short in terms of features, and it has a user-friendly interface that anyone can navigate. Once you get the hang of it, you can start creating tilesets and animations.
Using this straightforward program makes creating sprites and animations much easier. You can always expect bug fixes and new features from Slate as well; the developers constantly work to improve the software.
The influx of new retro-inspired games isn’t going to end any time soon, so that means it’s time to ride the wave and create some pixel art. With the right tools at your disposal, you’ll be able to create pixel perfect artwork without too much trouble.
And if you love creating pixel art, have you ever thought about learning how to draw by hand? If so, you should check out our list of websites that will teach you how to draw well.
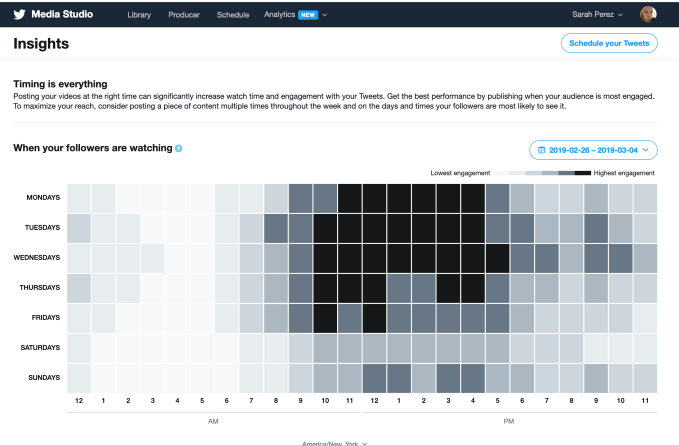
In January at CES 2019 in Las Vegas, Twitter announced that it was developing new tools that would make it easier for publishers to better understand what sort of content is resonating with their readers. Through a new analytics dashboard, publishers would be able to see who’s engaging with content and when, and what’s performing well. Today, the company unveiled the first of these efforts: a set of Publisher Insights tools within Media Studio focused on the best time to publish video.
While at CES, Twitter described this analytics dashboard as an “early concept,” but today’s final result looks very much like what the company had shown off then.
On the dashboard, the hours of the day are across the x-axis, and the days of the week are across the y-axis. The graph uses shades of gray to show which days and times video tweets see the most engagement, based on historical data.
Twitter says publishers can use this dashboard to determine when is the best time to post video to “maximize engagement, conversation, and viewership.” However, it notes the graph doesn’t show when your followers are watching your videos, but when they’re watching videos across Twitter.
Twitter’s advice, naturally, is to post at least some video during the most engaging times of the time. And if that’s at an off-hour for you, the company is also now offering a tweet scheduling tool from the same page featuring the new dashboard.
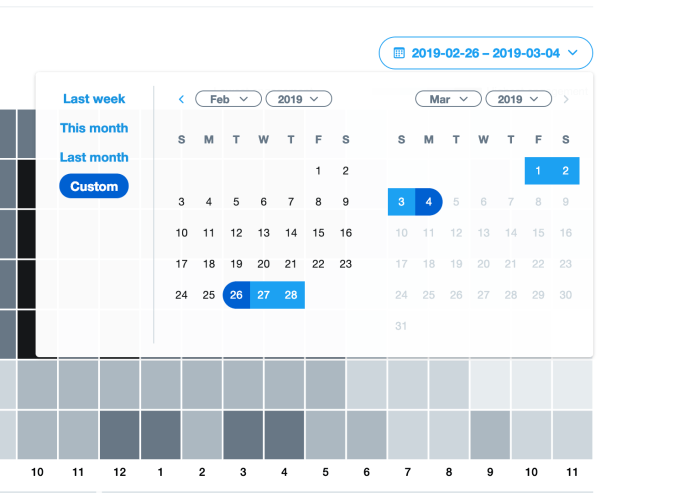
Publishers can adjust the time frame for the insights to “last week,” “this month,” “last month,” or any custom range of their choosing to gain more insights.
The company’s larger goal with helping publishers better develop their media strategies on Twitter, ties to its advertising business. Twitter has said for some time that video ads account for more than half its ad revenue – a metric that was repeated by Twitter VP of content partnerships, Kay Madati, in January.
Twitter also says other tools aimed at giving publishers more actionable data are in the works. Similarly, those will go live in Media Studio (studio.twitter.com) when available.
Posted by Shan Carter, Software Engineer, Google AI
Neural networks have become the de facto standard for image-related tasks in computing, currently being deployed in a multitude of scenarios, ranging from automatically tagging photos in your image library to autonomous driving systems. These machine-learned systems have become ubiquitous because they perform more accurately than any system humans were able to directly design without machine learning. But because essential details of these systems are learned during the automated training process, understanding how a network goes about its given task can sometimes remain a bit of a mystery.
Today, in collaboration with colleagues at OpenAI, we're publishing "Exploring Neural Networks with Activation Atlases", which describes a new technique aimed at helping to answer the question of what image classification neural networks "see" when provided an image. Activation atlases provide a new way to peer into convolutional vision networks, giving a global, hierarchical, and human-interpretable overview of concepts within the hidden layers of a network. We think of activation atlases as revealing a machine-learned alphabet for images — an array of simple, atomic concepts that are combined and recombined to form much more complex visual ideas. We are also releasing some jupyter notebooks to help you get you started in making your own activation atlases.
A detail view of an activation atlas from one of the layers of the InceptionV1 vision classification network. It reveals many of the visual detectors that the network uses to classify images, such as different types of fruit-like textures, honeycomb patterns and fabric-like textures.
The activation atlases shown below are built from a convolutional image classification network, Inceptionv1, that was trained on the ImageNet dataset. In general, classification networks are shown an image and then asked to give that image a label from one of 1,000 predetermined classes — such as "carbonara", "snorkel" or "frying pan". To do this, our network evaluates the image data progressively through about ten layers, each made of hundreds of neurons that each activate to varying degrees on different types of image patches. One neuron at one layer might respond positively to a dog's ear, another at an earlier layer might respond to a high-contrast vertical line.
An activation atlas is built by collecting the internal activations from each of these layers of our neural network from one million images. These activations, represented by a complex set of high-dimensional vectors, is projected into useful 2D layouts via UMAP, a dimensionality-reduction technique that preserving some of the local structure of the original high-dimensional space.
This takes care of organizing our activation vectors, but we also need to aggregate them into a more manageable number — all the activations are too many to consume at a glance. To do this, we draw a grid over the 2D layout we created. For each cell in our grid, we average all the activations that lie within the boundaries of that cell, and use feature visualization to create an iconic representation.
Left: A randomized set of one million images is fed through the network, collecting one random spatial activation per image. Center: The activations are fed through UMAP to reduce them to two dimensions. They are then plotted, with similar activations placed near each other. Right: We then draw a grid, average the activations that fall within a cell, and run feature inversion on the averaged activation.
Below we can see an activation atlas for just one layer in a neural network (remember that these classification models can have half a dozen or more layers). It reveals a universe of the visual concepts the network has learned to classify images at this layer. This atlas can be a bit overwhelming at first glance — there's a lot going on! This diversity is a reflection of the variety of visual abstractions and concepts the model has developed.
An overview of an activation atlas for one of the many layers (mixed4c) within Inception v1. It is about halfway through the network.
In this detail, we can see detectors for different types of leaves and plants.
Here we can see different detectors for water, lakes and sandbars.
Here we see different types of buildings and bridges.
As we mentioned before, there are many more layers in this network. Let's look at the layers that came before this one to see how these concepts become more refined as we go deeper into the network (Each layer builds its activations on top of the preceding layer's activations).
In an early layer, mixed4a, there is a vague "mammalian" area.
By the next layer in the network, mixed4b, animals and people have been disentangled, with some fruit and food emerging in the middle.
By layer mixed4c these concepts are further refined and differentiated into small "peninsulas".
Here we've seen the global structure evolve from layer to layer, but each of the individual concepts also become more specific and complex from layer to layer. If we focus on the areas of three layers that contribute to a specific classification, say "cabbage", we can see this clearly.
Left: This early layer is very nonspecific in comparison to the others. Center: By the middle layer, the images definitely resemble leaves, but they could be any type of plant. Right: By the last layer the images are very specific to cabbage, leaves curved into rounded balls.
There is another phenomenon worth noting: not only are concepts being refined as you move from layer to layer, but new concepts seem to be appearing out of combinations of old ones.
You can see how sand and water are distinct concepts in a middle layer, mixed4c (left and center), both with strong attributions to the classification of "sandbar". Contrast this with a later layer (right), mixed5b, where the two ideas seem to be fused into one activation.
Instead of zooming in on certain areas of the whole atlas for a specific layer, we can also create an atlas at a specific layer for just one of the 1,000 classes in ImageNet. This will show the concepts and detectors that the network most often uses to classify a specific class, say "red fox" for instance.
Here we can more clearly see what the network is focusing on to classify a "red fox". There are pointy ears, white snouts surrounded by red fur, and wooded or snowy backgrounds.
Here we can see the many different scales and angles of detectors for "tile roof".
For "ibex", we see detectors for horns and brown fur, but also environments where we might find such animals, like rocky hillsides.
Like the detectors for tile roof, "artichoke" also has many different sizes of detectors for the texture of an artichoke, but we also get some purple flower detectors. These are presumably detecting the blossoms of an artichoke plant.
These atlases not only reveal nuanced visual abstractions within a model, but they can also reveal high-level misunderstandings. For example, by looking at an activation atlas for a "great white shark" we water and triangular fins (as expected) but we also see something that looks like a baseball. This hints at a shortcut taken by this research model where it conflates the red baseball stitching with the open mouth of a great white shark.
We can test this by using a patch of an image of a baseball to switch the model's classification of a particular image from "grey whale" to "great white shark".
We hope that activation atlases will be a useful tool in the quiver of techniques that are making machine learning more accessible and interpretable. To help you get started, we've released several jupyter notebooks which can be executed immediately in your browser with one click via colab. They build upon the previously released toolkit Lucid, which includes code for many other interpretability visualization techniques included as well. We're excited to see what you discover!