The Windows Insider Preview program lets you run early versions of the upcoming Windows 10 builds. You can test new features, provide development feedback, and help shape the development of Windows 10.
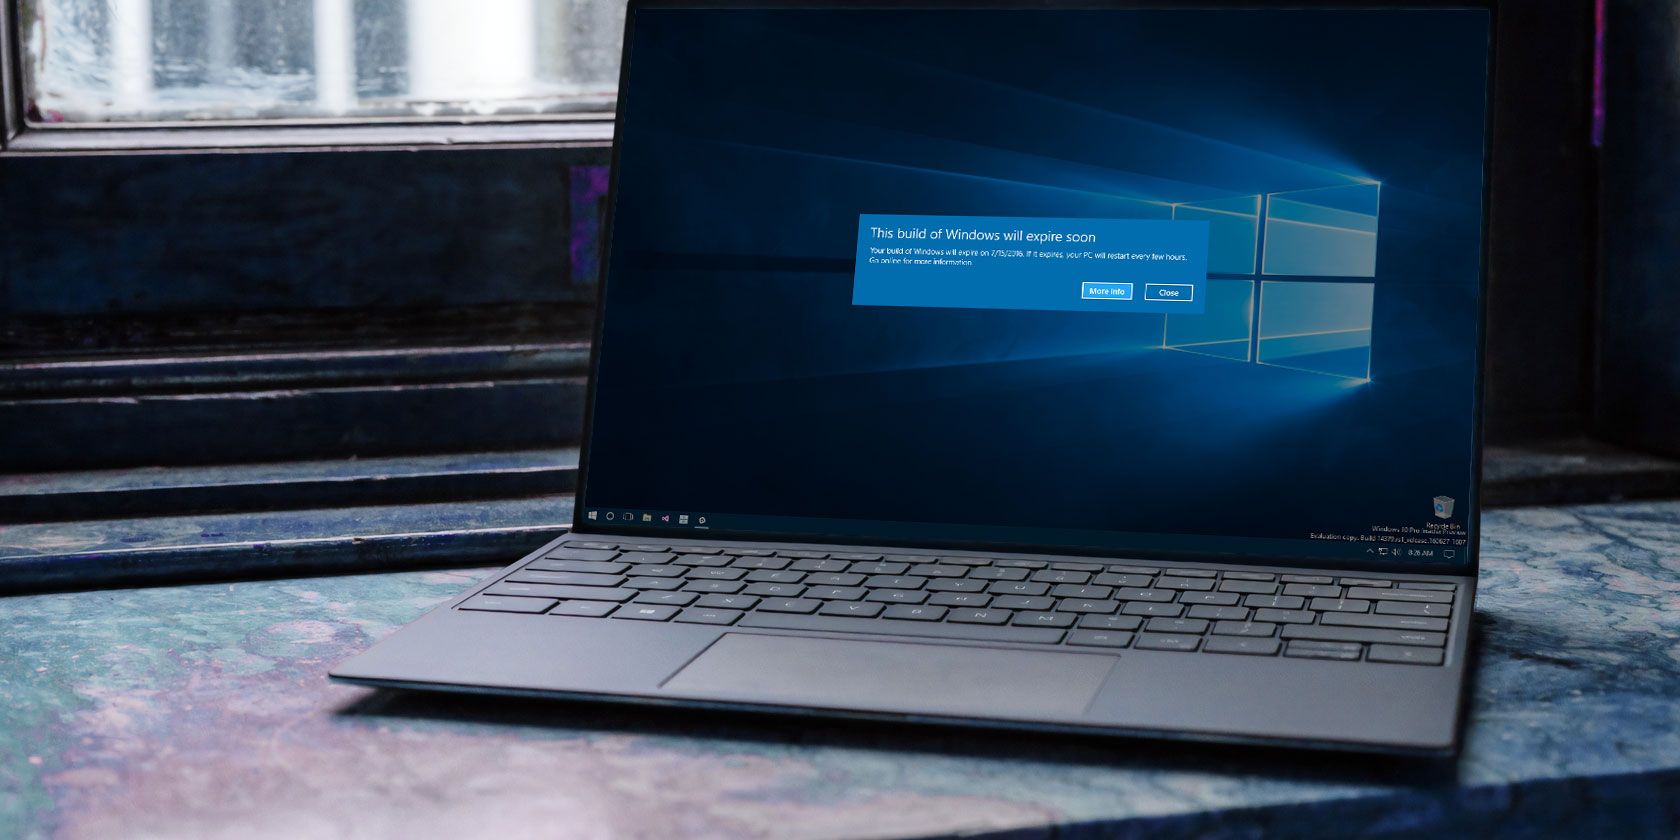
However, at times, your Windows 10 Insider Preview build might expire. That is, Microsoft no longer supports the preview version of Windows you are using and then the “This build of Windows 10 will expire soon” error starts to appear.
So, how do you fix the error?
What Is the “This Build of Windows Will Expire Soon” Error?
The Windows Insider Preview program allows you to use new Windows 10 versions before general release. The user feedback and bug reporting help to shape Windows 10. As the development of Windows 10 is a constant stream of updates and tweaks, no Insider Preview build remains in circulation for long.

When an Insider Preview build is no longer supported, you’ll receive the “This build of Windows will expire soon” error message.
Your Windows Insider Preview version might expire for a few reasons:
- You opted out of Insider Preview builds
- You switched from the Dev Channel to the Beta Channel
- Your device was switched off for a long time
How to Fix the “This Build of Windows Will Expire Soon” Error
There are three methods you can use to fix the Insider Build expiring issue:
- Change your Insider Preview path settings
- Reinstall Windows with an Insider Preview Beta Channel ISO
- Switch to a clean installation of regular Windows 10
1. Change Your Insider Preview Path Settings
The easiest way to shift the expiring Insider Preview build is to switch your Insider Preview path. Windows 10 Insider Preview has three paths available for users:
- Dev Channel: Access the very latest Windows 10 builds, from the early stages of the development process
- Beta Channel: Recommended for early adopters, the Beta Channel provides more reliable builds than the Dev Channel
- Release Preview Channel: Early access for the upcoming Windows 10 release, including certain key features and minimal bugs
This fix is primarily for those stuck on the Beta Channel.
Press Windows Key + I to open the Settings window, select Update & Security, then Windows Insider Program. Here you will see your current Insider Preview options.
Select the box underneath Pick your insider settings to change your Insider Preview path. Switch from the Beta Channel to the Dev Channel.

Now, head back to the Settings window and select Windows Update from the sidebar. Press Check for updates and wait for the latest Dev Channel Insider Preview build to download. After it downloads, install the new build, then restart your system.

You don’t have to stay on the Dev Channel. Once you install the latest Dev Channel Insider Preview build, you can switch your path back to the Beta Channel and wait for the latest build. It is time-consuming, but it does stop the “This build of Windows will expire soon” error messages.
2. Reinstall Windows with an Insider Preview Beta Channel ISO
If you don’t want to switch Insider Preview paths, you can download and install the latest Insider Preview Beta Channel build. This method ensures you remain on the Beta Channel.
Plus, you can use the in-place upgrade option, which means you don’t have to wipe your system in the process. The result is a much faster upgrade with minimal data loss.
However, it is always a good idea to take a backup before making any major changes to your system. Before commencing with the reinstallation, you must backup your data.
That means important files, photos, music, games—anything you do not want to lose during the reinstallation. Wondering how to do it? Check out our ultimate Windows 10 data backup guide.
After backing up your data, head to the Windows Insider Preview Downloads page. Scroll down to the bottom of the page and select the latest Beta Channel or Release Preview Channel edition, followed by the language (make sure the language matches your existing installation, or the setup will run into trouble later).
You’ll then have to select between a 32- or 64-bit version of Windows. If you’re unsure, here’s how you find out if you have 32-bit or 64-bit Windows.

After the download completes, double-click the installation file to begin the process. Windows 10 will mount the ISO file automatically. Then, select Setup and follow the instructions.
On the Choose what to keep page, select Keep personal files and apps. On the Ready to install page, make sure that Keep personal files and apps appears.

When ready, select Install. The installation process will take a few minutes to complete, and your computer will restart several times during the process. Once complete, you can log into Windows as normal.
3. Switch to a Clean Installation of Windows 10
The final option is to leave the Windows 10 Insider Preview scheme and head back to regular Windows 10. Like the fresh installation of the Insider Preview, you can use the in-place upgrade option to move back to the standard Windows 10 installation or complete a full clean installation if you desire.
Remember, a clean installation will wipe all your files, apps, and data. If you want a clean installation, you must backup your data or face losing it permanently.
First up, you need to create installation media for the latest version of Windows 10.
Download: Windows 10 Media Creation Tool for Windows (Free)
Open the Windows 10 Media Creation tool, accept the license terms, and select Upgrade this PC now. You’ll have to wait for the Windows 10 Setup to download and prepare Windows 10, which can take a while.
After the download completes, select Change what to keep. If you want to keep your files, select Keep personal files and apps. If you want a completely clean installation, select Nothing. Wait for the Windows 10 installation to complete, after which you can set up your clean installation.
A clean installation of Windows 10 is a wonderful thing. Check out the most important things you must do after installing Windows 10, such as running Windows Update, updating your drivers, and more.
How to Leave Windows 10 Insider Preview Builds
These are the fixes for the “This build of Windows will expire soon” error. But the final option is one way you can leave the Windows 10 Insider Preview scheme for good, too. You can leave the Windows 10 Insider Preview program whenever you want, safe in the knowledge that you don’t have to wipe your data.
Once you have a clean installation ready to go, you can adjust your Windows 10 privacy settings from the get-go. Here’s our complete guide to Windows 10 privacy settings to help you get set up.
Read the full article: How to Fix the “This Build of Windows Will Expire Soon” Error in Windows 10