13 November 2019

Google Maps adds a new translation feature that speaks place names out loud


Google Maps is adding a feature that will make it easier for people traveling in foreign countries where they don’t speak the local language: built-in translation with text-to-speech support. The feature will allow users to tap on a new speaker button next to a place name or address, to have Google Maps say the name out loud — a particularly useful addition for anyone who has needed to communicate about directions when traveling.

Most people who have ventured outside of their home country, at some point, needed to ask for directions or tell a taxi driver their destination. And when you don’t speak the language, that can be difficult to do — even with the aid of translation apps or language dictionaries, as they’re often more focused on everyday vocabulary, not necessarily on the proper names of places.

Now, instead of struggling with pronunciation and having awkward conversations or even handing over your phone to a cab driver, you can tap a button.

In addition, Google Maps will also now link you to the Google Translate app if you need to continue the conversation further.

The new feature works by detecting what language your phone is currently using, then determining when to show you the translate option. For example, an English speaker who was browsing a map of Tokyo may see the speaker icon, but may not see the icon if looking at places in the U.S.

It’s somewhat surprising this sort of text-to-speech functionality wasn’t already included in Google Maps, given its use for travel purposes. But Google has more recently been waking up to the power of integrating Google Translate into other experiences outside the app itself, including in Google Home, Google Assistant, Google Lens, and more. And in the end, this translation support makes Google’s products more powerful and competitive — and for consumers, more useful.

Translate for Google Maps is rolling out this month on iOS and Android with initial support for 50 languages. More languages will arrive in the future, Google says.


Read Full Article

Facebook says government demands for user data are at a record high


Facebook’s latest transparency report is out.

The social media giant said the number of government demands for user data increased by 16% to 128,617 demands during the first-half of this year compared to the second-half of last year.

That’s the highest number of government demands its received in any reporting period since it published its first transparency report in 2013.

The U.S. government led the way with the most number of requests — 50,741 demands for user data resulting in some account or user data given to authorities in 88% of cases. Facebook said two-thirds of all of the U.S. government’s requests came with a gag order, preventing the company from telling the user about the request for their data.

But Facebook said it was able to release details of 11 so-called national security letters (NSLs) for the first time after their gag provisions were lifted during the period. National security letters can compel companies to turn over non-content data at the request of the FBI. These letters are not approved by a judge, and often come with a gag order preventing their disclosure. But since the Freedom Act passed in 2015, companies have been allowed to request the lifting of those gag orders.

The report also said the social media giant had detected 67 disruptions of its services in 15 countries, compared to 53 disruptions in nine countries during the second-half of last year.

And, the report said Facebook also pulled 11.6 million pieces of content, up from 5.8 million in the same period a year earlier, which Facebook said violated its policies on child nudity and sexual exploitation of children.

The social media giant also included Instagram to its report for the first time, including removing 1.68 million pieces of content during the second and third quarter of the year.

Read more:


Read Full Article

Yahoo Japan and Line are reportedly going to merge


According to Nikkei, messaging app Line and Yahoo Japan are about to merge and form a single tech company. Despite the name, Yahoo Japan is currently 100% owned by Z Holdings, a company that is controlled by Japanese telecom company SoftBank (Yahoo Japan isn’t related with TechCrunch’s parent company Verizon Media). Line Corporation is owned by Naver Corporation, a South Korean internet giant.

The two companies are still discussing terms of the deal according to Nikkei. But you could imagine Z Holdings becoming a a 50-50 joint venture between SoftBank and Naver, with Z Holdings owning both Yahoo Japan and Line.

Line operates one of the most popular messaging apps in Japan. In addition to conversations, the company operates Line Pay, Line Taxi and other services. But competition has been fierce in the messaging space.

Yahoo Japan was originally formed by Yahoo and SoftBank in the later 1990s. When Verizon acquired Yahoo in 2017, Verizon didn’t acquire Yahoo’s stake in Alibaba and Yahoo Japan. Yahoo created a spin-out company called Altaba to hold those stakes.

Altaba first sold its stake in Yahoo Japan. In July 2018, SoftBank acquired part of Altaba’s stake in Yahoo Japan in order to increase its ownership of Yahoo Japan. Altaba later sold its remaining Yahoo Japan shares, its Alibaba shares and shut down. In 2019, SoftBank received additional shares to become Yahoo Japan’s parent company.

Yahoo Japan is a household name and a big internet conglomerate in Japan. It has an online advertising business, an e-commerce business, finance services and more. Yahoo Japan and Line probably hope to reach more users and boost engagement with the merger.

We’ve reached out to Line Corporation and Z Holdings and will update if we hear back.


Read Full Article

What it's like to live on the International Space Station | Cady Coleman

What it's like to live on the International Space Station | Cady Coleman

In this quick, fun talk, astronaut Cady Coleman welcomes us aboard the International Space Station, where she spent nearly six months doing experiments that expanded the frontiers of science. Hear what it's like to fly to work, sleep without gravity and live life hurtling at 17,500 miles per hour around the Earth. "The space station is the place where mission and magic come together," Coleman says.

Click the above link to download the TED talk.

5 Apps to Find Halfway Points to Meet With Faraway Friends


cwa-find-halfway

Want to meet up with a friend, but can’t decide on a place that’s fair? If you live miles away from each other, it’s not always convenient to go to their home or vice versa. Plus, it might be fun to meet up somewhere in the middle that’s new.

Rather than opening a maps application and trying to find a halfway point, there are websites built just for this sort of situation. So the next time you and your pal want to make plans to meet, check out these helpful sites for a location that’s right between you both.

1. WhatsHalfway

WhatsHalfway Halfway Point

WhatsHalfway gives you the middle location between two spots. Just enter your two cities and you’ll see the halfway point with the travel time and distance for you and your friend. You also get a handy map that you can click to zoom in on that middle point or view the entire route between the two cities.

When you enter your cities, you can pick a venue type such as accommodations, food and drink, or shopping. Then when you view your midpoint, you’ll see a link Click here to find a venue. When you click it, you’ll be taken to a list of those venue options on Google Maps.

Want to meet up with more people? You can add other cities or zip codes and see the middle point for all. And you can choose venues for that type of trip too. WhatsHalfway is easy to use and a terrific option.

2. MeetWays

MeetWays Halfway Point

MeetWays offers similar features to WhatsHalfway but with a couple of extras you might enjoy. Start by entering your two cities or zip codes and optionally pop in a point of interest. Before hitting the Go! button, you can add options for the travel mode, toll roads, or highways if you like.

When you check out the results for your halfway mark, you’ll see the exact address that’s in the middle along with the distance you each need to travel in miles. The map shows the route between the two locations and you can zoom in or out.

If you entered a point of interest for your search, you’ll see a list of spots, a few suggestions, and the locations plotted on the map. If you pick one, you can get further details which are powered by Yelp. The MeetWays site makes finding that happy medium a breeze.

3. TravelMath

TravelMath Halfway Point

TravelMath is a site that helps you plan your trips, whether driving or flying. But they also offer a handy way to find your middle point. When you land on the site, use the dropdown box and choose Halfway Point, then just enter your two cities and hit Go.

Once you see the city in the middle, you can click to find hotels nearby if you like. Otherwise, scroll to the bottom and get full details on the location like the closest major city or zip code. You can also see how many miles you’ll each need to drive and how long in hours and minutes it should take.

TravelMath offers a convenient map and links for things to do, places to stop, accommodations, and more for your trip. This site is worth visiting for finding a place to meet in the middle.

4. Distance Between Cities

Distance Between Cities Halfway Point

The Distance Between Cities website gives you exactly that, the distance between two cities and plenty of information about the route. In addition, they offer a section for Halfway Point. So enter your two cities on the main page and when you’re taken to the results, just scroll down to that section.

You can see the closest city or town to the halfway point along with the major city nearest the middle and major cities along the routes. You’ll get the travel time and distance for each of you and the exact coordinates, if you find those helpful as well.

Also, be sure to check out the gas consumption and emissions details, nearby hotels, and even rental cars. If you’re interested in more than just what’s in the middle, Distance Between Cities gives you all sorts of information about the route between you.

5. Trippy

Trippy Halfway Point

One more website to visit for that halfway point is Trippy. This site is great for finding places to meet in that middle city. On the main page, type your question in the box. For example, you can enter “halfway point between [city one] and [city two]” and click the ask Trippy! button.

You’ll immediately see the answer to your question, but of course, you want more right? Click Read More and you’ll get all the details including the distance, travel time, and coordinates.

Scroll down and you’ll see the best places to meet, local accommodations, eateries, and activities. For each option, you’ll get the address and can click for further information from Trippy.

So if you’re not just looking for that midpoint, but also want things to do or hotels for your stay, Trippy is an excellent site.

Get Ready to Meet Halfway

When you have friends or family members who live miles and hours away, meeting up can be difficult. But with websites like these, it can be just a bit easier. Find that halfway point along with places to stay and things to do while you’re there. These sites can help make your trip a great one!

If you want the assistance of a road trip planner for your adventure or ways to keep your kids entertained on the drive, we’ve got you covered there too.

Read the full article: 5 Apps to Find Halfway Points to Meet With Faraway Friends


Read Full Article

12 Classic Films on Disney+ Worth Watching


classic-films-disneyplus

How are you going to decide what to watch on Disney+? After all, there’s a huge range of titles available on the streaming service. Including Star Wars, Marvel, and Pixar movies.

However, there’s also a wealth of classic films on Disney+. Including many of the best films from the Disney archive. So, here are the classic movies worth watching on Disney+.

1. Treasure Island

We begin with an historical treasure. Made in 1950, Treasure Island is Disney’s first completely live-action production and features stunning location filming across the UK.

You all know the story: Jim Hawkins goes in search of a buried fortune and gets embroiled with pirates. The high production values mark it as one of the best adaptations of Robert Louis Stevenson’s much-loved novel (and the first produced in color).

2. Old Yeller

Forget Bambi and Lassie Come Home. Old Yeller is a real tear-jerker that’s nonetheless loved by all generations.

It’s a coming-of-age tale set on a Texas range, centred around a young boy who quickly becomes attached to a stray dog. It’s in a similar vein as The Wizard of Oz and Mary Poppins, proving a mainstay for family audiences.

3. The Black Cauldron

This 1985 animation is one of Disney’s biggest flops—so why should you check it out on Disney+?

It was the company’s first PG animation, fitting for the era of Labyrinth, The Dark Crystal, and Teen Wolf. Despite its huge budget, however, its production was troubled, partly owing to a change in animation.

As we explored in our look at Disney’s use of technology, the company has been quite a trailblazer when it comes to advancing the craft. And this animation style would eventually lead to 1990s classics like Beauty and the Beast.

Regardless of its production issues, The Black Cauldron works beautifully as something to scare parents and keep kids entertained.

4. Oliver and Company

Oliver Twist with dogs. That was the original pitch. Pet lovers should already be sold on the notion.

Oliver and Company shows the cruel reality of the animal kingdom as the titular cat is left to fend for himself on the streets. And yet the film manages to be warm, funny, and captivating. It’s another underappreciated gem, overshadowed by The Great Mouse Detective and The Little Mermaid, classics that bookended its release.

5. James and the Giant Peach

Disney has utilized many different animation styles, most recently being immersed in CGI. But in 1996 came this clever fusion of live action and stop-motion animation. Although the first scenes are filmed as normal, it changes when James enters the peach and meets its insect inhabitants.

Most pleasingly is the melding of these cinematic styles at the end of the film. It means this adaptation is refreshing, beautiful, and distinctive—just like Roald Dahl’s novel.

Hopefully, watching films based on famous books will inspire children to read more fiction. And if so, here’s how to pick the perfect book for children.

6. Who Framed Roger Rabbit?

Similarly mixing styles, Who Framed Roger Rabbit? also caters for different generations. Like The Simpsons, different gags will resonate with different age brackets.

Children and grown-ups will love the Looney Tunes-like visuals, scary bad guy (the wonderful Christopher Lloyd), and slapstick comedy. Adults will further appreciate the noir tone and wordplay, nostalgic satire, and pacey narrative. Oh, and Jessica Rabbit. She’s not bad. She’s just drawn that way.

7. Swiss Family Robinson

We all sometimes dream of escape. For the Robinsons, this is achieved through dire circumstances. They become stranded on a desert island and begin a new life away from civilization as we know it.

The humor and frivolity belies the questions at the heart of this 1960 movie: the Robinsons ask themselves if they even want to get back. Home, as they say, is where the heart is.

8. 20,000 Leagues Under the Sea (1954)

Walt Disney’s first live-action films were relatively cheap affairs. He stepped it up with his company’s first science fiction movie, 20,000 Leagues Under the Sea. The lavish production boasts a fantastic cast (including Kirk Douglas and James Mason), great designs and effects, and an underwater battle with a giant squid.

This adaptation of Jules Verne’s novel was one of the most expensive movies made in the 1950s. It was a massive gamble for Disney. But things generally worked in his favor. That’s entirely evident here.

9. Escape to Witch Mountain

Disney is synonymous with boundless imagination, and that’s exactly what Escape to Witch Mountain delivers.

Evil millionaire, Aristotle Bolt lures two psychic orphans to his mansion so he can exploit their powers. They escape, but soon find themselves running from the villagers who believe they’re witches. It’s entirely bonkers. But I’ll tell you a secret… all the best things are.

10. Flubber

You can’t go far wrong with any movie starring Robin Williams. You might be tempted by Aladdin or Jack, but we suggest watching Flubber instead. It’s a feel-good film about a nutty genius that’s sure to put a smile on your face.

Flubber is actually a remake of The Absent-Minded Professor (1961), which is also available on Disney+ and is similarly worth checking out.

11. Flight of the Navigator

When 12-year-old David Freeman wakes up, eight years have passed, but he hasn’t aged at all. What’s more, his mind is full of alien data. Does this tie into the spaceship that has crash-landed nearby?

Flight of the Navigator is a quirky adventure fashioned after E.T. the Extra-Terrestrial and Time Bandits. It will help you recapture a glorious sense of wonder, hopefully inspiring kids to take an interest in science.

12. Turner and Hooch

A wonderful murder mystery that starts with a cliché: Tom Hanks is the moody Detective Turner, desperate to leave town. His friend is then murdered and Turner inherits his dog. Mayhem ensues.

Hanks spent a lot of time playing with the canines who played Hooch before filming. This is such a joyful film, with the chemistry Turner has with Hooch at its heart. The production owes something to Old Yeller as its inspiration, so if you’ve never seen that film before, expect to shed some tears.

What Classic Films on Disney+ Have You Watched?

As this article has shown, there are plenty of classic films on Disney+. However, as we saw when Disney revealed everything coming to Disney+, there’s also lots of filler too. Hence the need to sort the wheat from the chaff to avoid wasting your evenings.

Read the full article: 12 Classic Films on Disney+ Worth Watching


Read Full Article

The 10 Best Replacement Earbud Tips


earbud-replacement-tips

You can spend a ton of money on the fanciest earbuds out there, but if they don’t fit you, they’re going to sound bad. In almost every case, the earbuds rely on a tight fit in your ear. If they’re too small or too big to fit correctly, you’re going to miss out on a lot of frequencies, especially bass.

Fortunately, even if the tips included with your earbuds don’t fit, you can buy replacement earbud tips that will. We’ve gathered together the best earbud tips for various brands, with both memory foam and silicone options for each.

1. Best Foam Replacement Tips for AirPods:
Comply SoftCONNECT

Comply SoftCONNECT Comply SoftCONNECT Buy Now On Amazon $17.99

Apple’s AirPods don’t come with tips, unlike the AirPods Pro. That doesn’t mean you have to settle. The SoftCONNECT by Comply memory foam replacement earbud tips improve isolation and sound quality as well as comfort. These tips will even work for standard wired EarPods as well.

Since they’re an add-on, they won’t fit into the AirPods charging case, but they do come with a silicone pouch to store them while you’re charging your AirPods. You’ll find yourself no longer adjusting the AirPods in your ear, as the Comply foam will keep them seated in your ear all day.

2. Best Silicone Replacement Tips for AirPods:
Spigen RA220

Spigen RA220 Spigen RA220 Buy Now On Amazon $7.99

If you just want a little protection for your AirPods instead of full-on replacement tips, you might prefer the Spigen RA220. They won’t provide as much isolation as the Comply foam option, but not everybody wants that, like runners, for example.

There is another bonus for these silicone tips. Unlike the Comply foam tips, these will fit on your AirPods while they’re in the charging case, so you can simply leave them on all the time. These will also work on Apple’s wired EarPods as well.

3. Best Foam Bose Earbud Replacement Tips:
Comply Comfort Plus Tsx-400

Comply Comfort Plus Tsx-400 Comply Comfort Plus Tsx-400 Buy Now On Amazon $19.39

Bose offers quite a few different earbud options, but the company’s QuietComfort series is among its most popular. The tips these ship with are pretty good, but they’re silicone. If you prefer foam tips, the Comply Comfort Plus Tsx-400 are your best option.

These are specifically meant to fit the Bose QuietComfort 20, as well as various sets from Denon, RHA, JVC, SoundMAGIC, and others. These Comply foam tips feature the company’s WaxGuard technology, which helps keep them clean even after months of usage.

4. Best Silicone Bose Earbud Replacement Tips:
Bose Stayhear Tipkit

Bose Stayhear Tipkit Bose Stayhear Tipkit Buy Now On Amazon $9.99

If you like the feel of the standard tips on the QuietComfort 20, you probably won’t be surprised to hear that the best replacement earbud tips come from Bose. The company makes its Stayhear Tipkit available for purchase, though, so you don’t need to worry if your tips are wearing out.

Sadly, you don’t get a full replacement set. Instead, you’ll need to choose between small, medium, and large options. The good news is that you probably already know which size you prefer from using the tips that came with the earbuds in the first place.

5. Best Foam Skullcandy Earbud Replacement Tips:
Comply Isolation Plus Tx-400

Comply Isolation Plus Tx-400 Comply Isolation Plus Tx-400 Buy Now On Amazon $18.99

Skullcandy makes a bunch of different earbuds, but one of its most popular sets is the Ink’d. If you’ve got these and are looking for a set of memory foam replacement earbud tips, one again, Comply has the best option. In this case, it’s the Comply Isolation Plus Tx-400.

These are meant to add more passive noise isolation, which isn’t quite as effective as active noise cancellation, but will get you part of the way there. As a plus, these also up the bass frequencies, which should please most Skullcandy fans.

6. Best Silicone Skullcandy Earbud Replacement Tips:
eBoot Replacement Earbuds

eBoot Replacement Earbuds eBoot Replacement Earbuds Buy Now On Amazon $5.99

If you’re a Skullcandy owner but prefer the feel of a silicone earbud tip, you’ll want to go for the eBoot Replacement Earbuds. These are meant to fit a variety of Skullcandy models, including the Ink’d, Ink’d 2, Smokin Buds, Smokin Buds 2, and the wireless version of both of those lines.

You get eight sets of tips, split across four different sizes. There are small, medium, large, and double flange sets, each offered in a black and transparent option.

7. Best Foam Sony Earbud Replacement Tips:
Comply Isolation Plus for Sony

Comply Isolation Plus for Sony Comply Isolation Plus for Sony Buy Now On Amazon $19.99

Sony offers a wide variety of different earbuds, not all of which share the same fit. That said, the Comply Isolation Plus for Sony replacement earbud tips set will fit the company’s most popular models. If you’re unsure about which to buy, Comply offers a compatibility chart that can help you make sure you’re buying the right set.

As with other Comply memory foam offerings, these are 30 times softer than the silicone tips that come with most earbuds. You may or may not like that, but this is the best option available for memory foam fans.

8. Best Silicone Sony Earbud Replacement Tips:
ALXCD Eartips for Sony

ALXCD Eartips for Sony ALXCD Eartips for Sony Buy Now On Amazon $5.99

If you’ve got Sony earbuds from either the MDR series or the XBA series and want silicone replacement tips, you’ll want to go for the ALXCD Eartips for Sony. These may fit other models as well.

The benefit of silicone tips is that they’re more durable than memory foam. In the case of these tips, they’re even washable. Just wash them with water, dry them with the included cloth, and then put them back on your earbuds.

9. Best Foam Replacement Earbud Tips:
Comply SmartCore Variety Pack

Comply SmartCore Variety Pack Comply SmartCore Variety Pack Buy Now On Amazon $19.99

You may be reading through the various replacement earbud tip options and realize that you don’t have one of the brands mentioned so far. Don’t worry about that. The Comply SmartCore Variety Pack is meant for exactly this sort of situation.

The folks at Comply know that not everyone has one of a few different brands of earbuds, and not everyone knows the diameter of their earbuds. The SmartCore tips are more flexible than some of Comply’s other options, which means they’ll fit on nearly any sort of earbud you can throw at them.

10. Best Silicone Replacement Earbud Tips:
SUNMNS Silicone Eartips 6 Pair Set

SUNMNS Silicone Eartips 6 Pair Set SUNMNS Silicone Eartips 6 Pair Set Buy Now On Amazon $5.99

If you’ve got a relatively cheap set of Bluetooth earbuds and you’re looking for replacement tips, try the SUNMNS Silicone Eartips 6 Pair Set. They won’t fit every brand, but they will fit a lot of them.

Specific brands mentioned include SENSO, ZEUS, Otium, Hussar, and Mpow, though the manufacturer says that they will fit other Bluetooth earbuds as well. These aren’t exclusively for Bluetooth earbuds, so they may fit your favorite wired pair as well. You’ve got two color options; green and black, or orange and black.

The Best Replacement Earbud Tips for You

If you buy cheap earbuds and you don’t like the sound, you might have just bought a bad set. On the other hand, if you spent upwards of $100 and you’re not happy with the sound, consider buying a set of replacement earbuds tips. For less than $20, you might turn a clunker set of earbuds into something you love.

Once you’ve bought a good set of earbuds, or at least created them with the best replacement earbud tips you can find, you’ll want to keep them safe. Because of the small size and flimsy cables, it can be easy to break your earbuds. If this keeps happening to you, take a look at our tips for keeping your headphones from breaking.

Read the full article: The 10 Best Replacement Earbud Tips


Read Full Article

How to Make a Meme: 6 Simple Steps to Follow


howto-create-meme

Memes are all the rage these days, and have been for some time. As an intractable part of online culture, memes pop up absolutely everywhere. And in this article we’ll show you how to make a meme.

The idea of a meme is to replicate a picture or piece of text but with your own spin on it. Either to make people laugh or say, “Gosh, I relate.” So here’s our step-by-step guide to making your own meme.

How to Make a Meme Using a Meme Generator

how to make a meme - use a meme generator

The whole point of memes is that they’re quickly thrown together, funny, and relatable. That’s why it’s so important to have an easy way to make them, preferably in five minutes or less.

To answer this demand for quick, viral images, meme generators were born. I mean, you could learn how to create a meme with Photoshop, but Photoshop is an expensive service. Plus, it takes a lot longer to make your own meme with it, so what’s the point?

With meme generators, the process of creating a meme becomes a thousand times simpler. All you have to do is upload your image or text into the generator, then slap it together. Congratulations, you’re done.

If you’re looking for more information on what kinds of generators are available, check out our list of the best meme generators to make your own meme. If you want to see how to make a meme using your own picture, follow the steps below.

Step 1: Research

It should be noted that making a meme is very different from being the originator of a meme. No one can predict when a post will go viral, so we’re not covering that here.

However, you can absolutely add your own spin to a meme that’s already gone viral. The first step to making a meme? Research.

how to make a meme - find a meme on Know Your Meme

The research you do doesn’t have to be in-depth, especially if you’re active on social media and you’re in-tune with online culture. If you’re out of the loop, however, you need to know what memes are currently trending and which ones are out of style.

I mean, the meme “It’s over 9,000!” was massive back in the day, but it’s so old now that half the people online would probably have no idea what you’re talking about if you used it.

A quick way to know what memes are trending is to check out the website KnowYourMeme.com.

Step 2: Choose a Meme Generator

If you want to learn how to make a meme, choose a meme generator from the aforementioned list. For the purposes of this article we’re going to use Imgflip, as it’s an easy, accessible choice, and has a lot of templates that you can use.

Warning: While easy to use, making memes on this site isn’t exactly private. We’ll have more info on that later.

For this tutorial, we’re going to reconstruct the very simple “Glowing eyes” meme.

In plain terms, the whole point of Glowing eyes is to overlay bright lights on top of the face of a person or an object. This is to show immediate, extreme, focused interest, although the “tone” of the interest can change with the message that you’re trying to convey.

Glowing Eyes Meme

When you make a meme on Imgflip, you can either work with one of the images that they already have, or you can upload a picture of your own.

I’m extremely boring, but because this is a tutorial I’m going to use a picture of my face. For your own version of the meme, use whatever pictures you have on hand, so long as there’s a person or person-shaped object involved.

Step 3: Upload Your Photo

how to make a meme - upload photo to Imgflip

To upload your own picture, click on the Upload your own image button, as seen below.

After that, you can choose the source of your upload. Either:

  • Upload image from your device.
  • Past an image or image URL into the search bar.

When you are doing your initial upload, you can also check the box that says Allow this template to be shared publicly. I don’t want to share this template, however, so I’m going to leave it alone.

Once you’re done, click Upload.

Next, you’ll be taken to a second image upload screen where you can see a small preview of your picture. Here, you can tweak your uploaded image even further. You can do this by flipping the image, rotating it, or cropping it.

Use a Picture for a Meme

If you decide that you don’t want to use this picture, you can choose to upload another image from your device, or paste the image URL into the address bar.

Once those revisions are done, click the Upload button a second time, seen above in red.

We promise, this is the last time you’ll need to click this button.

Step 4: Add Meme Effects

The thing with memes—at least on the creative side—is that you want to use pictures that are:

  • Easy to understand.
  • Emotive.

You want people to get a distinct impression for what kind of “mood” you want to convey with the picture, and how that mood is instantly relatable, either through what’s happening in the picture or what’s being said.

After you upload your picture to Imgflip, you’ll be taken to the edit screen. On the left side, you’ll see your image. Along the top of the image are buttons to add meme effects. On the right, you’ll see a box where you can add your text.

Glowing Eyes Meme Generator

To add the “Glowing eyes” to your meme, click on the sunglasses icon above your picture, seen here in red:

Add a Meme to a Picture

This icon will open up a new screen where you can find transparent overlays to add to your image, including the glowing eyes.

Once you add the glowing eye effect, Imgflip will place a single glowing eye onto your picture. You can resize this eye by clicking and dragging a corner of its bounding box. You can also drag it around on the page to position it, or tilt for effect.

Add Glowing Eyes to a Picture

To add a second glowing eye, you’ll need to click on the sunglasses icon again, then scroll through the list until you find the appropriate effect. Follow the same process for this eye as you did for the first.

Step 5: Add Text

While you’re moving around your glowing eye, you might notice a pair of bounding boxes at the top and bottom of your image. These bounding boxes are for your text if you decide to add any.

To add text, go to the text boxes on the right side of the generator. Begin typing.

how to make a meme - add text

You can choose to add either white or black text, and place it at the top or bottom of your image, depending on what looks best.

Once again when you add text to this meme, you need to make sure that it is:

  • Easy to understand.
  • Emotive.

The quicker that people understand what you’re trying to convey, the better.

After you’re done editing, check the Private box if you want to keep your meme private, or save it to your device. Check the Remove “imgflip.com” watermark box if you want to remove the watermark that the site places on your finished image.

NB: If you want to remove the Imgflip watermark, you need to pay for a monthly subscription to Imgflip Pro Basic.

After you’ve chosen your download options, click on the button that says Generate or Generate Meme.

Step 6: Download Your Meme or Share It

Once you click on the Generate button, you’ll be shown a pop-up window with your finished meme. If you chose the option to keep your meme private, you’ll see a screen that looks similar to this:

How to Make a Meme

At the bottom of the image, you’ll see some text warning you that the image is currently set to private. Imgflip will only keep the image on their servers long enough for it to be downloaded.

To make sure that you don’t lose your meme, it’s recommended that you download the image right away. After you download it, that’s it. You’re done with your creation.

If you want to make a second meme, click on the Make another button.

Make Your Own Meme and Hope to Go Viral

Making your own meme is not that hard, nor should it be. If memes were hard to make, they wouldn’t be going viral to begin with. And these meme generators make the process even simpler.

Now that you know how to make a meme, you should check out the best memes of all time.

Read the full article: How to Make a Meme: 6 Simple Steps to Follow


Read Full Article

How to Watch Local TV Channels Without Cable


watch-local-channels

So, you’ve cut the cord and dumped cable TV. However, you still want to be able to watch local TV channels. Don’t worry, there are several ways to stream local TV channels without cable. And in this article we’ll talk you through your options.

These options include tuning into over-the-air (OTA) local channels using an antenna, using a streaming service to watch local channels, and watching local channels on the web. So, if you want to watch local TV channels without cable, keep reading…

How to Watch Local TV Channels Using a Streaming Service

Customers have a dizzying array of live TV streaming services to choose from. The wide variety of apps makes it very difficult to choose the best streaming service for your needs, especially because they all have different channel line-ups. You also need to consider the costs. Some services are free, while others require a monthly subscription.

One area where live TV services vary considerably is in the availability of local channels.

Which Streaming Services Let You Watch Local Channels?

hulu watch local TV channels list

Most of the premium live TV apps let you watch local channels on their streaming services. Here’s a rundown of which local TV stations are available on which providers:

  • Hulu: ABC, NBC, CBS, FOX, The CW, MyNetworkTV, and Telemundo.
  • YouTube TV: ABC, NBC, CBS, FOX, The CW, MyNetworkTV, and Telemundo.
  • FuboTV: NBC, CBS, FOX, The CW, MyNetworkTV, Telemundo, and Univision.
  • AT&T TV Now (formerly DirecTV Now): ABC, CBS, FOX, and NBC.
  • Sling Blue: FOX and NBC.

All five of the companies above include the listed local TV channels in their base packages; you do not need to pay for extras or add-ons.

And remember, all of the services provide apps for streaming boxes and sticks. Ergo, they let you watch local channels on Roku, watch local channels on Fire TV Stick, and watch local channels on Android TV. Indeed, they are the best option if you want to watch local channels without a cable or satellite TV plan.

Note: All live TV streaming companies need to negotiate broadcast rights for local TV channels on a city-by-city basis. So not all markets are covered. Check directly with the provider before you sign up.

Which Streaming Services Do Not Offer Local TV Stations?

The only mainstream live TV app that does not let you watch local TV channels on its service is Philo. Because local TV rights can be expensive to negotiate and Philo is a budget live TV service, the company has decided the trade-off is not worth it.

If you have a Philo subscription and want to watch local TV, you will have to use some of the other methods outlined below.

How to Watch Local TV Without Cable, Satellite, or a Streaming Plan

If you don’t want to sign up for a streaming plan or cable TV service but still want to watch local channels, your best bet is to turn to a trusty old OTA TV antenna.

The number of local channels you can receive with a TV aerial depends on a few factors:

  • Aerial Quality: We’ve all seen those cheap $5 aerials in Walmart. You should avoid them. They are poor quality and cannot pick up the same amount of content, especially if you live in a more rural area where the signal strength is not as strong.
  • Aerial Location: The higher you can place your aerial, the better. For the best performance, you need to buy an external TV antenna and mount it on your roof.
  • Market: Some markets have far more local channels than others. If you live in a large metro area, it’s not uncommon to be able to get more than 30 OTA channels. People who live in the countryside might be restricted to one or two local stations.

Another benefit of using an antenna to access local channels (rather than relying on a streaming service) is the availability of smaller independent channels that aren’t produced by one of the big networks.

If your favorite local TV station isn’t an affiliate of ABC, NBC, et al., you won’t find it on services like Hulu and YouTube TV. To see which OTA local channels are available in your area, head to AntennaWeb and enter your ZIP code.

We’ve written about what you can watch using an OTA TV antenna if you’d like to learn more.

What Hardware Do You Need to Watch Local Channels?

If you’re looking for an indoor aerial, the Mohu Leaf is widely considered to be the best on the market. You can buy one on Amazon.

Sling subscribers can get a free OTA TV antenna as part of their plan.

For the ultimate experience, you should pair your antenna with an HDHomeRun Connect Duo and Plex. The HDHomeRun can grab the signal from your aerial and make it available throughout your home via the Plex app. You can even record content to watch later and watch two local TV channels at the same time on different screens.

If you’d like to learn more about how the device can help you watch local channels without cable, check out our review of the HDHomeRun Connect Duo.

How to Watch Local TV Channels on the Web

Depending on where you live, you might be able to watch some free local TV on the web.

For example, you could check out Locast. It broadcasts local TV from 15 major US cities for free via its website.

You will also find that some local TV stations offer legal around-the-clock live streams on YouTube.

Sadly, there’s no easy way to see whether your local channels are included. For example, some ABC locals are on YouTube; others aren’t. As such, establishing the availability of local channels on YouTube is a case of trial and error. You’ll have to conduct a few searches and see what pops up.

Other Ways to Watch TV Without Cable

The solutions we have discussed in this article will all help you to watch local channels on your various devices. The slickest solution is to sign up for a paid live TV streaming app, but the antenna and/or web approach will suit occasional viewers who don’t want to pay for the privilege.

To learn more about how to watch TV without cable or satellite, check out our article listing the best live TV streaming services.

Read the full article: How to Watch Local TV Channels Without Cable


Read Full Article

Apple’s Mac Pro ships in December with maximum 8TB of storage


Apple is making its Mac Pro and Apple Pro Display available in December, it announced today. The machine was announced earlier this year but no availability window had been set.

In addition to the previously announced specs, Apple also noted that it would be able to be ordered with up to an 8TB SSD. Apple’s Pro Workflow Team continues to take feedback about wants and needs of its pro customers and Apple says that the MacBook Pro can now handle up to 6 streams of 8K Pro Res vide, up from 3 streams quoted back in June. 

Apple also says that Blackmagic will have an SDI to 8K converter for productions using a serial digital interface workflow on set or in studio. This was a question I got several times after Apple announced its reference monitor to go along with the Mac Pro. This makes it more viable for many on-set applications that use existing workflows. 

I was able to get a look at the Mac Pro running the SDI converter box as well as a bunch of other applications like Final Cut Pro and it continues to be incredibly impressive for pro workflows. One demo showed 6 8K Pro Res streams running with animation and color coding in real time in a pre-rendered state. Really impressive. The hardware is also still wildly premium stuff. The VESA mount for the Pro Display XDR alone feels like it has more engineering behind it than most entire computers.

The new Mac Pro starts at $5,999 for tis base configuration, which includes 32GB of RAM, a 256GB SSD and a Radeon Pro 570X graphics card, and the Pro Display XDR 32-inch reference quality monitor that Apple will sell alongside it starts at $4,999.


Read Full Article

MacBook Pro 16” first impressions: Return of the Mack


In poker, complacency is a quiet killer. It can steal your forward momentum bit by bit, using the warm glow of a winning hand or two to cover the bets you’re not making until it’s too late and you’re out of leverage. 

Over the past few years, Apple’s MacBook game had begun to suffer from a similar malaise. Most of the company’s product lines were booming, including newer entries like the Apple Watch, AirPods and iPad Pro. But as problems with the models started to mount — unreliable keyboards, low RAM ceilings and anemic graphics offerings — the once insurmountable advantage that the MacBook had compared to the rest of the notebook industry started to show signs of dwindling. 

The new 16” MacBook Pro Apple is announcing today is an attempt to rectify most, if not all, of the major complaints of its most loyal, and vocal, users. It’s a machine that offers a massive amount of upsides for what appears to be a handful of easily justifiable tradeoffs. It’s got better graphics, a bigger display for nearly no extra overall size, a bigger battery with longer life claims and yeah, a completely new keyboard.

I’ve only had a day to use the machine so far, but I did all of my research and writing for this first look piece on the machine, carting it around New York City, through the airport and onto a plane where I’m publishing this now. This isn’t a review, but I can take you through some of the new stuff and give you thoughts based on that chunk of time. 

This is a re-think of the larger MacBook Pro in many large ways. This is a brand new model that will completely replace the 15” MacBook Pro in Apple’s lineup, not an additional model. 

Importantly, the team working on this new MacBook started with no design constraints on weight, noise, size or battery. This is not a thinner machine, it is not a smaller machine, it is not a quieter machine. It is, however, better than the current MacBook Pro in all of the ways that actually count.

Let’s run down some of the most important new things. 

Performance and thermals

The 16” MacBook Pro comes configured with either a 2.6GHz 6-core i7 or a 2.3GHz 8-core i9 from Intel. These are the same processors as the 15” MacBook Pro came with. No advancements here is largely a function of Intel’s chip readiness. 

The i7 model of the 16” MacBook Po will run $2,399 for the base model — the same as the old 15” — and it comes with a 512GB SSD drive and 16GB of RAM. 

Both models can be ordered today and will be in stores at the end of the week.

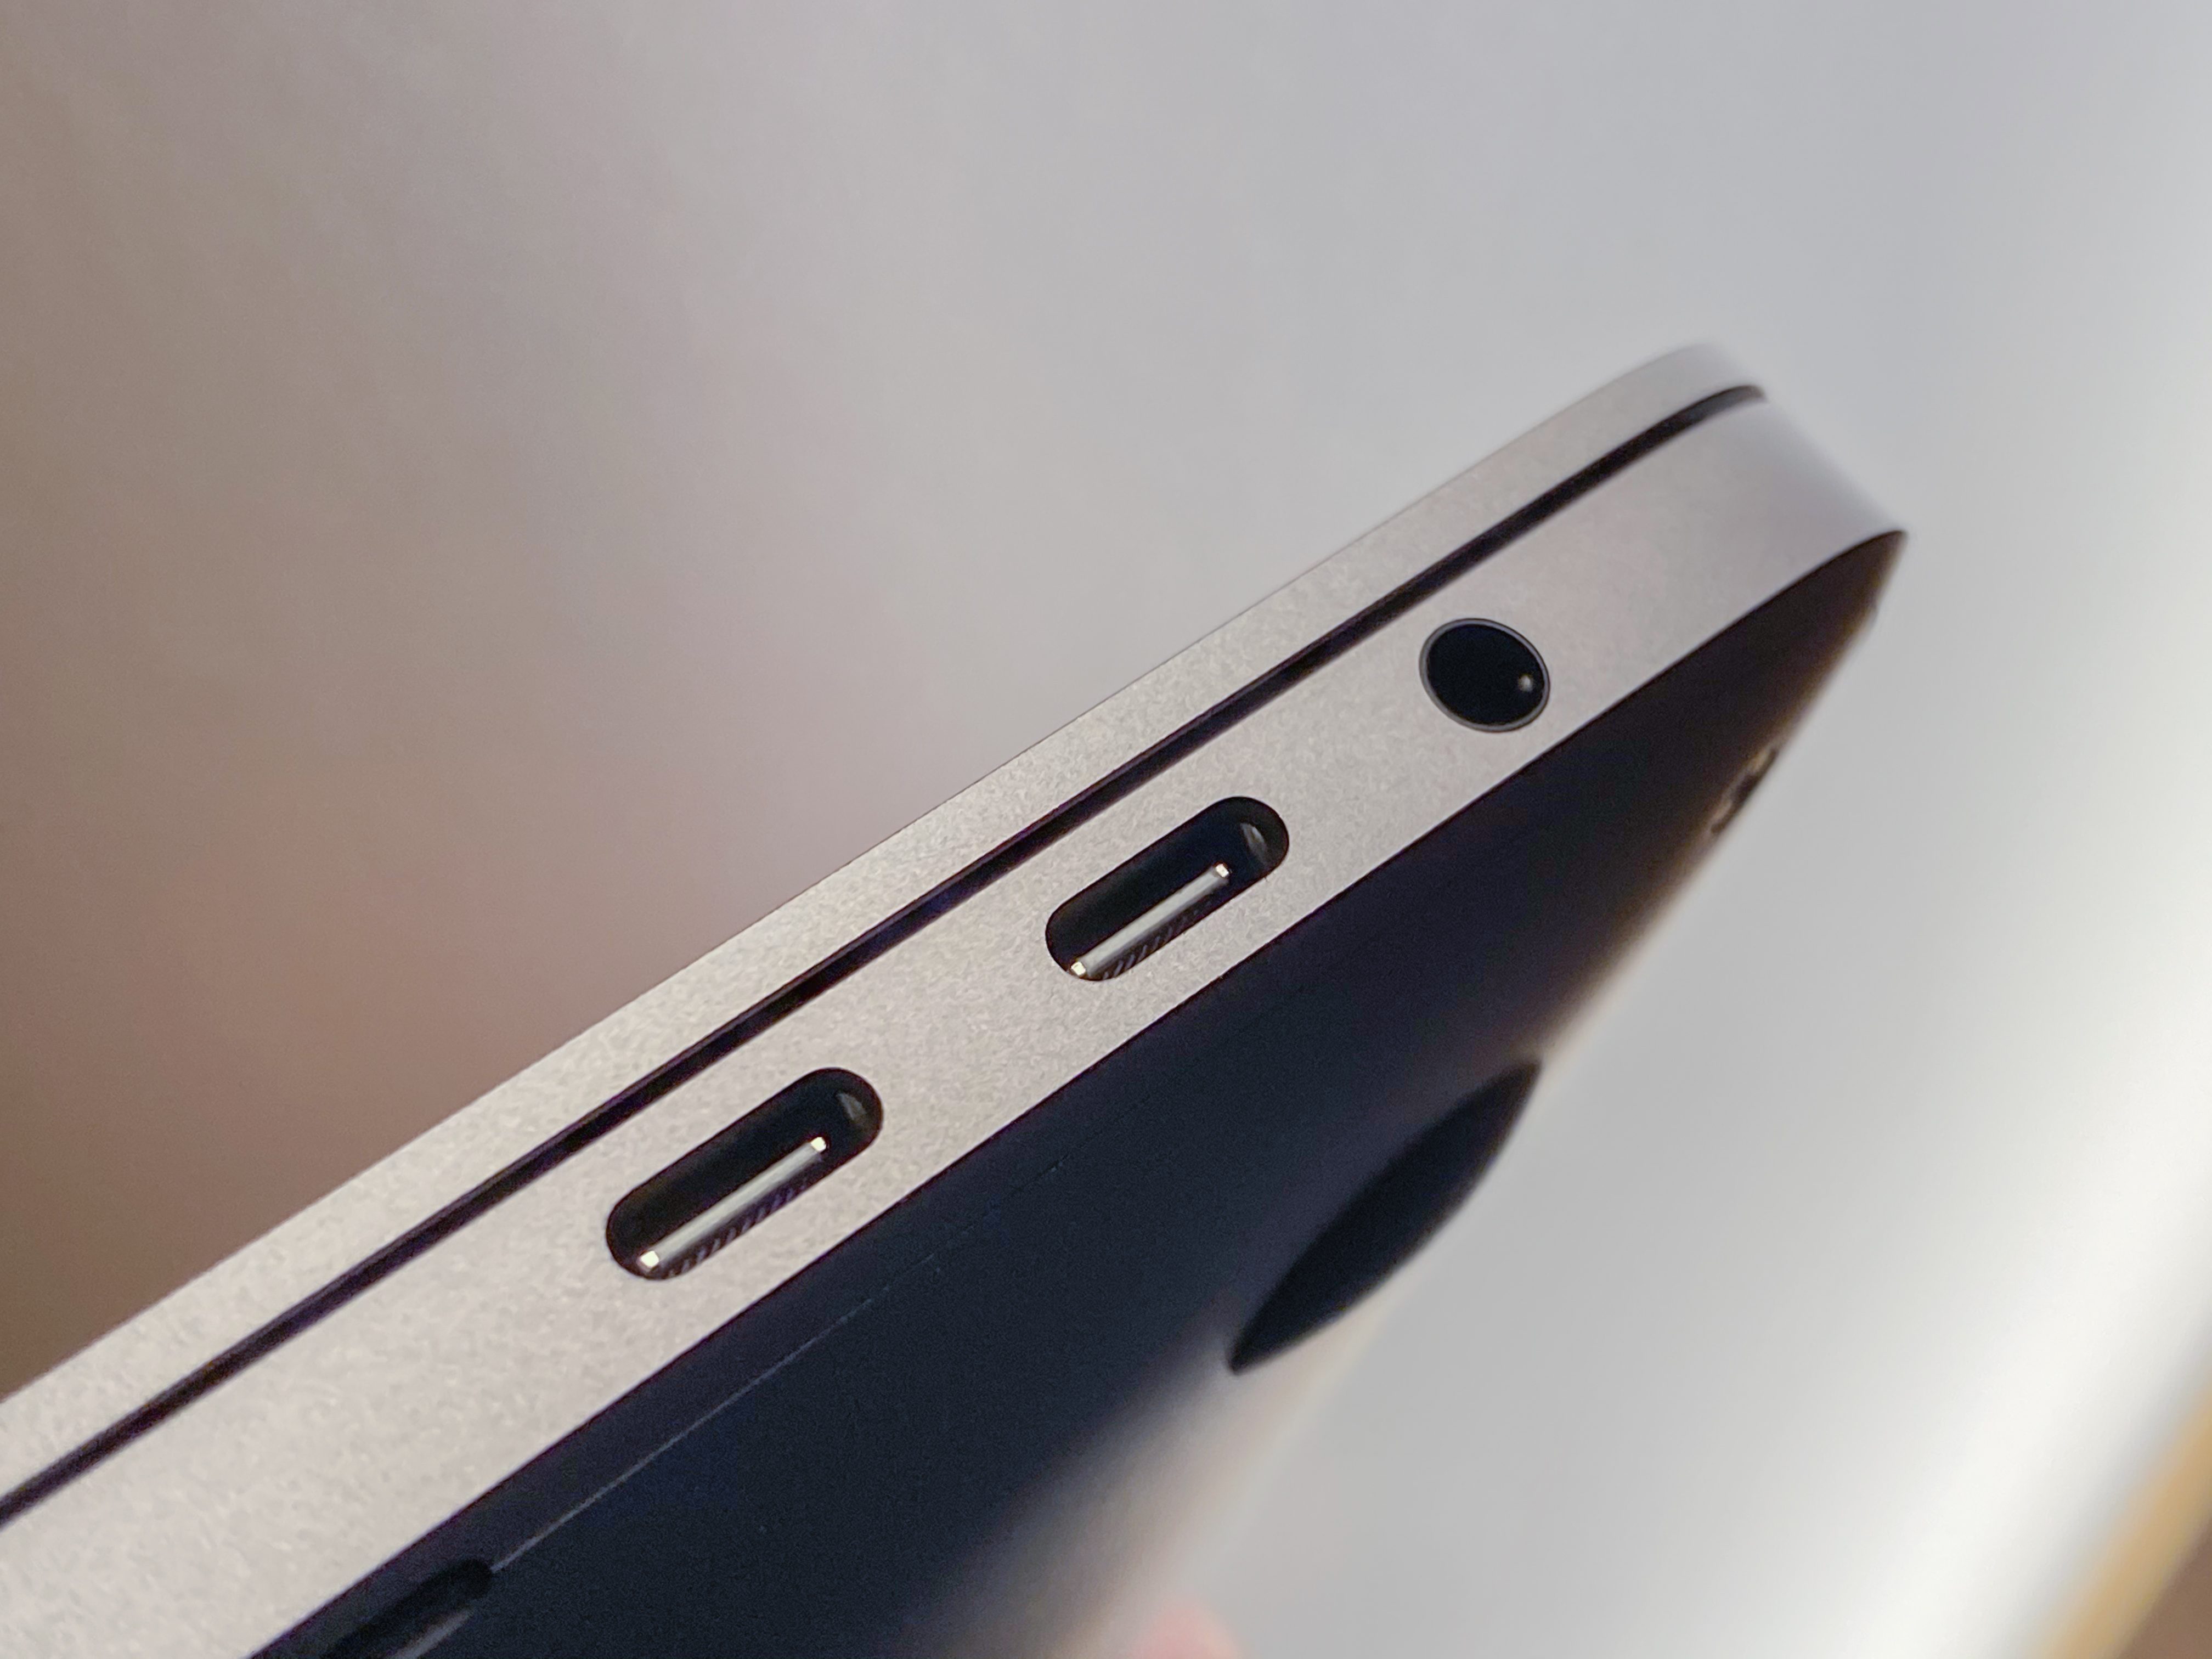
The standard graphics configuration in the i7 is an AMD Radeon Pro 5300M with 4GB of memory and an integrated Intel UHD graphics 630 chip. The system continues to use the dynamic handoff system that trades power for battery life on the fly.  


The i9 model will run $2,699 and comes with a 1TB drive. That’s a nice bump in storage for both models, into the range of very comfortable for most people. It rolls with an AMD Radeon Pro 5500M with 4GB of memory.

You can configure both models with an AMD Radeon Pro 5500M with 8GB of GDDR6 memory. Both models can also now get up to 8TB of SSD storage – which Apple says is the most on a notebook ever – and 64GB of 2666 DDR4 RAM but I’d expect those upgrades to be pricey.

The new power supply delivers an additional 12w of power and there is a new thermal system to compensate for that. The heat pipe that carries air in and out has been redesigned, there are more fan blades on 35% larger fans that move 28% more air compared to the 15” model. 

The fans in the MacBook Pro, when active, put out the same decibel level of sound, but push way more air than before. So, not a reduction in sound, but not an increase either — and the trade is better cooling. Another area where the design process for this MacBook focused on performance gains rather than the obvious sticker copy. 

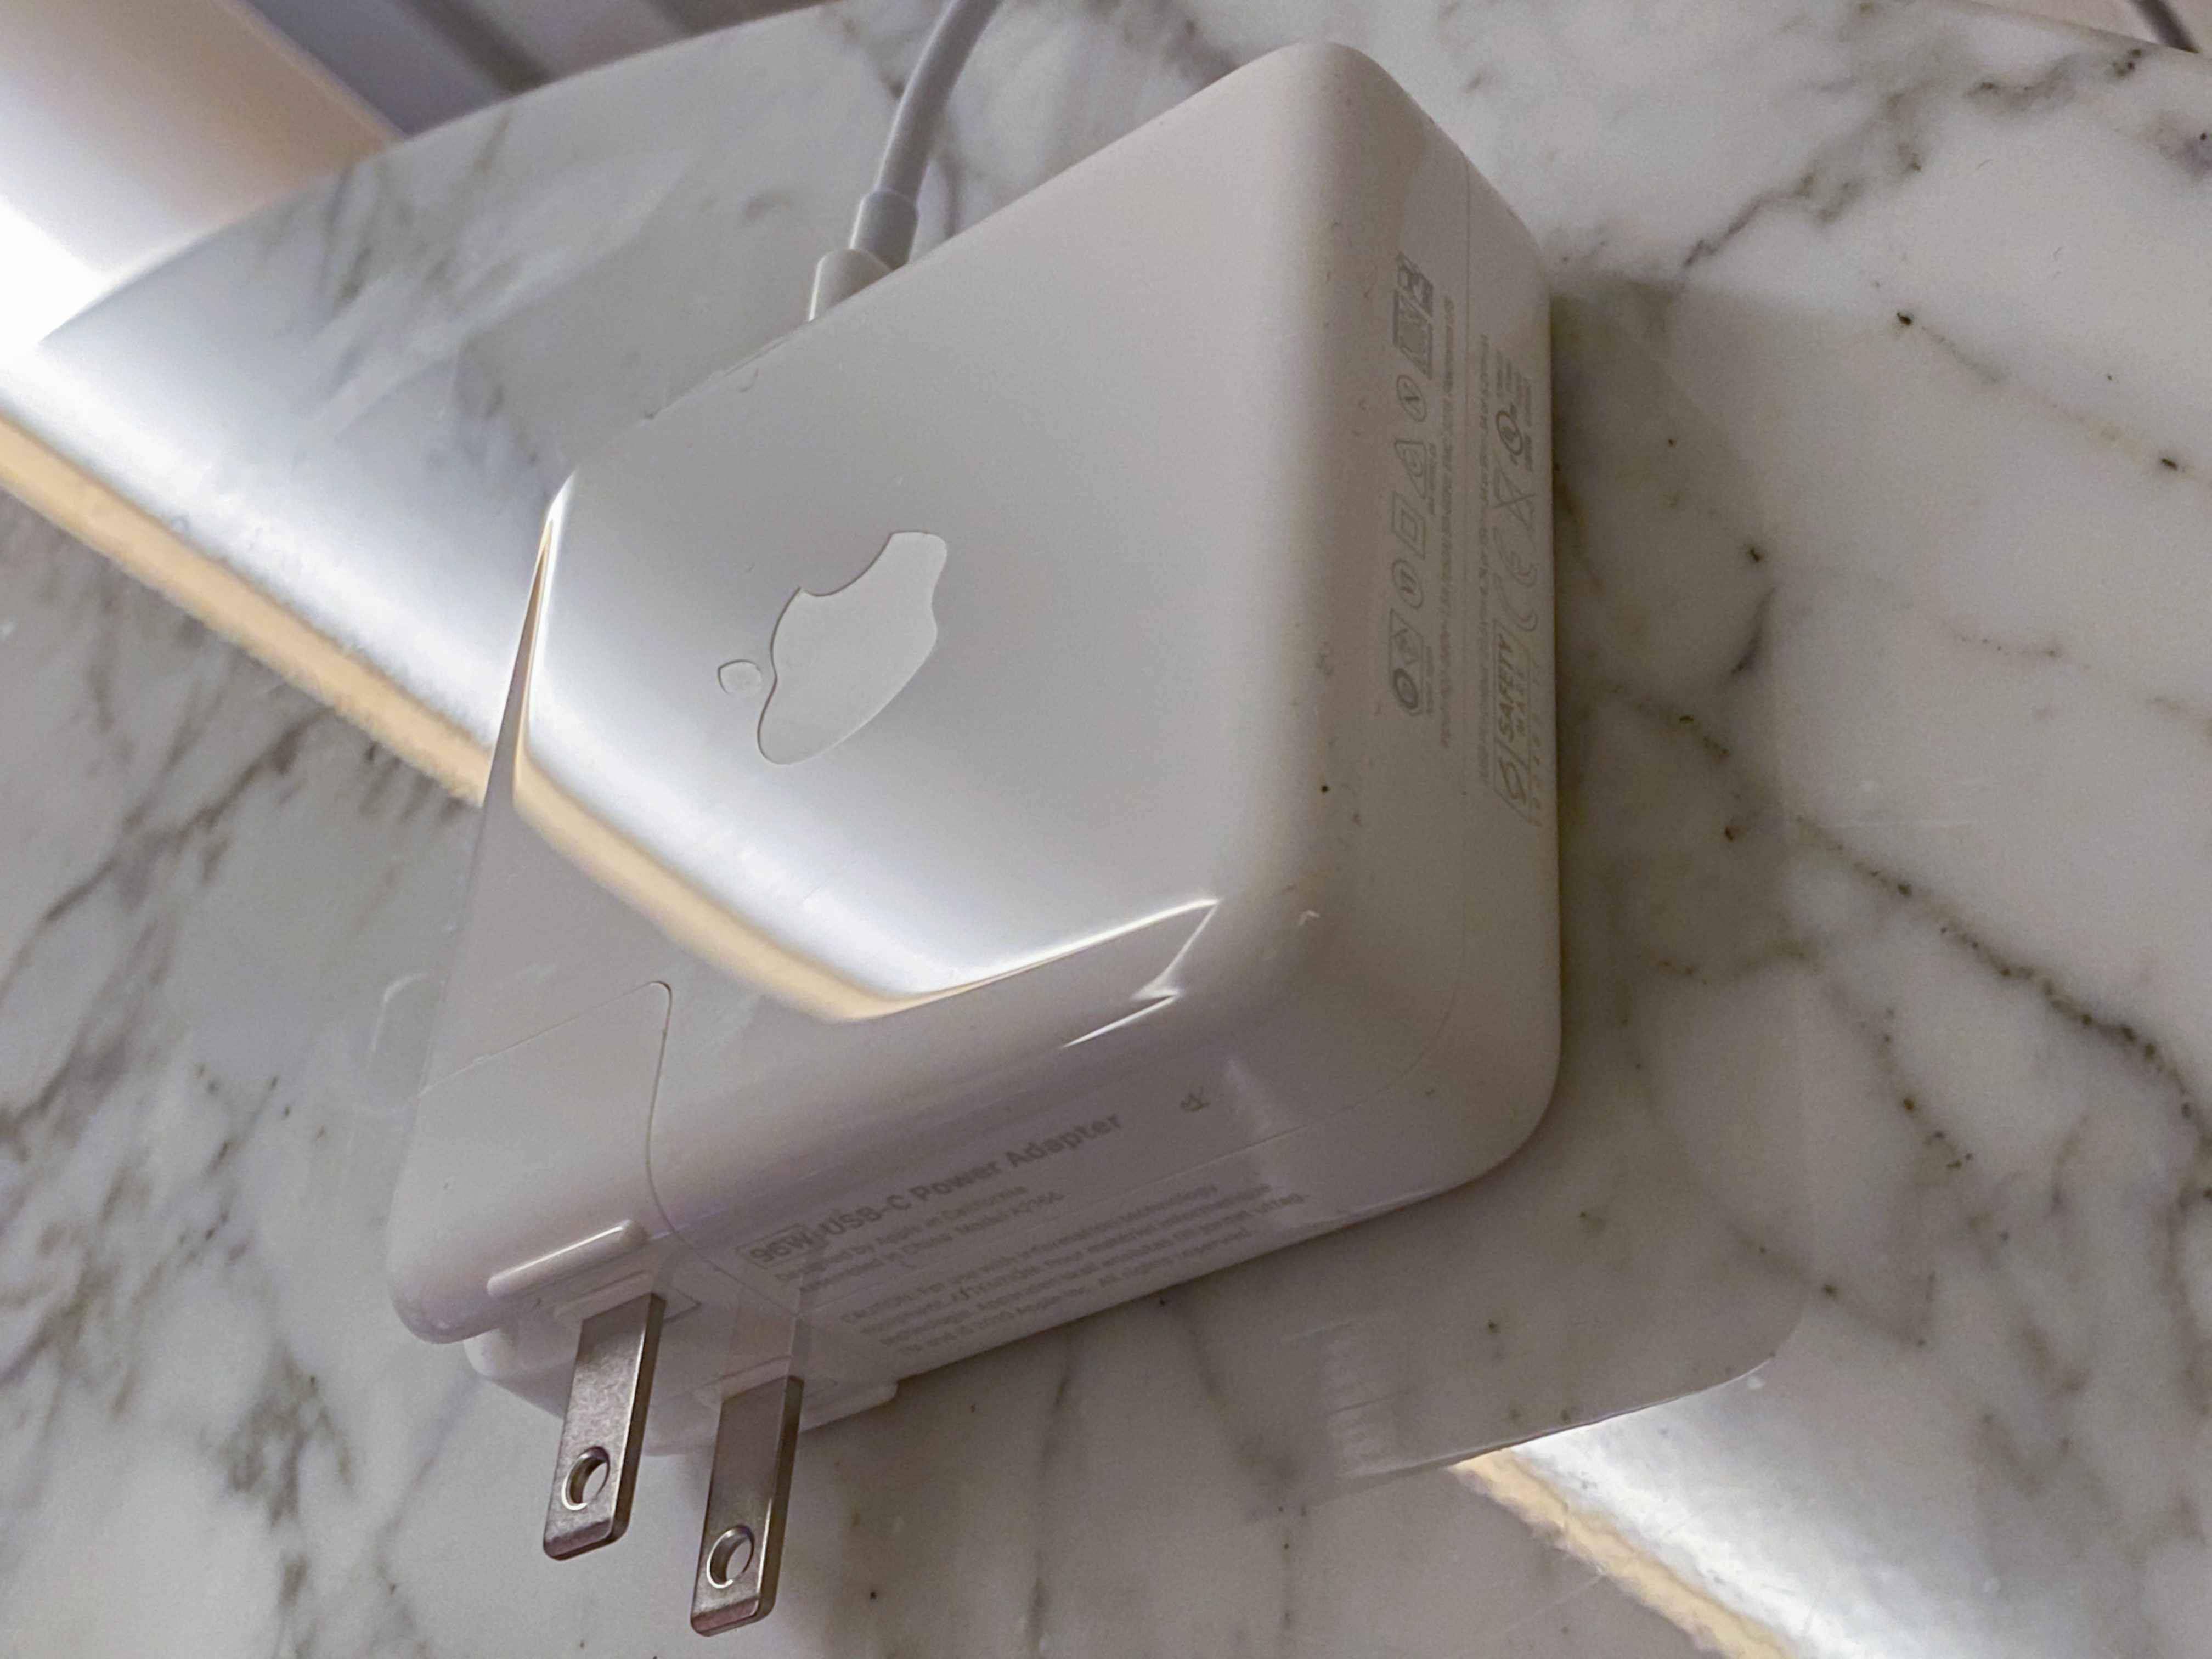
There’s also a new power brick which is the same physical size as the 15” MacBook Pro’s adapter, but which now supplies 96w up from 87w. The brick is still as chunky as ever and feels a tad heavier, but it’s nice to get some additional power out of it. 

Though I haven’t been able to put the MacBook Pro through any video editing or rendering tests I was able to see live demos of it handling several 8K streams concurrently. With the beefiest internal config Apple says it can usually handle as many as 4, perhaps 5 un-rendered Pro Res streams.

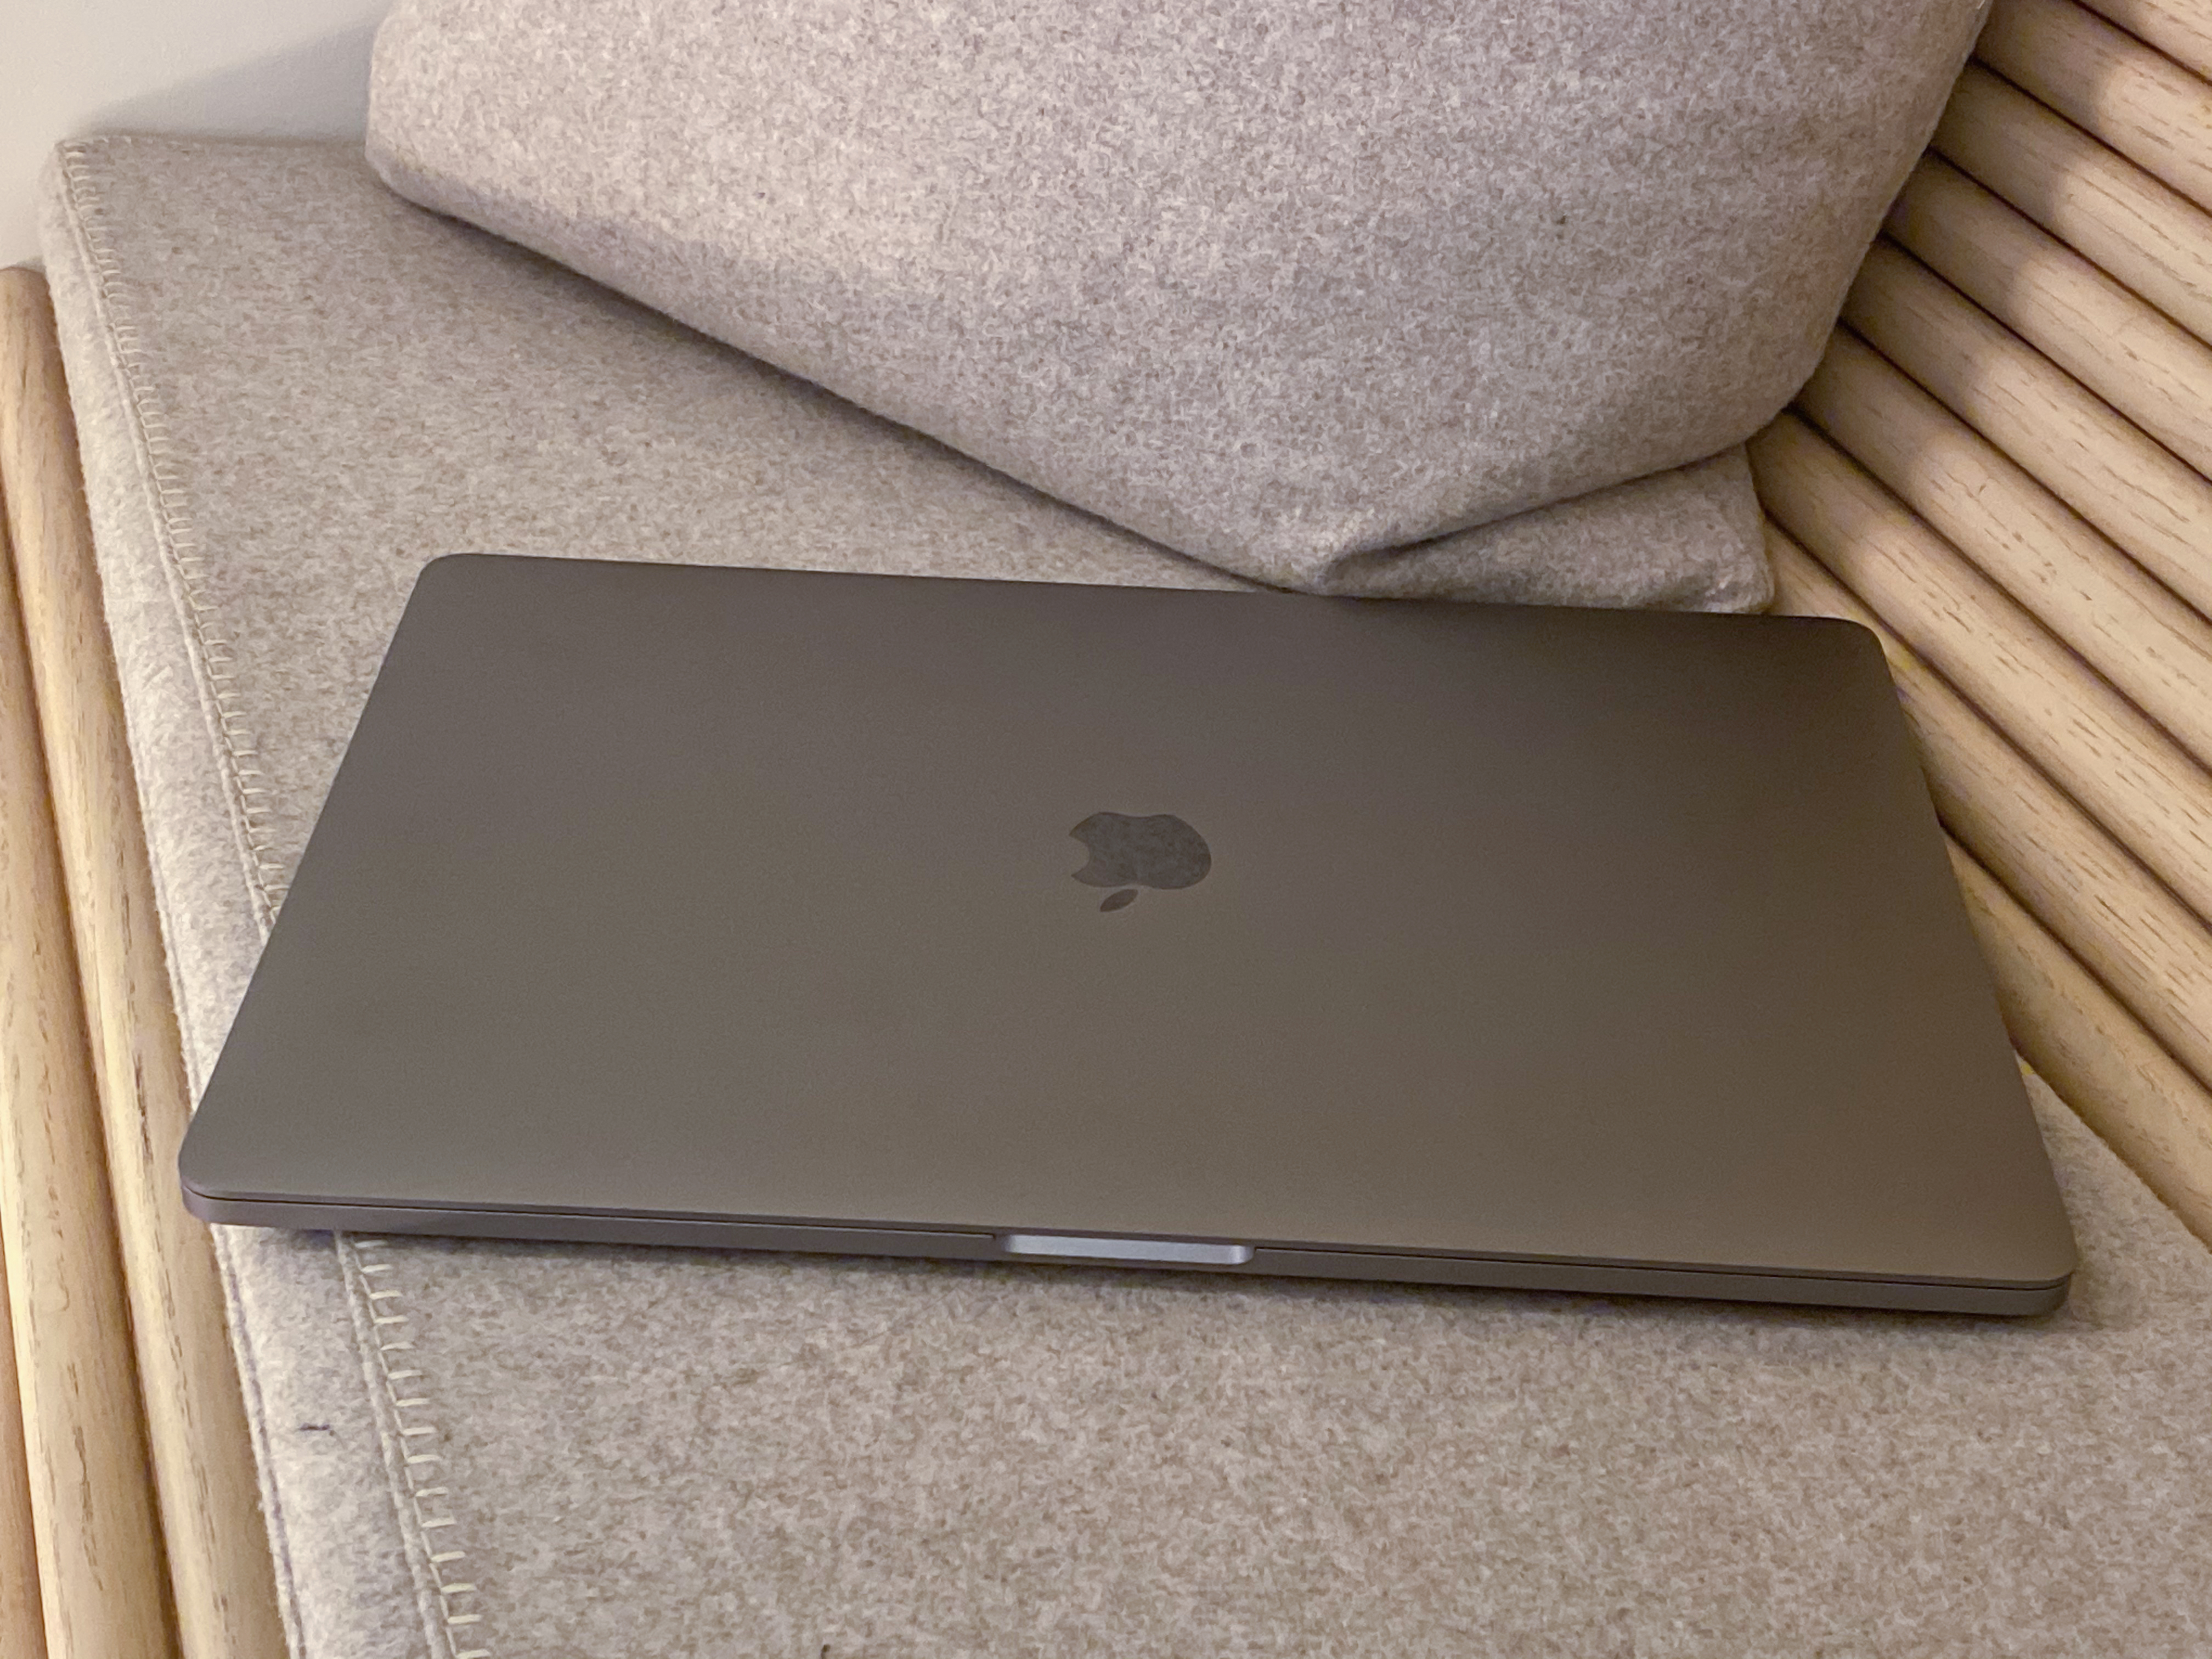
A bigger display, a thicker body

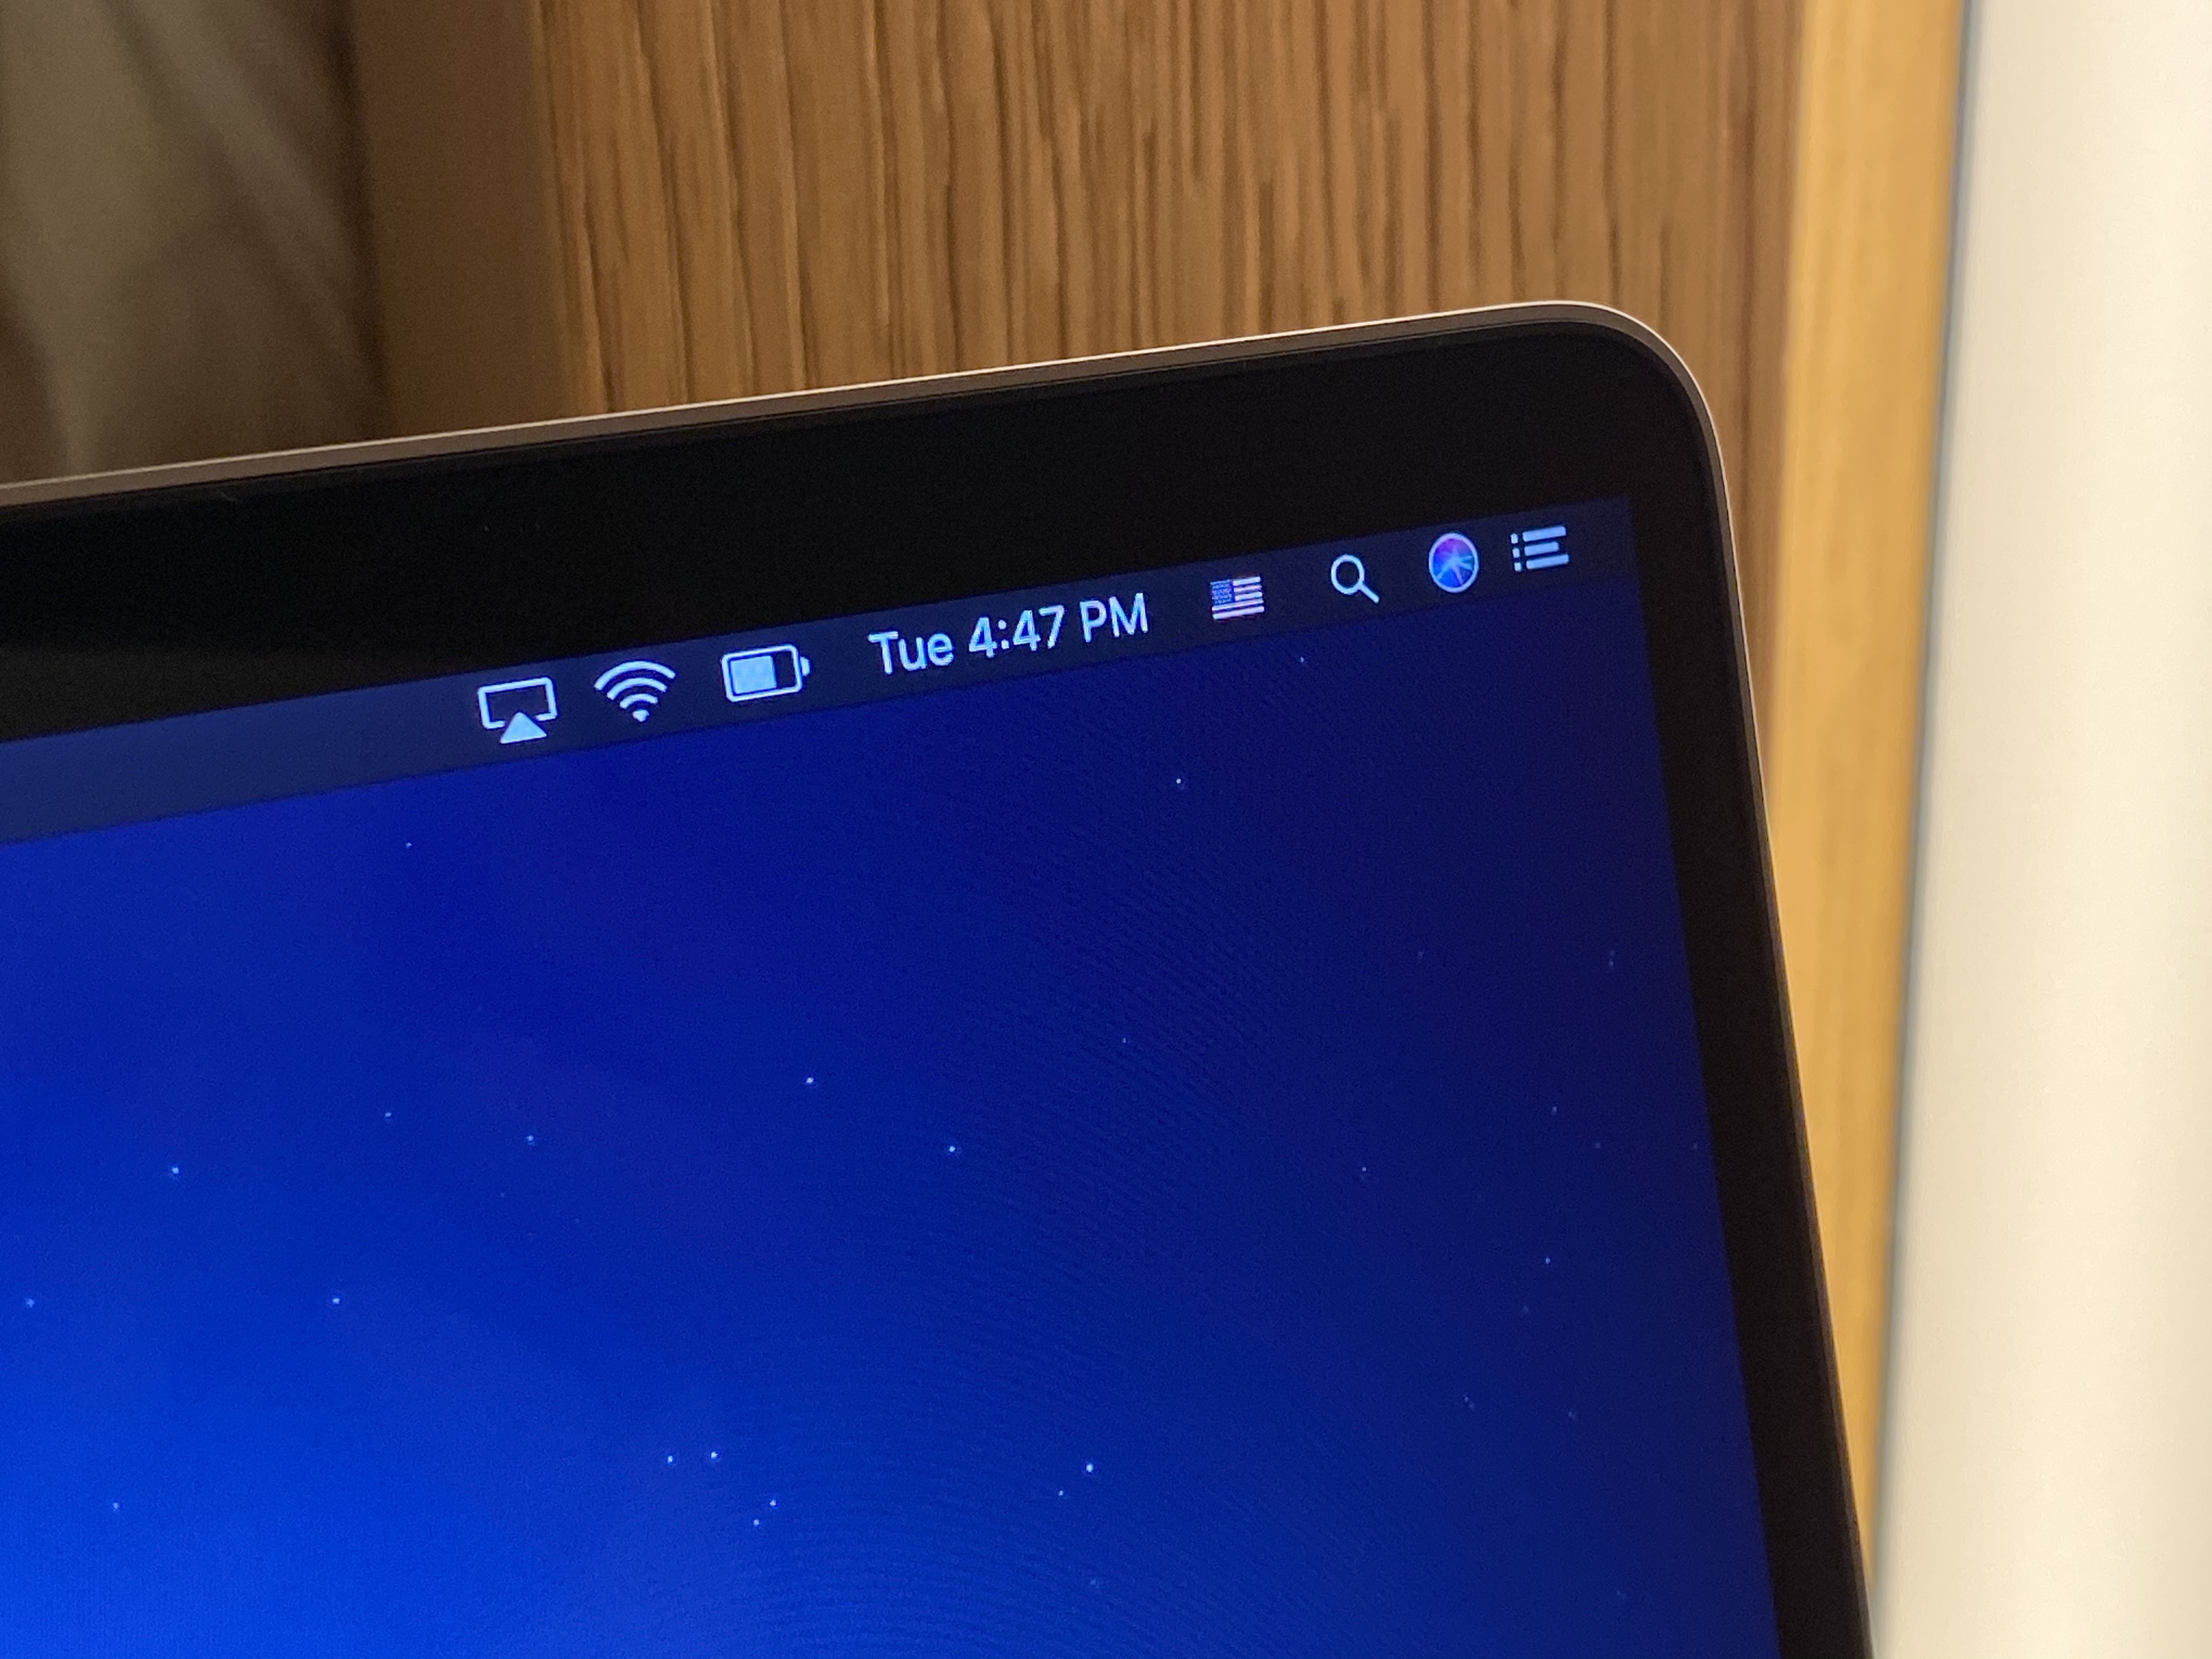
The new MacBook Pro has a larger 16” diagonal Retina display that has a 3072×1920 resolution at 226 ppi. The monitor features the same 500 nit maximum brightness, P3 color gamut and True Tone tech as the current 15”. The bezels of the screen are narrower, which makes it feel even larger when you’re sitting in front of it. This also contributes to the fact that the overall size of the new MacBook Pro is just 2% larger in width and height, with a .7mm increase in thickness. 

The overall increase in screen size far outstrips the increase in overall body size because of those thinner bezels. And this model is still around the same thickness as the 2015 15” MacBook Pro, an extremely popular model among the kinds of people who are the target market for this machine. It also weighs 4.3 lbs, heavier than the 4.02 lb current 15” model.

The display looks great, extremely crisp due to the increase in pixels and even more in your face because of the very thin bezels. This thing feels like it’s all screen in a way that matches the iPad Pro.

This thick boi also features a bigger battery, a full 100Whr, the most allowable under current FAA limits. Apple says this contributes an extra hour of normal operations in its testing regimen in comparison to the current 15” MacBook Pro. I have not been able to effectively test these claims in the time I’ve had with it so far. 

But it is encouraging that Apple has proven willing to make the iPhone 11 Pro and the new MacBook a bit thicker in order to deliver better performance and battery life. Most of these devices are pretty much thin enough. Performance, please.

Speakers and microphone

One other area where the 16” MacBook Pro has made a huge improvement is the speaker and microphone arrays. I’m not sure I ever honestly expected to give a crap about sound coming out of a laptop. Good enough until I put in a pair of headphones accurately describes my expectations for laptop sound over the years. Imagine my surprise when I first heard the sound coming out of this new MacBook and it was, no crap, incredibly good. 

The new array consists of six speakers arranged so that the subwoofers are positioned in pairs, antipodal to one another (back to back). This has the effect of cancelling out a lot of the vibration that normally contributes to that rattle-prone vibrato that has characterized small laptop speakers pretty much forever.

The speaker setup they have here has crisper highs and deeper bass than you’ve likely ever heard from a portable machine. Movies are really lovely to watch with the built-ins, a sentence I have never once felt comfortable writing about a laptop. 

Apple also vents the speakers through their own chambers, rather than letting sound float out through the keyboard holes. This keeps the sound nice and crisp, with a soundstage that’s wide enough to give the impression of a center channel for voice. One byproduct of this though is that blocking one or another speaker with your hand is definitely more noticeable than before.

The quality of sound here is really very, very good. The HomePod team’s work on sound fields apparently keeps paying dividends. 

That’s not the only audio bit that’s better now though, Apple has also put in a 3-mic array for sound recording that it claims has a high enough signal-to-noise ratio that it can rival standalone microphones. I did some testing here comparing it to the iPhone’s mic and it’s absolutely night and day. There is remarkably little hiss present here and artists that use the MacBook as a sketch pad for vocals and other recording are going to get a really nice little surprise here.

I haven’t been able to test it against external mics myself but I was able to listen to rigs that involved a Blue Yeti and other laptop microphones and the MacBook’s new mic array was clearly better than any of the machines and held its own against the Yeti. 

The directional nature of many podcast mics is going to keep them well in advance of the internal mic on the MacBook for the most part, but for truly mobile recording setups the MacBook mic just went from completely not an option to a very viable fallback in one swoop. It really has to be listened to in order to get it. 

I doubt anyone is going to buy a MacBook Pro for the internal mic, but having a ‘pro level’ device finally come with a pro level mic on board is super choice. 

I think that’s most of it, though I feel like I’m forgetting something…

Oh right, the Keyboard

Ah yes. I don’t really need to belabor the point on the MacBook Pro keyboards just not being up to snuff for some time. Whether you weren’t a fan of the short throw on the new butterfly keyboards or you found yourself one of the many people (yours truly included) who ran up against jammed or unresponsive keys on that design — you know that there has been a problem.

The keyboard situation has been written about extensively by Casey Johnston and Joanna Stern and complained about by every writer on Twitter over the past several years. Apple has offered a succession of updates to that keyboard to attempt to make it more reliable and has extended warranty replacements to appease customers. 

But the only real solution was to ditch the design completely and start over. And that’s what this is: a completely new keyboard.

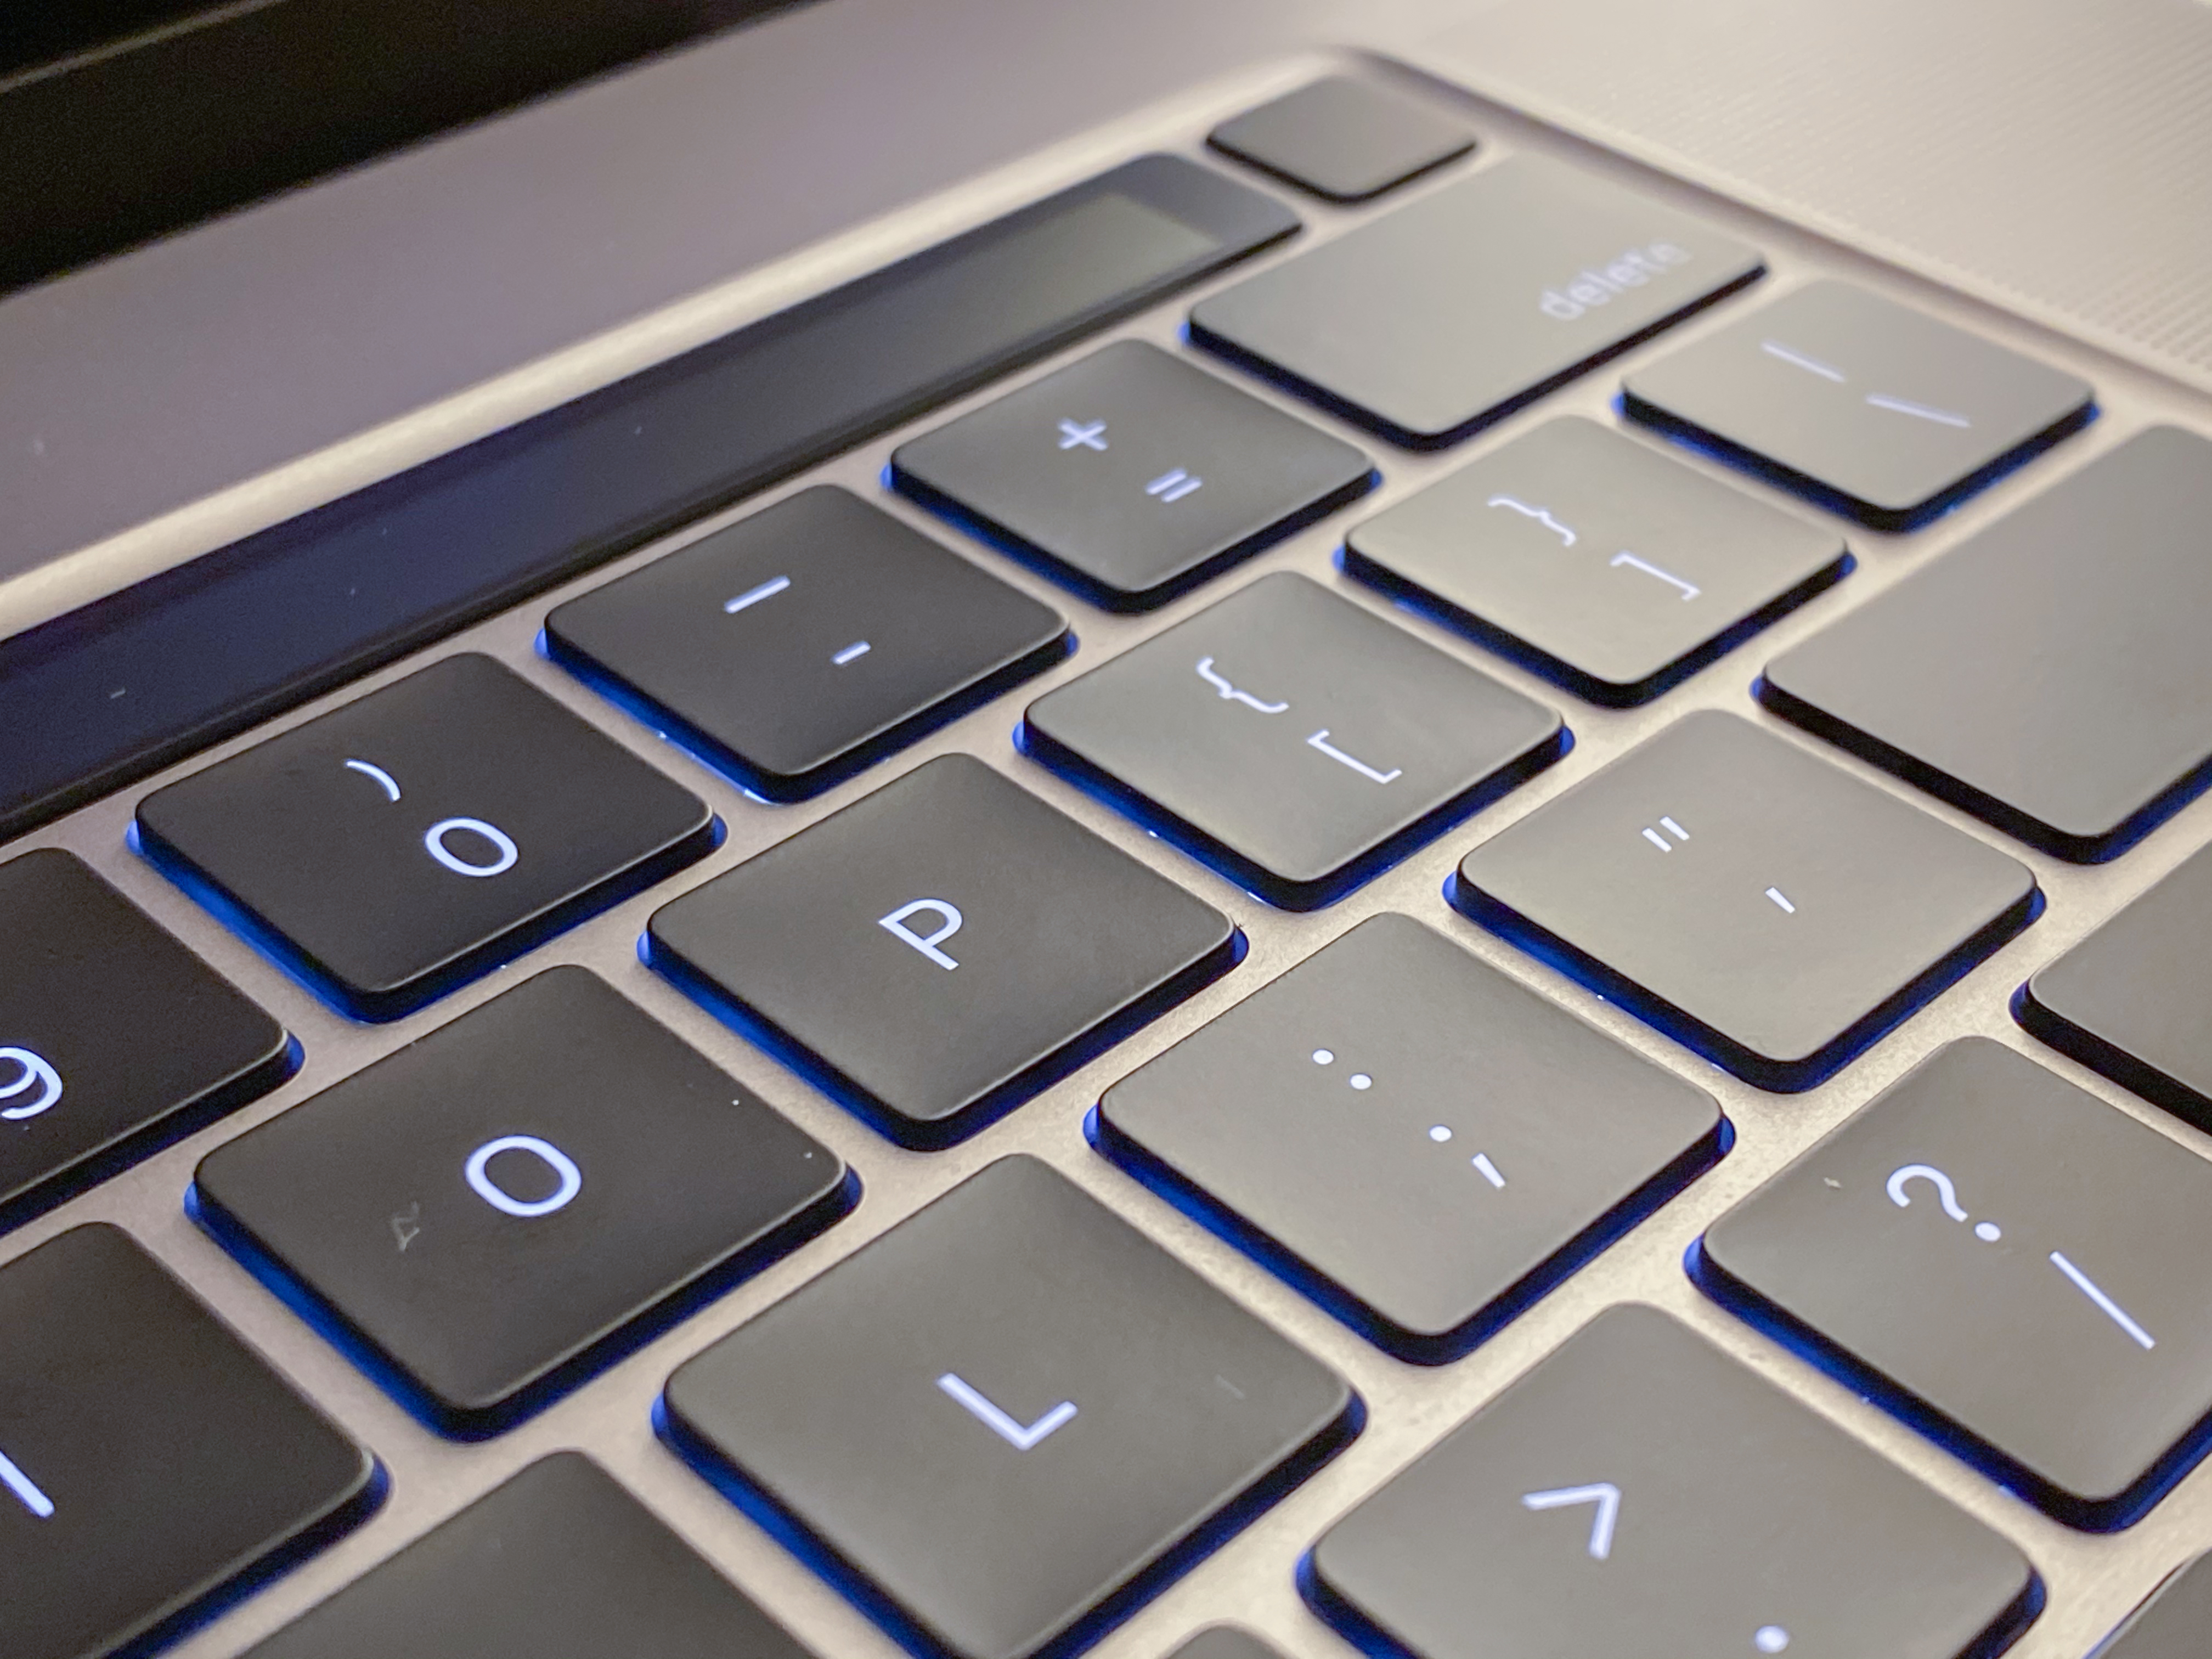
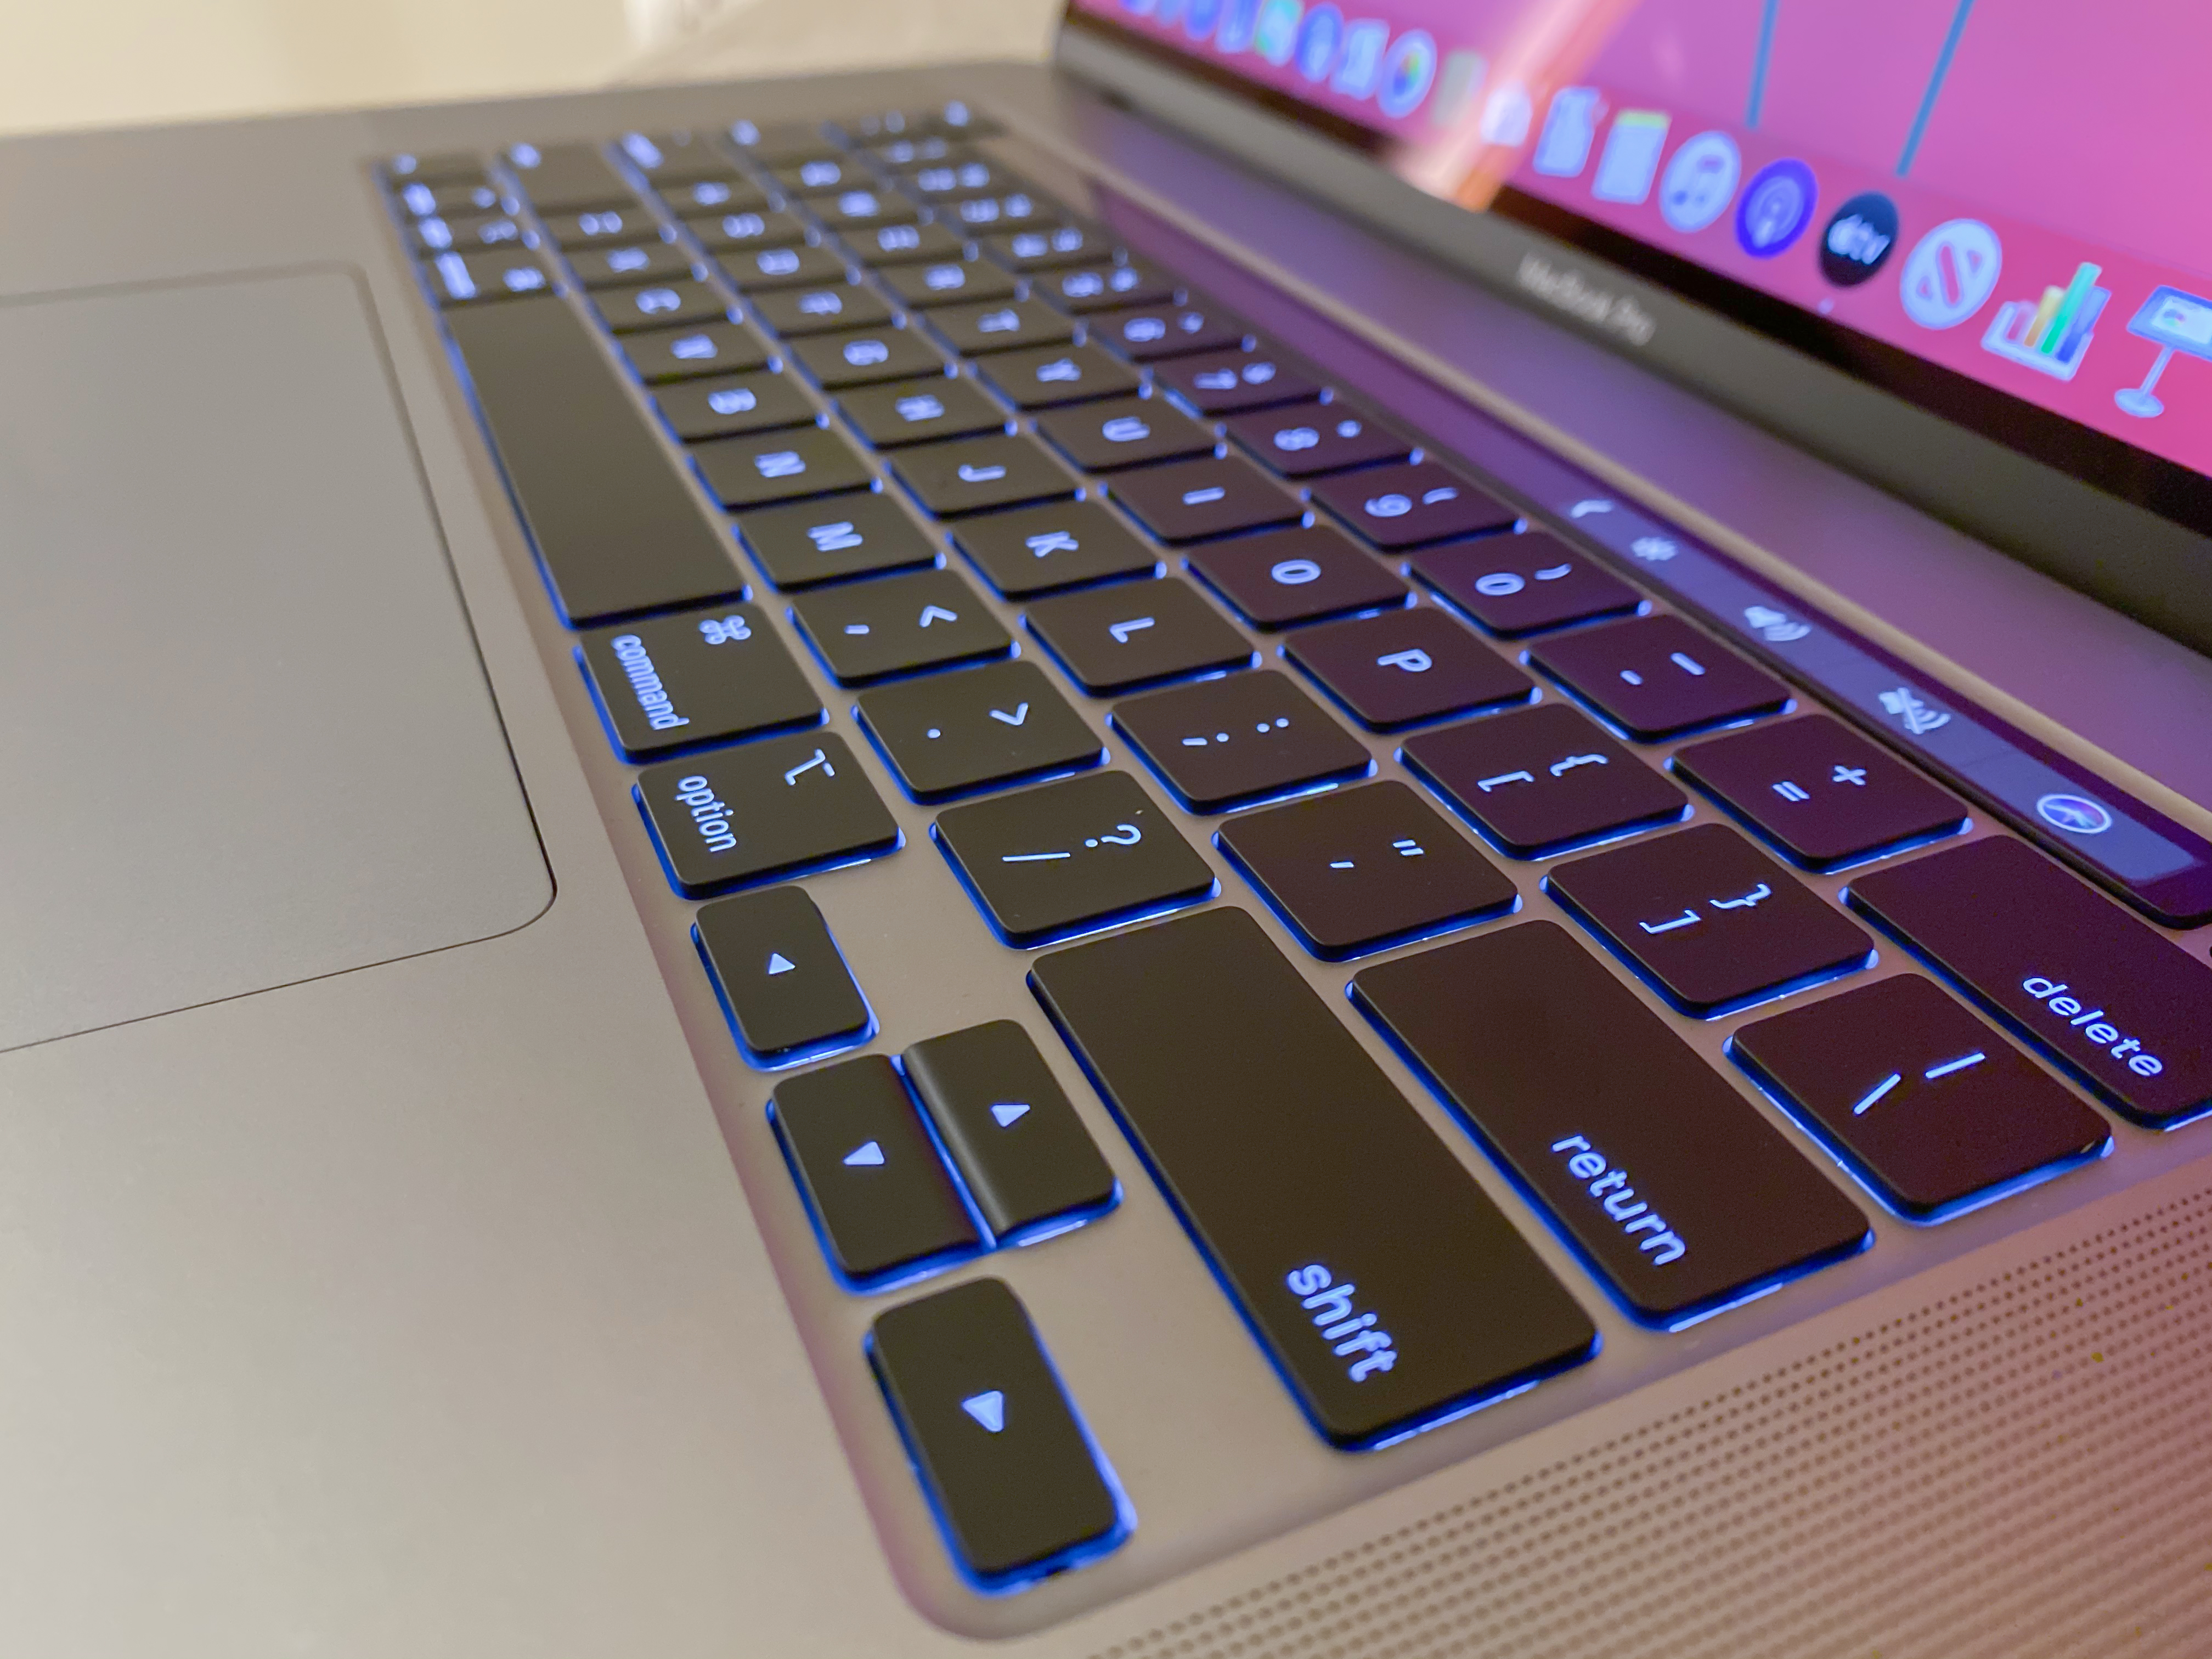
Apple is calling it the Magic Keyboard in homage to the iMac’s Magic Keyboard (but not identically designed). The new keyboard is a scissor mechanism, not butterfly. It has 1mm of key travel (more, a lot more) and an Apple-designed rubber dome under the key that delivers resistance and springback that facilitates a satisfying key action. The new keycaps lock into the keycap at the top of travel to make them more stable when at rest, correcting the MacBook Air-era wobble. 

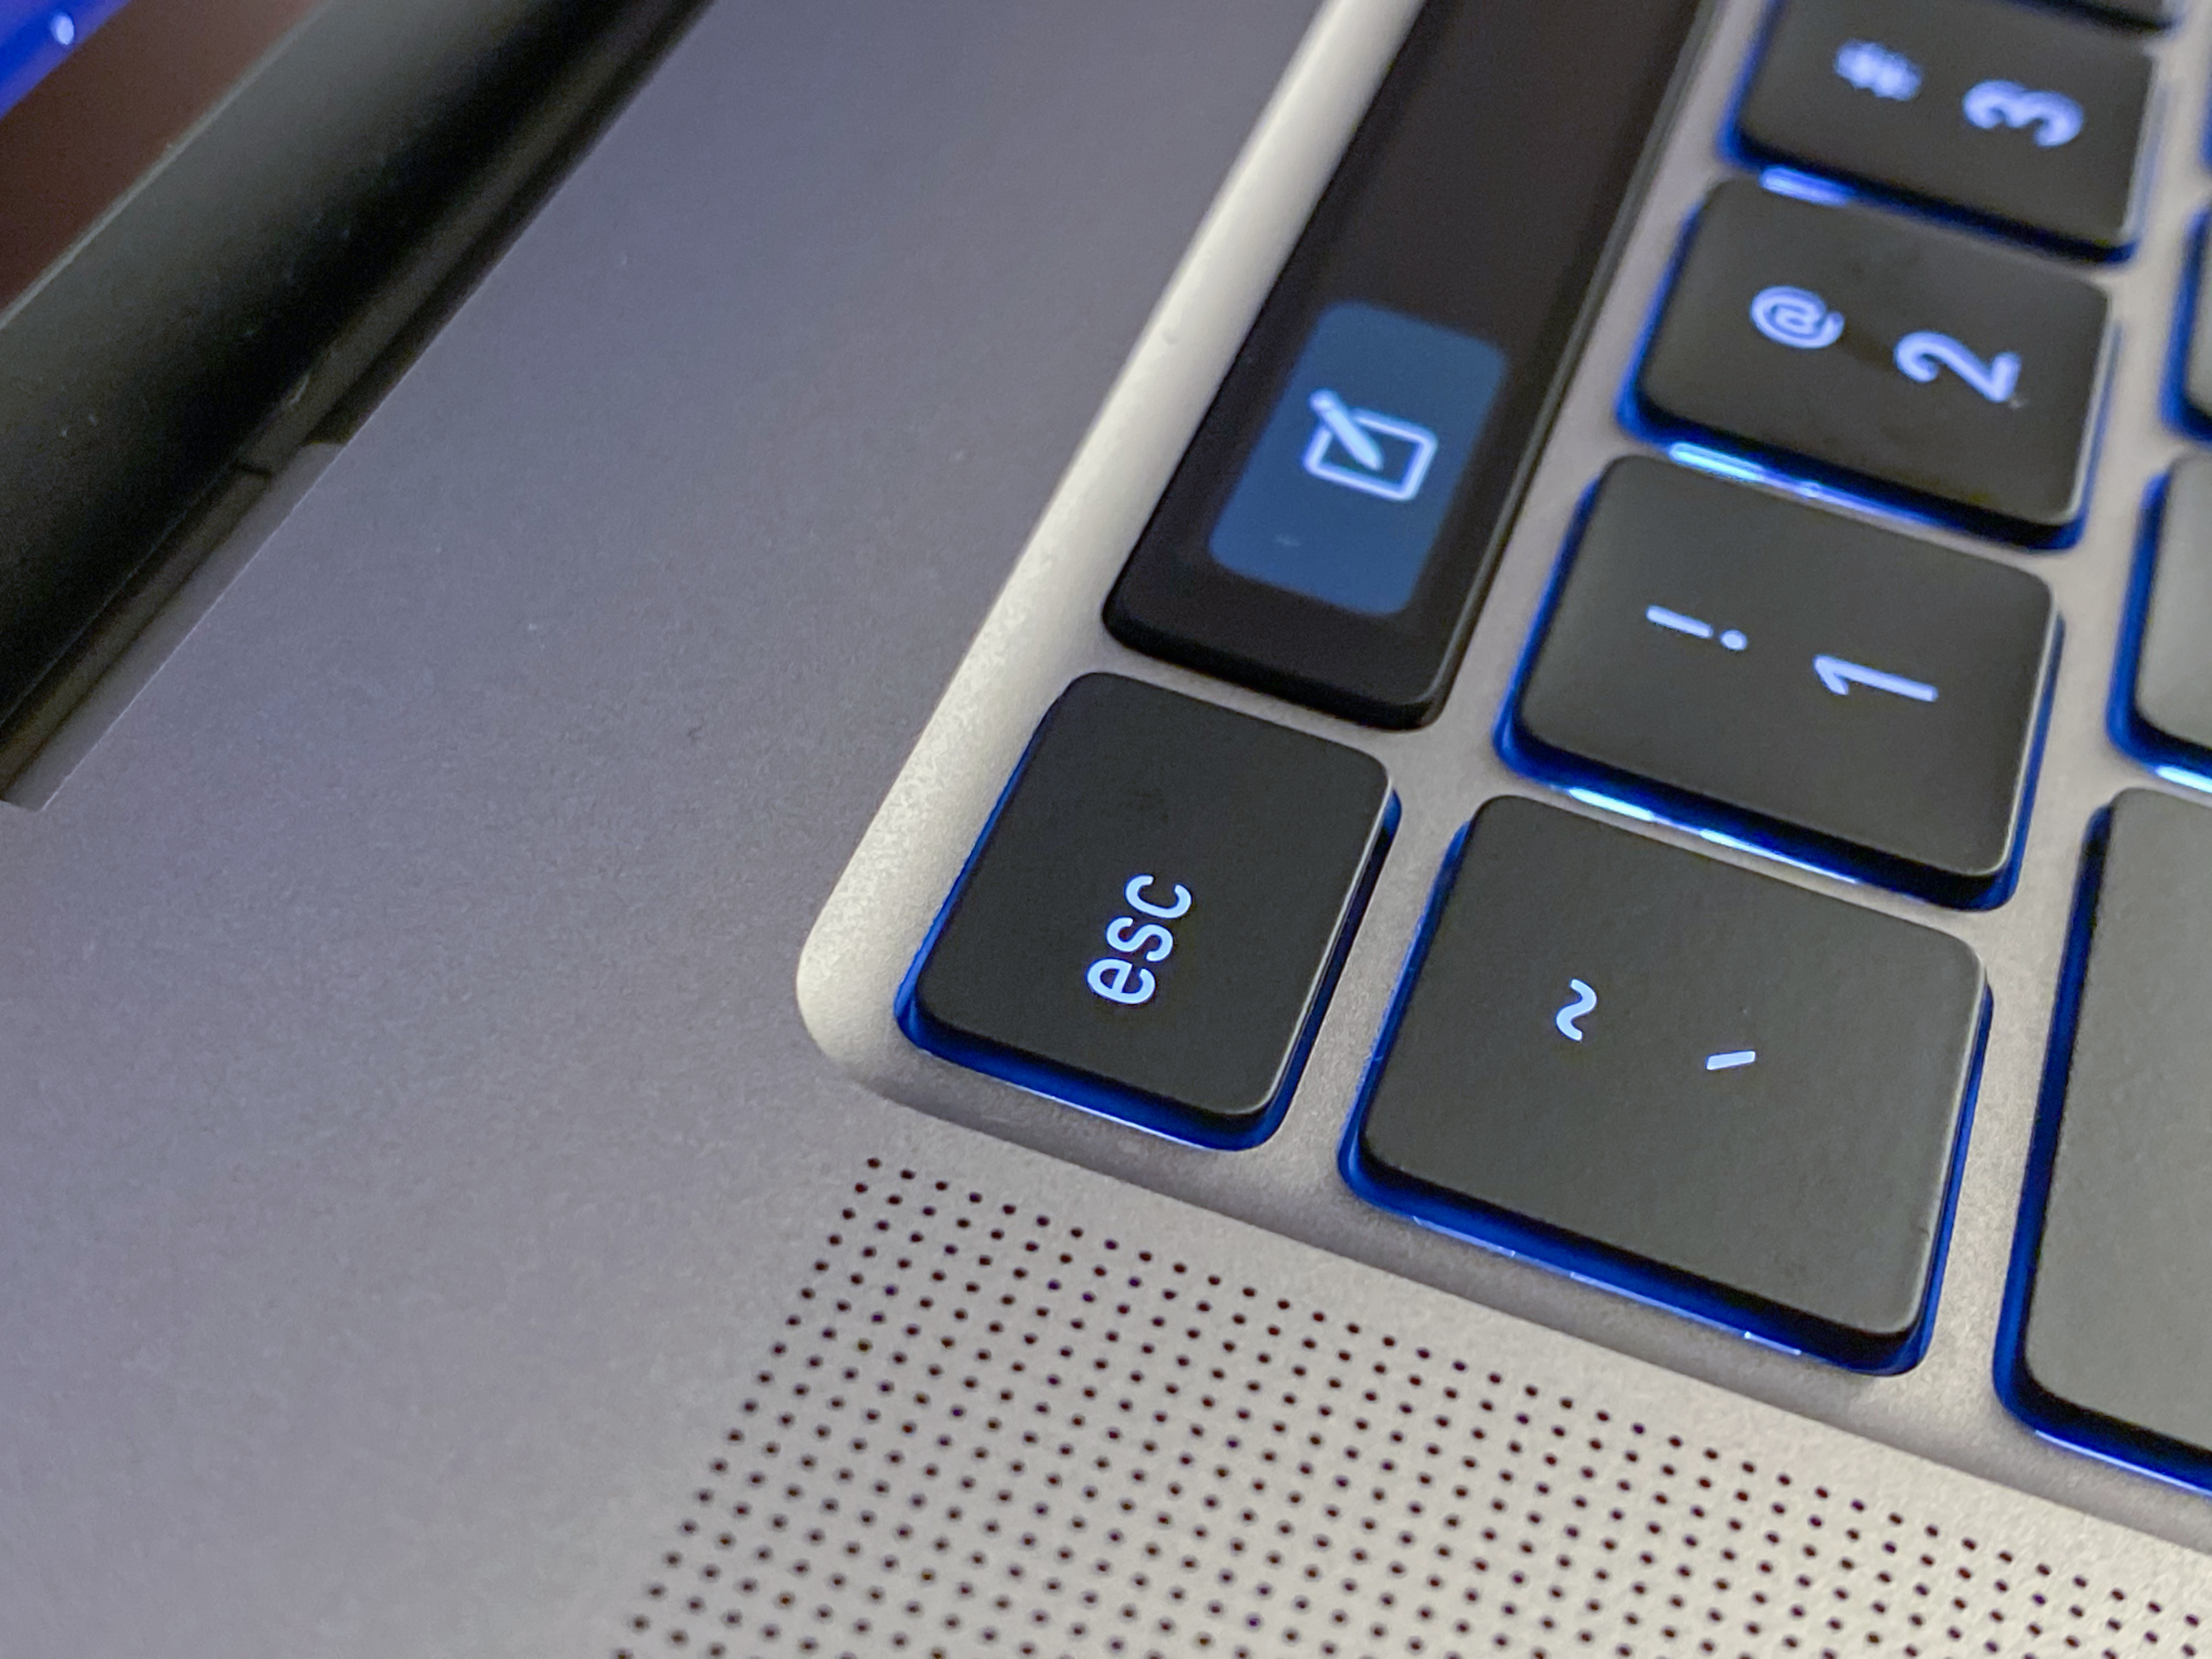
And yes, the keycaps can be removed individually to gain access to the mechanism underneath. And yes, there is an inverted-T arrangement for the arrow keys. And yes, there is a dedicated escape key.

Apple did extensive physiological research when building out this new keyboard. One test was measuring the effect of a keypress on a human finger. Specifically, they measured the effect of a key on the pacinian corpuscles at the tips of your fingers. These are onion-esque structures in your skin that house nerve endings and they are most sensitive to mechanical and vibratory pressure. 

Apple then created this specialized plastic dome that sends a specific vibration to this receptor making your finger send a signal to your brain that says ‘hey you pressed that key.’ This led to a design that gives off the correct vibration wavelength to return a satisfying ‘stroke completed’ message to the brain.

There is also more space between the keys, allowing for more definitive strokes. This is because the keycaps themselves are slightly smaller. The spacing does take some adjustment, but by this point in the article I am already getting pretty proficient and am having more grief from the autocorrect feature of Catalina than anything else. 

Notably, this keyboard is not in the warranty extension program that Apple is applying to its older keyboard designs. There is a standard 1 year warranty on this model, a statement by the company that they believe in the durability of this new design? Perhaps. It has to get out there and get bashed on by more violent keyboard jockeys than I for a while before we can tell whether it’s truly more resilient. 

But does this all come together to make a more usable keyboard? In short, yes. The best way to describe it in my opinion is a blend between the easy cushion of the old MacBook Air and the low profile stability of the Magic Keyboard for iMac. It’s truly one of the best feeling keyboards they’ve made in years and perhaps ever in the modern era. I reserve the right to be nostalgic about deep throw mechanical keyboards in this regard, but this is the next best thing. 

Pro, or Pro

In my brief and admittedly limited testing so far, the 16” MacBook Pro ends up looking like it really delivers on the Pro premise of this kind of machine in ways that have been lacking for a while in Apple’s laptop lineup. The increased storage caps, bigger screen, bigger battery and redesigned keyboard should make this an insta-buy for anyone upgrading from a 2015 MacBook Pro and a very tempting upgrade for even people on newer models that have just never been happy with the typing experience. 

Many of Apple’s devices with the label Pro lately have fallen into the bucket of ‘the best’ rather than ‘for professionals’. This isn’t strictly a new phenomenon for Apple, but more consumer centric devices like the AirPods Pro and the iPhone Pro get the label now than ever before. 

But the 16” MacBook Pro is going to alleviate a lot of the pressure Apple has been under to provide an unabashedly Pro product for Pro Pros. It’s a real return to form for the real Mack Daddy of the laptop category. As long as this new keyboard design proves resilient and repairable I think this is going to kick off a solid new era for Apple portables.


Read Full Article

These sneakers vibrate


Sometimes it seems like you can hear a song all the way in your toes. With these new sneakers, you actually can.

Meet the new EP 01 sneakers out of DropLabs. Yes, you read that right. We’re talking about sneakers.

Invented by a man named Ross Seiler, and led by former Beats by Dre CEO Susan Paley, DropLabs aims to take audio to a whole new level by syncing music, movies and other audio to shoes that vibrate the soles of your feet.

It started when Seiler, who works in the music industry, was standing in a side room at a recording studio while a band was recording. He could feel every beat and low note in the song in his feet while standing over this particular patch of floor, and wanted to experience all music like that, as though he could feel the energy of the stage itself.

Eventually, Paley signed on as CEO of DropLabs and the EP 01 was born.

The EP 01 is a slightly chunky sneaker that’s equipped with Bluetooth, a speaker-grade transducer, and a power source to sync with almost any audio. As a movie or music or video game plays, the sneaker picks up the audio and sends it as a perfectly synced vibration right to the soles of your feet. For big, thunderous steps of a T-Rex in Jurassic World, the vibrations are heavy and full. For the pitter patter of the townspeoples’ footsteps in Red Dead Redemption II, the vibrations are light and muted.

What’s more, the vibrations are slightly directional. Noise that’s coming from the right vibrates on the right, and vice versa, which can be particularly impactful while playing video games.

Indeed, Paley sees gaming as a huge opportunity to enter the market. Audio, and particularly good directional audio, is incredibly important for gamers who compete at a high level. The growth of esports has allowed a number of brands to emerge as the “X for gamers”, not least of which being energy drinks.

DropLabs has an opportunity to market to gamers, offering a more immersive experience across their games and potentially even a competitive advantage.

Paley explained to TechCrunch that the brain actually functions at a higher level when three or more of the senses are engaged. Feeling something, alongside hearing and seeing it, flips a switch when it comes to processing information.

For this reason, Paley sees a huge potential to target gamers as an early demographic, particularly big name streamers and gaming influencers.

In fact, DropLabs has given the shoes to various researchers and universities around the country to learn more about how these shoes might be used. After meeting with them, Paley believes that there are applications that extend well beyond entertainment and into the health space.

I got a chance to try on the shoes and play around with them for a little while last week, and while I’d like to reserve my complete thoughts for a proper review, it goes without saying that wearing the shoes surely leaves an impression.

[gallery ids="1911372,1911373,1911374,1911375,1911376"]

But the EP 01 have challenges ahead.

For one, the shoes cost upwards of $549. It’s a mighty high price point for a gadget that most folks will need to try before they feel committed to buying.

“Whenever you create a new category and a new product, you have the challenge of asking consumers to change their behavior,” said Paley. “And this, in particular, is so visceral. How do you communicate viscerally what is an emotional experience? You can talk about it, but it’s very different to put someone in the shoe.”

The EP 01 must also find their place in a category that’s defined by fashion and personal style. Our shoes say something about us, and for now, the EP 01 comes in one style and one color (black). It’s as universal a shoe as it can be, considering all the electronics packed in there, but it doesn’t leave customers many options to change up their own look.

Of course, DropLabs is deep in the learning phase, soaking up as much information about its first-gen sneaker as possible as it looks to iterate for v2.

The EP 01 is available for pre-order now, and DropLabs has plans to launch pop-up shops and other IRL experiences for folks interested in the shoes.


Read Full Article