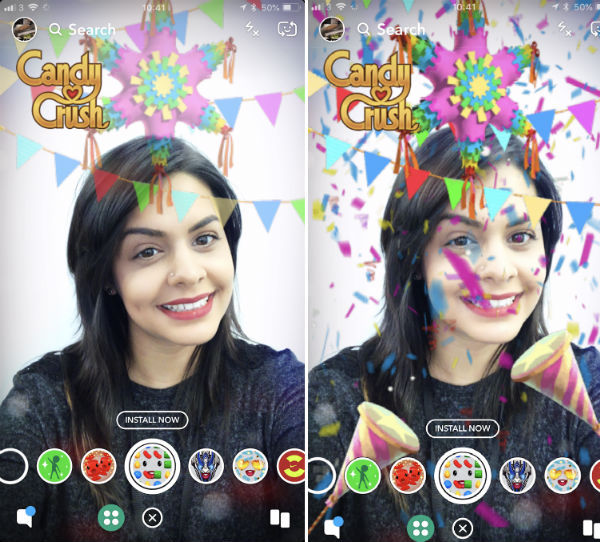
Snapchat remains one of the most popular multimedia messaging apps on the planet. Although some millenials aren’t fans of Snapchat. The launch of “geofilters” in 2014 is one of the reasons Snapchat boasts 187 million daily active users.
With Snapchat geofilters, you can put artwork, names, logos, and other designs over messages in the app. In a unique twist, Snapchat geofilters only work in specific locations and are often only available for a limited time.
In recent years, Snapchat filtering uses has been dramatically expanded. Today, you can submit filters to represent birthdays, weddings, parties, and much more. These filters cost money and can be expensive, depending on the size of the location you wish to see the filter run.
In this article, you’ll learn all about how to make a Snapchat filter using the new geofilters feature.
How to Make a Snapchat Filter
Any Snapchat user can submit a filter for approval. At the time of this writing, they take two forms: custom and community.
Snapchat is an excellent resource for your workplace, and paid custom filters (sometimes called on-demand filters) can be used to show off your business or celebrate a special event, such as a wedding or birthday, etc.
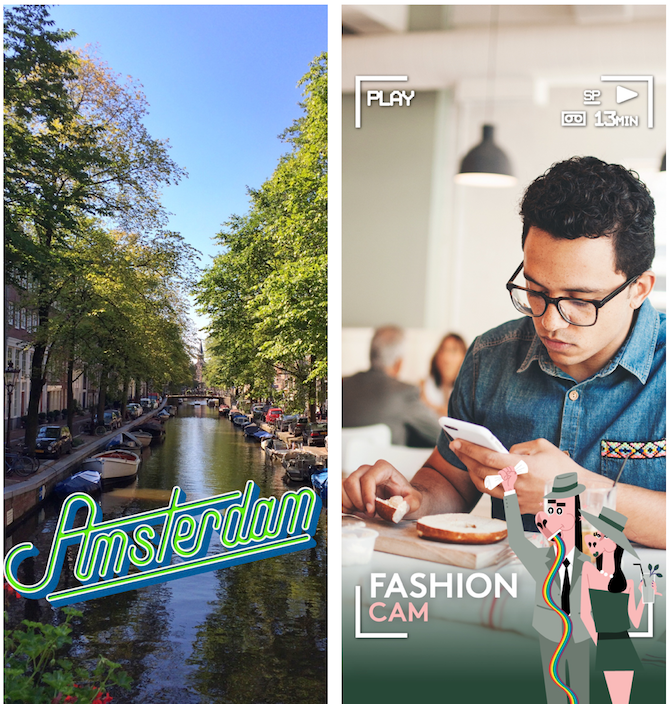
Free community filters are intended to represent a location (city, university, landmark, or another public place) or moment (sports game, shopping, etc.)
You can create a Snapchat filter either in your web browser or through the Snapchat app. Once you’ve created a filter and submitted it, you should hear back from Snapchat within a few hours on whether it’s been approved.
Let’s take a look at exactly how to make a Snapchat filter.
How to Create a Snapchat Filter Online

Here’s how to make a custom Snapchat geofilter online. Note: Be sure to log into your account at the Snapchat website before you begin.
- Select Create a Filter from the left side of the screen.
- Under Design Online, select your occasion from the pulldown menu. Available choices include Celebrate, Business, Birthday, Prom, and many more.
- Once you select a topic, you can choose a template on the left side of the screen or submit your own.
- Next, choose a color palette on the right-hand side of the screen, write in new text and choose different fonts, and upload pictures as needed. You also add your Bitmoji or even Friendmoji.
- When the filter is to your liking, click Next.
- On the next screen, you must assign a start and end time for your filter. You can also select Repeating Event to have the filter run at different times, daily or weekly.
- Select Next to draw your geofence. Inside your geofence is the location where Snapchat users will find the filter.
- Note that the Snapchat geofilter cost is based on the square foot of the area. Please keep this in mind.
- When you’re comfortable with your geofence, click Checkout.
- Name your filter, enter your payment information, and then hit Select.
- Wait for the approval email.
Snapchat’s geofilter maker is a fun way to customize your Snapchat experience.
How to Make Your Own Snapchat Filter in the App
You can also create a Snapchat geofilter through the official Snapchat app, which is available for iOS and Android:
- From the camera page in the Snapchat app, select your Profile/Username at the top left of the screen.
- Select the Settings icon at the top right.
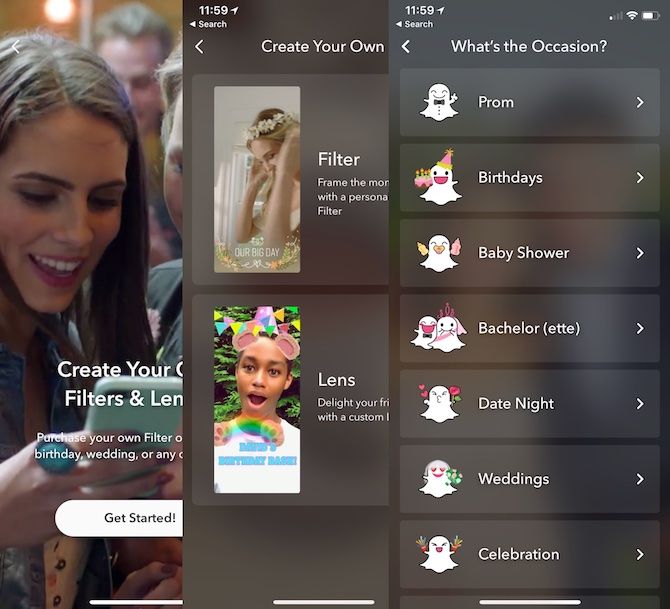
- Choose Filters & Lenses, then select Get Started.
- Click Filter.
- On the next screen, select the filter occasion. Examples include Birthdays, Baby Shower, Date Night, and more. You can also “Start from Scratch”.
- You can select a design and customize your filter with text and stickers.
- Once you decide on these items, you need to enter a start and end time for the custom filter. Select Continue.
- Create a geofence showing where you’d like the filter to run. Hit Continue.
- After agreeing to the filter price, choose Continue.
- Select Purchase from the summary page, then make your payment.
- Wait for the approval email.
About the Snapchat Geofilter Cost
Now that you know how to make a geofilter, let’s talk about the cost.
The price for a Snapchat filter depends on the location of your geofence, how big it is, and how long you want it to run. Your payment isn’t charged to your account until the filter has been approved. Package prices are available to businesses.
At the time of this writing, Snapchat accepts Visa, MasterCard, American Express, and Discover.
What About Community Snapchat Filters?
You can only create community filters via the Snapchat website. You can submit a filter or moment filter. Community filters don’t include templates. Instead, you send an original design that follows Snapchat’s geofilter guidelines.
Snapchat suggests creating community filters in Adobe Photoshop or Adobe Illustrator. Canva is another good choice. Regardless, Snapchat offers the following submission tips:
- Provide a good description if the artwork does not speak for itself, including any relevant dates.
- Snapchat’s geofilter size is 1080px wide and 2340px tall.
- Make sure no text or important elements are within the buffer zone of your filter (210px from the top and bottom).
- Files should be under 300KB and in PNG format (transparency enabled).
If you stick with these guidelines, your custom Snapchat geofilter will look great.
Adding Snapchat Filters
To add one of the many Snapchat filters to a Snap, follow these simple steps:
- In Snapchat, capture a Snap, as usual.
- Swipe left and right to choose a filter.
- Next, tap the Stack button to stack filters.
To find filters specifically for your area, be sure to Enable Location “While Using the App” in your device’s settings.
Personalize Your Snapchat Experience With Filters
Making a Snapchat filter a great way to personalize your Snapchat experience. Whether you’re thinking of creating a customized filter for an upcoming event or want to advertise the town you call home, Snapchat filters have you covered.
You can create most filters via the Snapchat website and app. Select from one of the many Snapchat filter templates or create one of your own. There’s no limit to the type of filter you can create.
Now that you know how to make a Snapchat filter, you can learn how to unlock hidden Snapchat filters, too.
Read Full Article
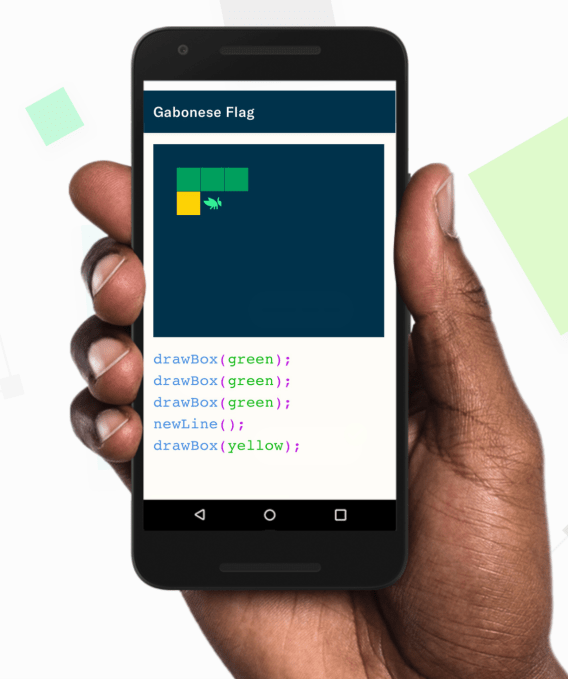 “Coding is becoming such an essential skill, and we want to make it possible for everyone to learn even when life gets busy,” the app’s About Us page explains. “We made Grasshopper to help folks like you get into coding in a fun and easy way.”