
Microsoft PowerPoint 2016 can be a capable tool to create interesting image effects if you know how to combine its features. For instance, in this post, we’ll show you how to give a cool paintbrush effect to any image.

Microsoft PowerPoint does not have a variety of brush styles like Adobe Photoshop. So, here’s the workaround:
First, use a paintbrush font or download a free paintbrush font to your PC. Then, convert the chosen font to a shape and use it to hide and reveal part of a photo.
Let’s do it step-by-step.
Step 1: Convert a Font to a Shape
- Download a free paintbrush-styled font and install it. For this tutorial, I am using a font called Rush Brush.
- Open a blank slide and type a capital I (or any other letter if you want). Increase the font size.
- Go to Insert > Illustrations > Shape. To turn the font into a shape, draw any shape (e.g. a rectangle) that covers the letter. Also, go to Drawing Tools > Format > Shape Outline > No Outline.
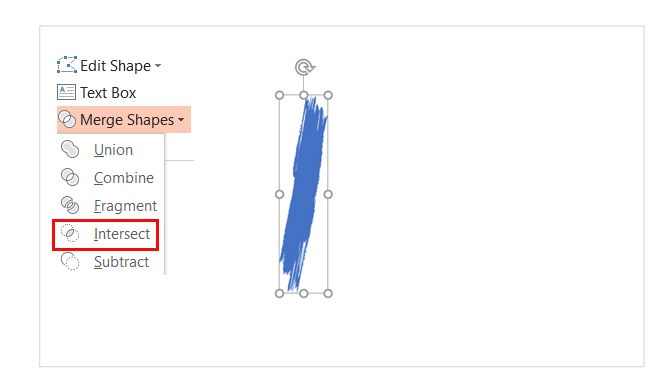
- Select the shape and the letter. Go to Drawing Tools > Format tab > Insert Shapes group > Tap the Merge Shapes dropdown > Select Intersect.
- The font and the shape intersect to form a new shape. This will be the building block for your paintbrush effect design as you can now tweak it around like any other shape. For instance: increase its size or rotate it around.
Step 2: Create the Paintbrush Strokes
Now, you can group multiple shapes and add a picture or color behind them to create slides with visual impact. The above photo used a picture hidden behind the paintbrush shape.
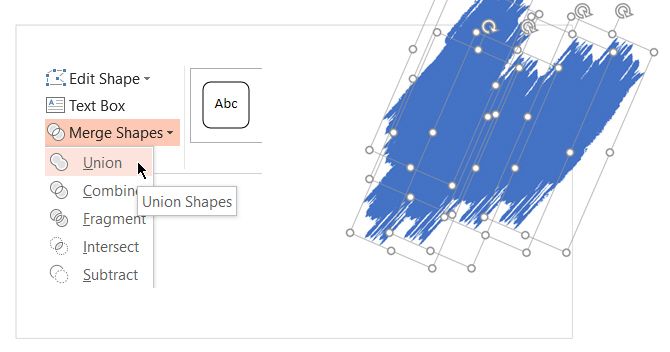
- Duplicate the paintbrush shape to assemble them into a pattern. Press Ctrl+A to select all and then go to Format > Merge Shapes > Union and group them as one combined shape.
- To create a mask that will overlap the photo, insert a rectangle. Choose Shape Outline > No Outline. Then, right-click on the rectangle and select Send to Back > Send Backward from the menu.
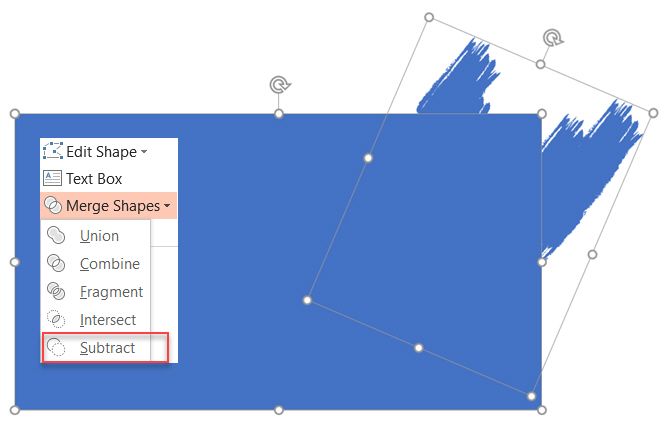
- Now, subtract the font shape from the rectangle to create the transparent hole. Select the rectangle shape first and then the font shape. Go to Format > Merge Shapes > Subtract.
- Choose a color for the rectangle shape that matches the slide color. For instance, white.
- Insert a picture on the slide. Again, select Send to Back > Send Backward. Now, the rectangle shape acts as the mask for the picture except the subtracted area which works like a frame.


You can drag the picture to re-position area you want to frame.
Microsoft PowerPoint can help you do a lot of things. It’s not to difficult to get to learn Microsoft PowerPoint even when you are a beginner!
Read the full article: How to Add a Paintbrush Effect to Images in Microsoft PowerPoint
Read Full Article
No comments:
Post a Comment