Adobe Lightroom boasts a slider that helps you reduce haze in photos. You can use the Dehaze slider in Lightroom to fix those photos you discarded because they were too foggy or hazy.
Lightroom’s Dehaze slider might give these photos a second chance, even if you couldn’t save them using contrast, exposure, and tone curve edits.
So, let’s see how to reduce haze in photos using the Dehaze slider in Lightroom. We’ll show you where to find it, and how to use it to give your landscape photography a boost.
Where Is the Dehaze Tool in Adobe Lightroom?
You can find the Dehaze tool in the Basic panel in Adobe Lightroom CC Classic. Dehaze is also a feature in Lightroom CC, the Lightroom mobile apps, and Lightroom Web, plus Camera RAW and Adobe Photoshop CC.
The Dehaze tool is under Effects in all other versions. But it was moved under the Basic panel in the more powerful Lightroom CC Classic. So, let’s look at the Classic panel first.
- Launch Adobe Lightroom.
- Go to File > Import Photos and Videos. Browse to your image and click on Import.
- Switch to the Develop module.
- On the right-hand panel, go down to the Basics panel (in earlier versions, it was under Effects).
- In the Presence section, drag the Dehaze slider to the right to reduce haze in your photo.
- You can also move the Dehaze slider to the left to increase haze in your photo for a creative effect.
- To reset your adjustments back to the default, double-click the slider to return it to its neutral value of zero.

The Dehaze Tool in Lightroom Mobile
Lightroom Mobile is among the best tools for editing photos on mobile. In iOS and Android, locate the Dehaze option under Effects.

How Does Dehaze Work in Lightroom?
The Dehaze tool uses an intelligent algorithm to estimate the light that your photo has lost due to the natural scattering of light or other factors like smog. According to Adobe, “It is based on the physical model of how light is transmitted.”
In short, it analyzes the scene to determine what it would look like without the haze.
The Dehaze tool is different from the Contrast slider or even the Tone curve sliders.
Contrast increases the difference between the light and dark areas and works across the entire image. The Dehaze tool, on the other hand, is more intelligent and works on local areas where it thinks the light is weak or washed out.
Adobe also recommends that you optimize the white balance for the image before using Dehaze.
Dehaze is best suited for landscape photos where the sky has been knocked out. You can bring back the details by moving the slider to the right. In most cases, Dehaze will bring out more details in the washed out areas than other tools like Contrast, Tone Curve, or Clarity.

This is an example of using Dehaze on the entire photo. Now, let’s use the Dehaze tool on targeted areas within the image and make local adjustments.
How to Use Dehaze With Local Adjustments
The Dehaze slider can also be found in the toolbox of the Graduated Filter, Radial Filter, and the Adjustment Brush which sit just below the Histogram in the Develop module. You can use them with the Dehaze slider to boost weak areas in your photo.

1. Click on the Adjustment Brush tool, the Graduated Filter tool, or the Radial Filter in the tool strip of the Develop module.
The Graduated Filter allows you to apply an effect in a linear direction and you can fade it softly in the direction you choose. It works like the graduated neutral density filter on your camera lens that tries to prevent bright areas like the sky from being washed out.
The Radial Filter helps you apply an effect in an elliptical area around any part of the image.
The Adjustment Brush tool lets you selectively apply adjustments to photos by painting the areas you want to change in the photo. After selecting the Adjustment Brush, you can down to the Brush panel and choose the options for your brush. These include:
- Size: Set the diameter of the brush tip in pixels.
- Feather: Set a soft transition between the brushed areas or reduce it.
- Flow: Control the rate of application of the adjustment.
- Auto Mask: Select this, and brush strokes will be applied to areas of similar color.
- Density: Controls the amount of transparency in the stroke.
2. Choose the type of adjustment you want to make from the Effect pop-up menu or drag the sliders for each of the effects. Moving the slider to the right increases the effects and moving it to the left decreases it.

3. Let’s see how the adjustments work with the photo below.
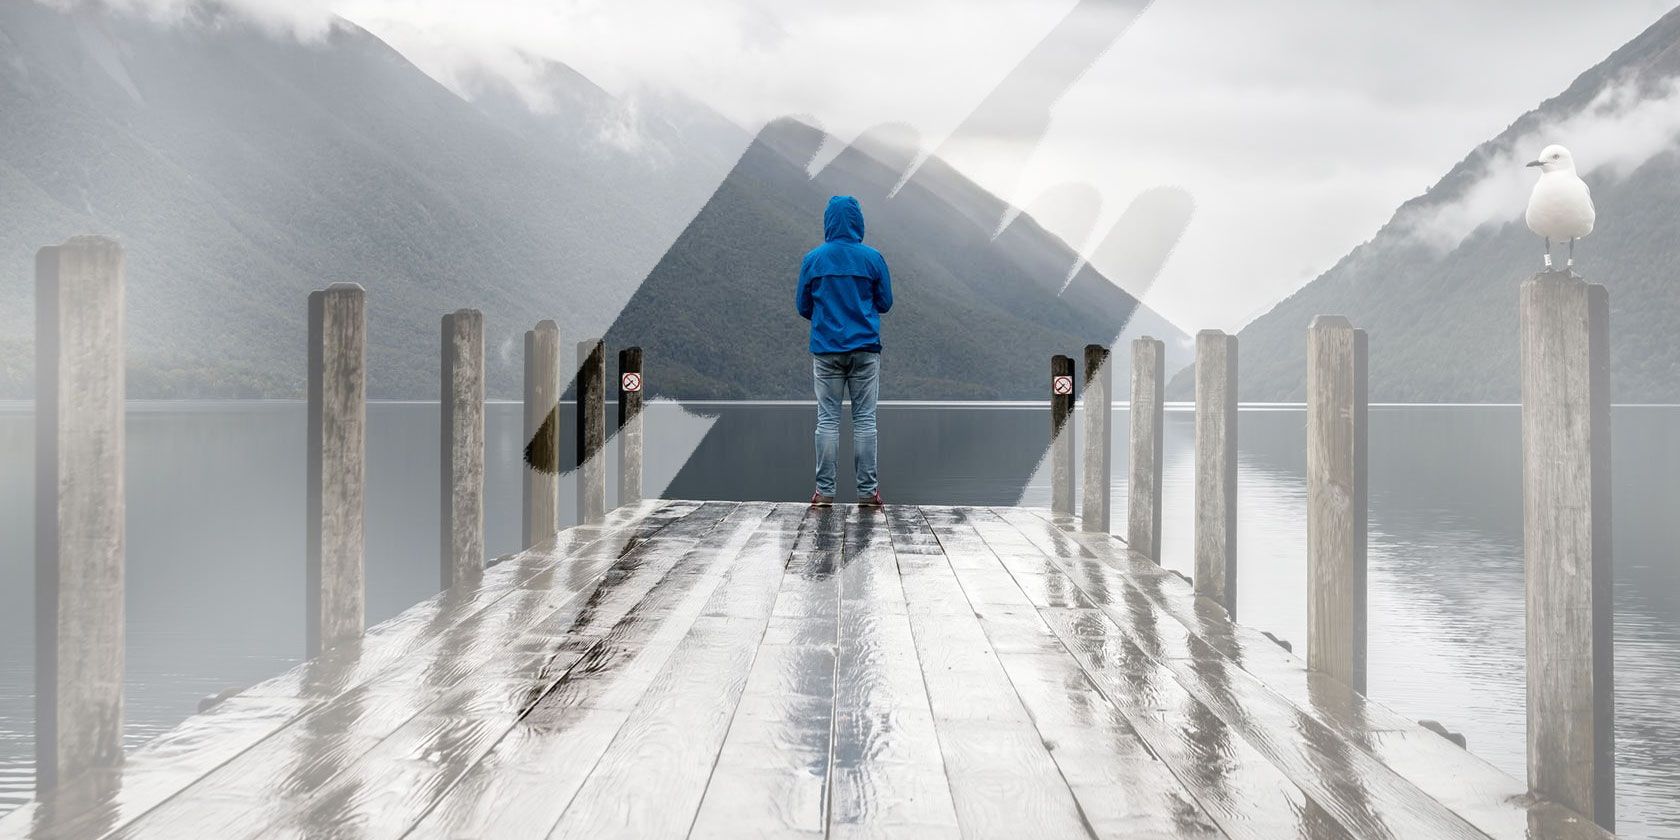
The Before view is what we start with and the After image represents the Dehaze effect that reduces the haze on the horizon.

4. In the image above, the sky in the original photo has a lot of haze.
To limit the adjustment to the sky, I can click on the Graduated Filter tool, set the Dehaze slider to a value like 35, and from the top of the image drag a transition that covers the sky.
5. Tapping the shortcut alphabet key “o” on the keyboard displays the red mask and a better view of the gradient effect. You can press “o” to get rid of it.

6. You can keep making local adjustments by moving the Dehaze slider to the left or right as long as the filter is selected.
7. Click on the Graduated Filter again to apply the effect when you are happy with the Dehaze effect.
If there are still other areas to tweak, use the other local adjustment tools to reduce the haze.
For instance, the mountain still looks washed out because of the atmospheric haze. Follow the steps above but choose the Adjustment Brush to “paint” on the mountain peaks where you think the haze is more.
Before you save your image, compare your Lightroom edits with the Before and After views. This allows you to check if the photo looks better or you have gone a bit overboard with the Dehaze slider.
Create Dramatic Effects With the Dehaze Tool
The Dehaze tool is a slider, so you can also have a blast by moving it to the left to increase the haze. For example, you can use it with the Radial filter to back light portraits. Or, you can boost a black and white photo by adding a subtle haze to create that touch of mystery.
This is just an introduction to the Dehaze tool. So keep playing and exploring the benefits of the feature. And do remember the Dehaze tool doesn’t have to work alone. Use them with the other sliders to boost your images from the mundane to the sublime.
The best trick of all is to take perfect, noise-free photos in the first place so that you have less editing to do in Adobe Lightroom.
Read the full article: How to Reduce Haze in Photos Using Lightroom
Read Full Article
No comments:
Post a Comment