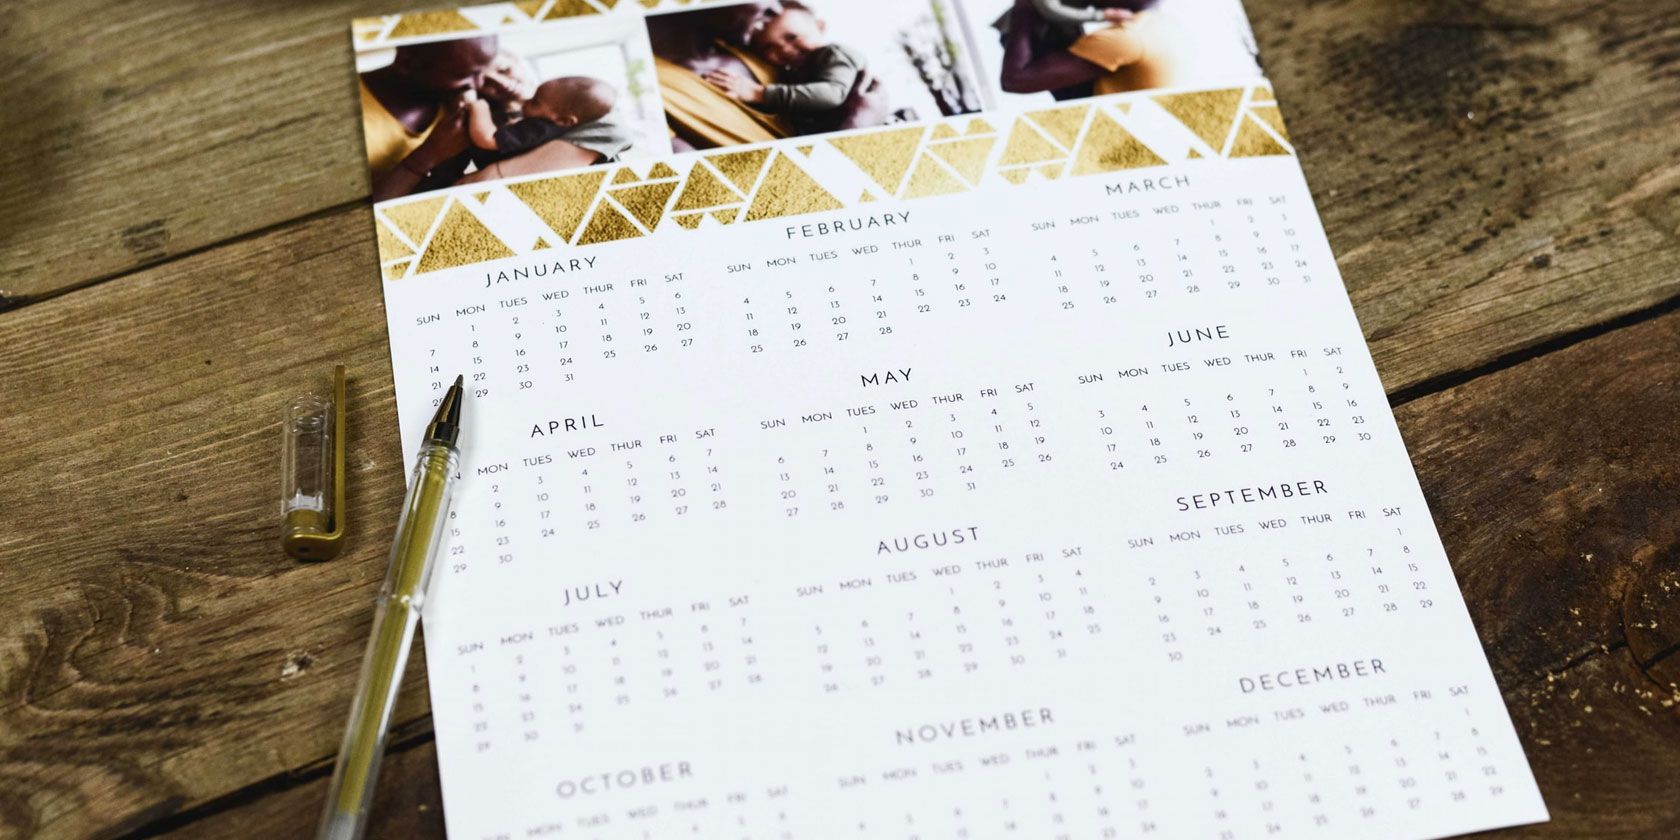
Many of us use calendars to keep track of the days, weeks, and months as they fly by. However, calendars can be expensive, so here’s how to make your own calendar using Canva.
Lots of people use an online calendar to keep up with their to-do list, but this article is for those who would prefer to make their own printable calendar to hang on the wall.
If that describes you, here’s how to use Canva to make your own calendar.
Step 1: Find a Printable Calendar Template
Canva is a website where you can customize different design templates for free. You just need to have an account to get started. If you want some background before getting started, here are the things you can create in Canva.
If you want to make your own calendar, the first thing you’ll want to do is find Canva’s list of printable calendar templates. There are two ways you can find these templates:
- Through the search bar where it says Design anything.
- By scrolling through the templates already listed under the header Create a design.

If you look closely under Create a design, you’ll see an icon with a red square around it. Beneath that is the word Calendar. This is the template we’ll be using, so click on it.
After you click on Calendar, Canva will take you to your workspace. There, you’ll see a bunch of calendar-formatted templates along the left hand side of your screen, divided by topic.
Scroll through these templates to find a calendar design that fits your needs.

For this tutorial, we’re going to pick a template called “Classroom Calendar”. However, I personally don’t like the color combination this calendar is using. If you tried to print it up on your home printer, it would use a lot of ink.

So, the first thing we need to do is change the background color on our printable calendar.
Step 2: Change the Calendar’s Color
Changing the color of different elements requires a bit of thought and planning.
For example: Let’s say I wanted to print a calendar, and to print it, I’m going to change the background color to white or grey.
You’ll notice with this particular template that there are some foreground elements that are also white, which means they may get lost when we change this background.
So, it’s best to change these foreground elements first, to maintain the contrast.
To change the color of these elements, click on one so its blue bounding box emerges. Next, click on the color icon in the top left-hand corner of your workspace, seen here in red:

By clicking on this icon, you can expand the color menu. From there, you can pick:
- Document Color: These are colors already found in your template.
- Default Color: These are colors available to all Canva templates.
- Choose a custom color with the New color icon. This will either show up as a + sign or as a multicolored square at the top of the palette.
After you’ve decided on a color and applied it to your foreground elements, you can change the background color on your calendar, too.
For this tutorial, I’ve decided on a very light gray that will contrast with the calendar and the text. Because this color was not available in the Default Colors section, I went to my New color section to choose a custom color.

NB: You can change the background color on a bunch of calendar slides simultaneously by checking off the Change all function, located at the bottom of your color toolbar.
When you click on this option, it will change all background elements with the same color to this new color you’ve picked out. It’s a quick, easy way to get your calendar looking lovely with half the effort.
Step 3: Copy-Paste Your Calendar Style
Of course, the Change all option is not the only design hack that comes in handy. Another way that you can quickly replicate a style is through the Paste style button, which you can see here in red. It looks a bit like a paint roller:

This tool is great when you want to apply the same font, style, or color to different elements within the calendar, but not necessarily to a bunch of elements all at once.
To use this tool, click on an element that you want to change. Make sure the blue bounding box appears, then make the changes that you need to make.
Next, go to your Paste style button, and click on it.
After that, click on a different element that you want to transfer this style to, making sure that you still have the Paste style button activated. Canva will automatically offload the style.
Step 4: Adjust Your Calendar Text
After you adjust the background elements in your calendar, you’ll want to adjust your text. The nice thing about Canva is that they have already marked which days of the week each number of the month falls on, so you don’t have to worry about inputting these dates manually.
However, you can still go in and change the font style for these numbers. You can also change their color.
To change the look of these dates, click on a number so its blue bounding box emerges. Go to the top left-hand toolbar and start experimenting with font, font size, color, and spacing.

Next—where it says “Classroom Calendar”—change the placeholder text to something more personal.
To do this, click on the text so its bounding box appears. Start typing something else in.

Tip: If you want to change the color of some of this text, but not all of it, highlight a single word instead of all the text. Then go up to the font color tool, seen above in red. Pick a color with your color picker.
Step 5: Check Your Work on Your Printable Calendar
Now that you’ve created a simple calendar, it’s time to zoom out and view your work, to check for any errors. Use the zoom tool, located in the bottom right-hand corner of your workspace, to do this.
When you zoom out and view your work, you should be able to see your calendar in its entirety. While our own calendar is functional and easy to read, its design is also sort of boring.

If you wanted to keep the simplicity of this calendar, but add more excitement to it, there’s a simple fix for that.
Step 6: Last-Minute Fixes
An easy way to add emphasis to a simple calendar is to add variation to its color scheme. In this case, let’s give each month of the year a different dominant color. Pink for February, green for March, and so on.
To do this, click on the individual elements on each page and use your color tool.

After you’ve changed the color on each individual slide, you can zoom out and take a look at your document. As you can see by our layout, even just this simple fix can add a lot of visual distinction!

Step 7: Download Your Printable Calendar
At long last, your calendar is complete and ready to download. To print a copy for personal use, go to the Download button, seen here in the top right-hand corner of your screen:

Click on File type. Under File type, you’ll see a list of suggested file types to download. A small crown next to a file type means that the particular extension is part of Canva Pro: you cannot use it without subscribing.
If there is no crown, then the file is free.
If you plan to print your calendar, choose PDF Print. This is the standard file format that you’ll need to take to a print shop, and the kind of file that you should be using at home.
When you choose PDF Print, turn on Crop marks and bleed. This will make it easier for you to cut your calendar out of the piece of paper that it is printed on.
After that is done, select the number of pages that you want to print. Then click Download. This is how you make a calendar printable.

When you download your file, you may see a sign that pops up that says “Try Canva Pro free for 30 days!”
To avoid confusion: you are not being charged for your PDF print. This is just an advertisement you will see if you’re using the free version of Canva and are not subscribed to Canva Pro.
To exit this advertisement and continue back to your account, click on the x in the top-right hand corner.

Once the file is downloaded, open it up with a preview viewer on your computer, to triple check how it looks. Then print your calendar, either from home or at a print shop.
Make Your Own Calendar to Organize Your Life
Having a monthly calendar hanging on your wall can really help you organize your day-to-day life, and we strongly recommend using one. It will help you be more efficient with your time and help you allocate resources in advance.
That said, what if you prefer digital calendars instead of paper ones? Here’s how to make a new calendar in Google Calendar.
Read the full article: How to Make Your Own Calendar Using Canva
Read Full Article
No comments:
Post a Comment