Fancy building your own quad core tablet? Finding the commercial options far too expensive to consider? With just a Raspberry Pi, some 3D printed casing, a rechargeable battery, and a touchscreen display, you can—here’s how.

Yes, You Can Build a DIY Android Tablet!

Incredibly, it really is possible to build your own tablet.
With a Raspberry Pi at the heart, and a suitable touchscreen display, all you need to add is a power regulator and rechargeable battery, and suitable chassis. This could be anything from something you’ve built out of LEGO to a 3D printed solution.
A popular crowd-funded project in early 2018, the Raspad, reached over 6000 percent of its target funding. Using the Raspberry Pi in a tablet seems to many people to be the next logical step for the little single board computer (SBC).
All it takes is a little bit of planning, a few pieces of equipment, and a bit of determination. It’s entirely possible that this can be done for under $100. Tempted? What if we told you the Raspberry Pi can run Android or a different touch-focused operating system?
Get These Parts for a Raspberry Pi Tablet
For the basic build, you will need:
- Raspberry Pi Official 7″ Touchscreen Display (this should include a 200mm ribbon cable)
- Raspberry Pi 3 B or B+
- 16GB microSD card
- Adafruit PowerBoost 1000C
- 2500mAh Lithium Ion Polymer Battery
- SPDT Slide Switch
You’ll find these items on Amazon, Adafruit, and similar suppliers.
In addition, you’ll need a 3D printed case. While designing your own is fine, it’s worth considering those that already exist. For our tablet, we used an STL file for a Raspberry Pi tablet project by DrVegetable.
You should either print the case yourself or pay for it to be done by a professional 3D printing service.
In addition to all this, make sure you have:
- A soldering iron and solder
- Screwdrivers (or a single device with swappable heads)
- Wire strippers
- Hot glue gun
With a few wires and screws (check the notes for your 3D printed case project), you’ll be ready to go. Oh, you should also have a clean towel handy, for placing your touchscreen display face-down on. This avoids scratches.
Two Android Options on the Raspberry Pi 3
While several versions of Android can be installed on the Raspberry Pi, you’ll need one compatible with the touchscreen. Two key Android builds are worth considering.
LineageOS 8
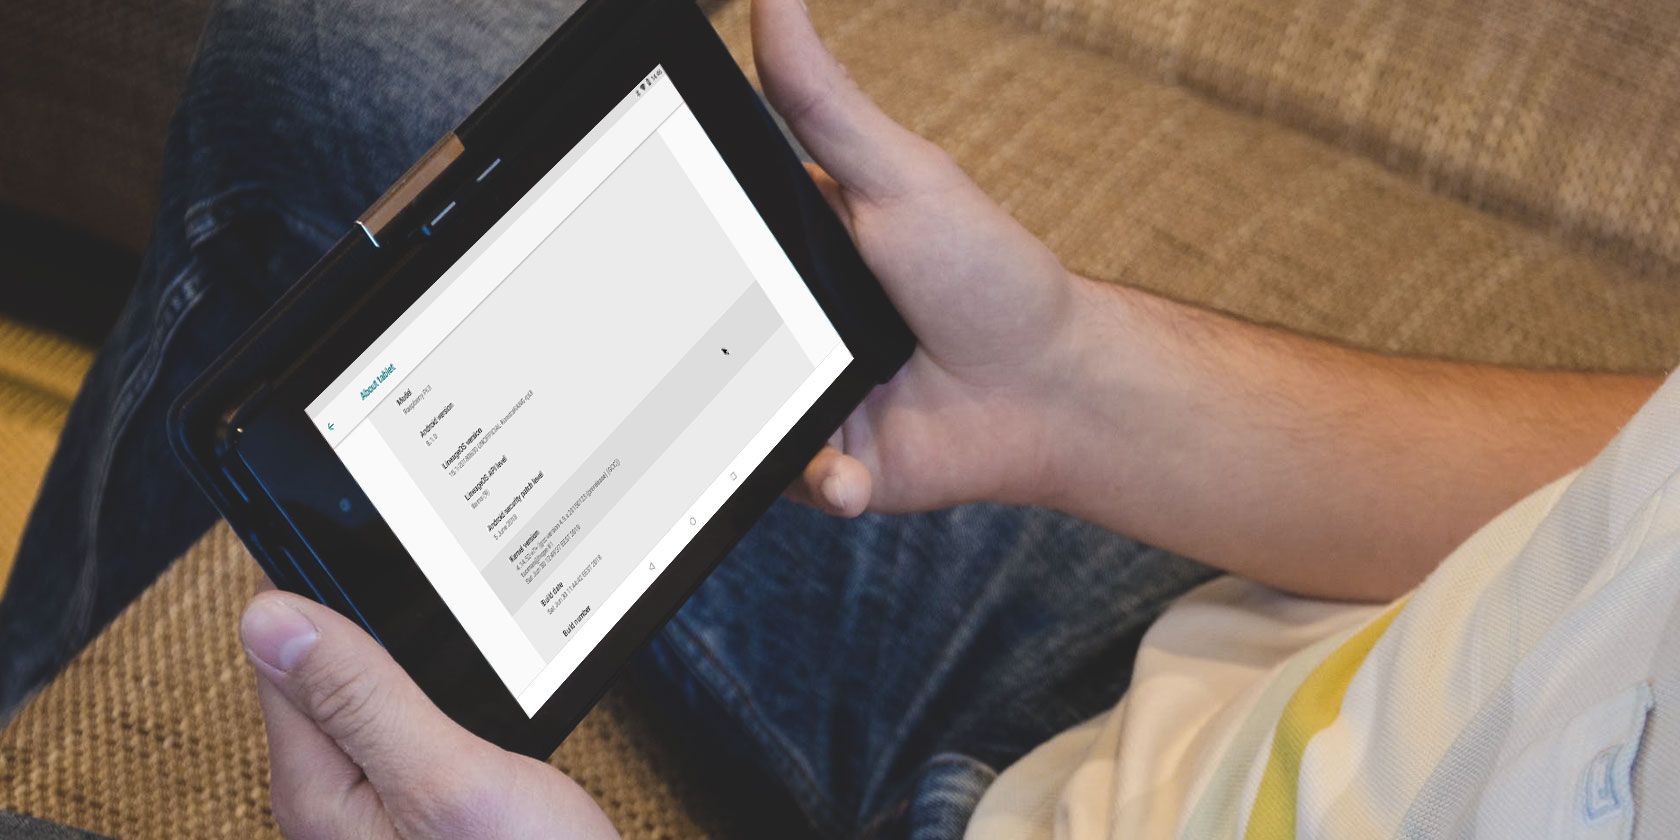
The best option for this project is a Raspberry Pi version of LineageOS 15.1. Based on Android 8.1.0, this isn’t the latest version, but it does have the best support for the official Raspberry Pi Touchscreen.
A fork of CyanogenMod, LineageOS 8 is an open source project, offering a good Android experience. Note it does have some shortcomings: Bluetooth doesn’t work on the 3B+, and you may have problems with Netflix. Most games should work, but not in 1080p format.
Download: LineageOS 8
EmteriaOS
Amazingly, other versions of Android for the Raspberry Pi are available. One you might consider taking a closer look at is EmteriaOS. This is available free or with a €19 single-device license. If this sounds good, note that the free option has nag screens and an enforced reboot every eight hours.
EmteriaOS comes with its own installer tool.
Download: EmteriaOS (Requires signup)
Connect and Test Your Raspberry Pi Touchscreen
Hooking up the Raspberry Pi 3 to the official Touchscreen is surprisingly straightforward.
The video above illustrates the basic connection process. It’s worth testing this before putting the tablet together, so you’re familiar with it. You might even take the time to install one of the Android versions first, just to ensure everything is working.

Take a moment to shut down and detach the Pi and its display before proceeding.
Construct Your Raspberry Pi Android Tablet
If you have been following the steps above, you should have everything you need. Your Android tablet, powered by a Raspberry Pi, is ready to build.
The following steps are based on building a tablet using the 3D printed case by DrVegetable. Other projects will have a general similarity.
- Place the Raspberry Pi Touchscreen display in its housing. Line up the screw holes with the mounting holes in the display.
- With the mounting brackets in place, secure them against the housing and into the mounting holes.
- Reconnect the Raspberry Pi to the display as shown above.
- Secure the Raspberry Pi in the case, using the screws.
- Similarly, secure the PowerBoost, lining up the USB port with the hole in the case. You’ll need to secure the battery too—hot glue is the best option.

- Run a wire from pin 2 on the Pi’s GPIO, soldering it to the PowerBoost’s + connector.
- Run a second wire from pin 6 on the GPIO to the PowerBoost’s – connector.
- With two of the Pi display’s pluggable wires, connect 5V pin 4 on the Pi to 5V and pin 9 GND to GND on the display board.
- Solder the slide switch to the PowerBoost, the middle pin to GND, and one of the outer pins to EN. Secure the switch in the case with some hot glue.
- Finally, plug the batter into the PowerBoost.
When you’re done, screw the back of the tablet case to the display housing. Plug in the Pi via the PowerBoost to charge it up.

The Raspberry Pi tablet powered by Android is ready to use.
WebOS on the Raspberry Pi
You don’t have to rely on Android as your Raspberry Pi tablet operating system.
While lacking the wealth of apps available to Android, WebOS is a smart alternative. This is an operating system originally released by Palm in 2009, which sadly didn’t survive (largely due to poor corporate confidence, and a HP buyout, rather than any real issues). However, an open source version, LuneOS, has been ported to the Raspberry Pi 3.
Download: LuneOS for the Raspberry Pi
Your Very Own Raspberry Pi-Powered Tablet!
Despite Raspbian being unsuitable for a touchscreen experience, by now you should have (or be ready to build) a Raspberry Pi powered Android tablet, with a few hours’ charge, for under $100 (a bit more if you had the components 3D printed elsewhere).
Want more Raspberry Pi and Android projects? Try building an Android TV box with your Raspberry Pi.
Read the full article: How to Build Your Own Android Tablet With Raspberry Pi
Read Full Article
No comments:
Post a Comment