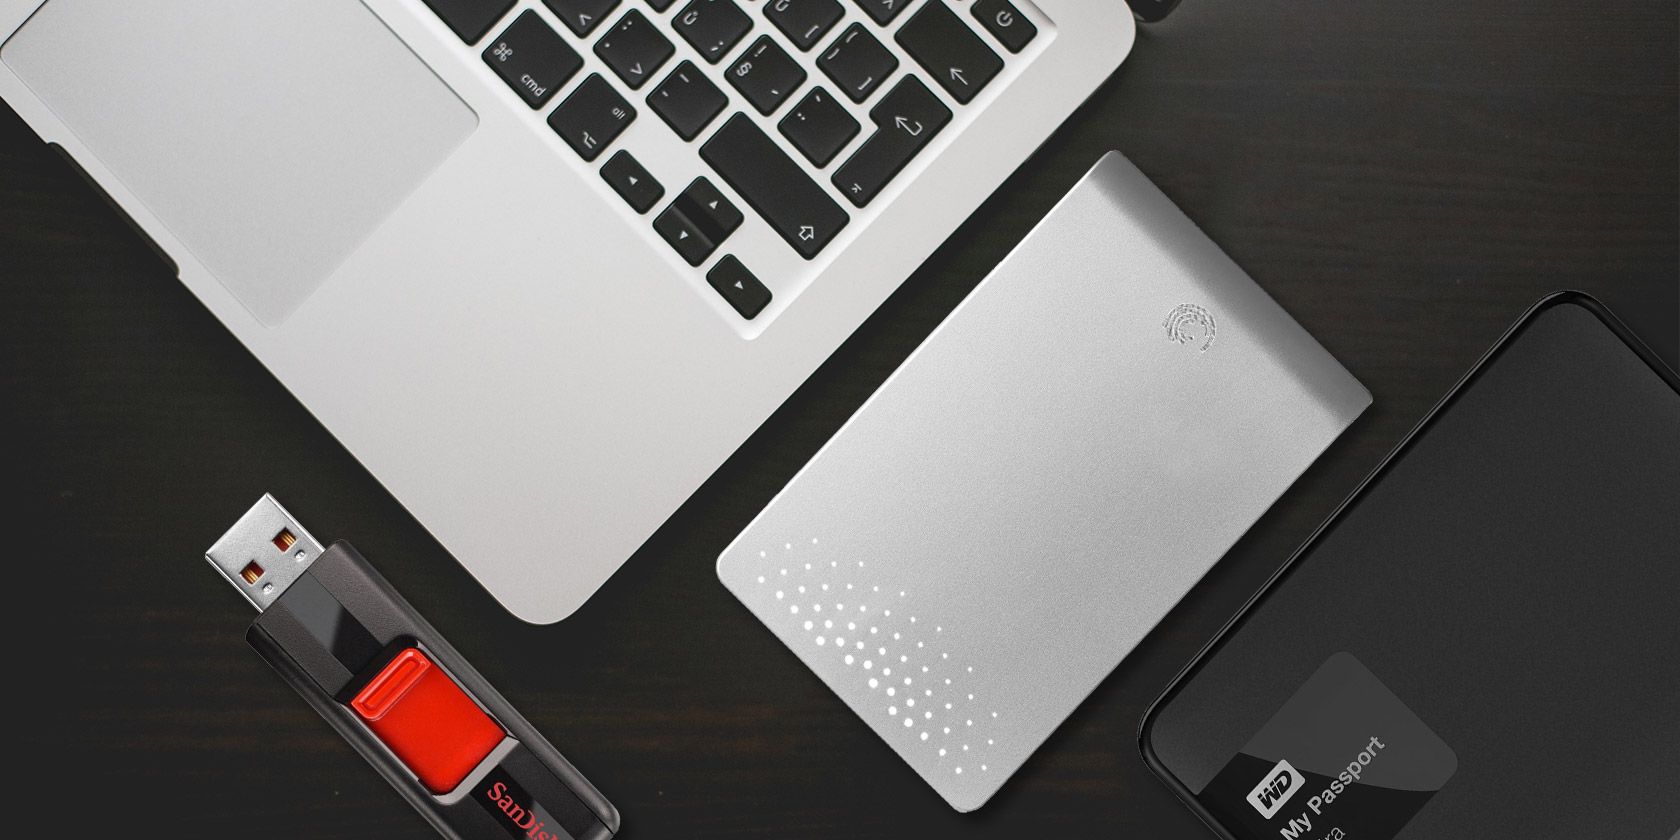
Sometimes when you connect an external hard drive to your Mac, you’ll find that it’s set to read-only. This happens because the drive is formatted with Microsoft’s NTFS filesystem, which macOS doesn’t support by default. Fortunately, it’s easy to fix.
There are a number of ways to unlock an external hard drive on a Mac, from reformatting the drive to installing software that allows you to write to NTFS volumes. For more advanced users, there are also riskier, more experimental solutions. Let’s get started.
1. If Your Drive Is Blank
If your drive is blank, you’re in luck. You can easily format it to whatever you need and move on.
To begin, mount the disk on your Mac, then open Disk Utility. Now select the drive in the sidebar and click Erase.

The format option you should choose depends on how you intend to use the drive:
- Time Machine backup: If you plan to use the drive to back up your Mac with Time Machine, you’ll want to format the drive to HFS+. In Disk Utility, this shows up as Mac OS Extended.
- Portable drive: If you’re looking to create a portable drive to use with your Mac and other operating systems like Windows, choose exFAT. If you are only working with Macs, you can format your drive to either HFS with the Mac OS Extended option or with the newer APFS file system.
- Working with older devices: This is rare, but if you will use the disk with an old device that does not support exFAT, you may have to choose the older FAT option. In most cases, you shouldn’t use this as it limits drive sizes to less than 32GB.
2. If You Need a One-Time Fix
Warning! The following describes a method of enabling the experimental NTFS support in macOS. There is a very real chance that something could go wrong, resulting in a loss of data on the target drive. We recommend you do not rely on this method for writing to important volumes or as a long-term solution.
Sometimes you may need to write some files to a locked drive only once, and you can do this with built-in Mac tools. But while macOS can read NTFS drives by default, its write capability hides behind a Terminal hack. You need to follow these instructions for each drive you want to write to.
Open Terminal and type:
nano etc/fstab
Then copy this line into the file, replacing DRIVENAME with the actual name of the drive you want to access:
LABEL=DRIVENAME none ntfs rw,auto,nobrowse
Hit Ctrl + O to save the file, then Ctrl + X to quit Nano. Now disconnect and reconnect your drive. Once it has remounted, it will be available in /Volumes.
You can only get there in Finder; click Go in the menu bar and select Go to Folder. Enter /Volumes and click Go. You’ll see your drive listed here, and you can now copy files onto it.

3. A Free Open-Source Solution
Even if you’re okay using Terminal, no one wants to edit a preference file every time they deal with a new drive. If you’re in IT and deal with Windows drives regularly, you may need a better option. One of the most popular solutions is an open-source product: FUSE for macOS.
Download FUSE to get started. The program is a handler; it does not contain anything to mount and read the files themselves. You’ll need a couple of extra tools to complete the job, available in a Homebrew package called NTFS-3G.
First install Homebrew by pasting this line into the Terminal:
/usr/bin/ruby -e "$(curl -fsSL https://raw.githubusercontent.com/Homebrew/install/master/install)"
Once you run the commands to install Homebrew, and you get confirmation in Terminal, you need to install the NTFS-3G package. That is another single command:
brew install ntfs-3g
Sometimes Terminal doesn’t recognize that you have already installed the FUSE package. If that happens, run this command as well:
brew cask install osxfuse
You’ll then be prompted to reboot your Mac. Once you’ve done that, try re-running the NTFS-3G command.
Write to an NTFS Drive With NTFS-3G
NTFS-3G enables your Mac to write to NTFS drives, but it is not automatic. You need to run a few extra commands to get it working.
First, find the address of your mounted read-only drive. You can get this in the Terminal using the command:
diskutil list
You need to run the following commands each time that you want to mount a drive with write permissions. Replace /dev/disk1s1 with the drive address that you found above:
sudo mkdir /Volumes/NTFS

sudo /usr/local/bin/ntfs-3g /dev/disk1s1 /Volumes/NTFS -olocal -oallow_other
If you don’t want to run these commands each time, there’s a fix. You can boot your Mac into single-user mode, and replace the built-in Mac NTFS tools with NTFS-3G. There are some warnings about security on the project site; you can check out the steps to enable it on the developer’s GitHub page.
The devs make it clear that this opens up your Mac to potential exploitation, so this step is not for the faint of heart.
4. A Simple, Paid Option
The solutions we’ve described above are pretty technical. If you’d rather just click your mouse a few times to get this working, you can use a paid third-party app to simplify the entire process.
There are some different choices, but the longtime favorite is Paragon Software’s NTFS for Mac. It is $19.95 per Mac license, though you get a discount for buying three or five licenses at a time. You can test drive the software with a 10-day trial too.

It’s a simple install, which then provides a menu bar item that shows your NTFS drives. Better still, your NTFS drives now show up in Finder normally, and you can treat them like any other drive.
Tuxera NTFS for Mac is another program. It’s built on top of the open standard we used above, NTFS-3G. The licensing is a bit simpler, as you pay $25 to use it on all your Macs.

With a 15-day free trial, you can put the program through its paces before shelling out. Rather than a menu bar item, Tuxera installs as a preference pane. You can format drives from here, but not much else. Like Paragon, you can use Finder to work with the drive.
Solve Other Mac External Drive Problems
Both paid options offer a painless way to mount a read-only drive on your Mac and make it writable. The open source and Terminal options are more work, and you shouldn’t rely on experimental support full-time. You can also write as much data as you need to and from your drives while trialing both paid options.
But having a read-only drive is not the only external disk problem you can face on a Mac. Sometimes you can mount an external drive and it isn’t even recognized. Take a look at our guide on how to get your external drive to show up on a Mac for tips on how to solve that issue.
Read the full article: How to Solve the “Read Only” External Hard Drive Problem on Mac
Read Full Article
No comments:
Post a Comment