Video editing is hard work. It’s a very creative process, and can take hours and hours no matter how good you are—and that’s assuming you have a computer that’s up to the job.
Whether you’re building a YouTube studio, or want to make your video footage more cinematic, these 10 tips are sure to speed up your workflow. From performance tricks to workflow improvements, there’s something here for everyone!
1. Playback Resolution
This first tip is a simple one. Rather than previewing your edit in its highest quality, it’s possible to reduce the quality up to 1/2 or 1/4 for HD footage, or 1/8 or 1/16 for 4K and above footage.
This reduces the burden on your system, and has no impact on the final video quality.
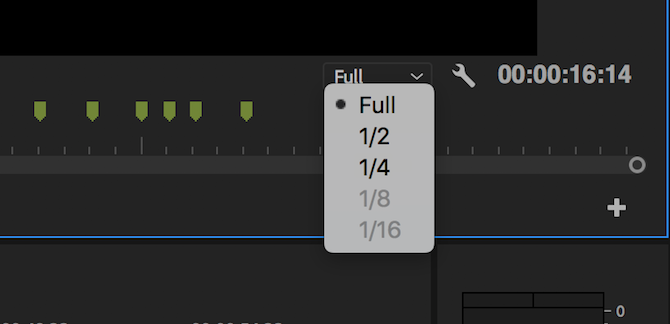
On the bottom right of your Program Monitor, choose the Select Playback Resolution box. These options will reduce the preview quality accordingly. If you’re editing 1080p footage, you won’t be able to select any setting lower than 1/4.
2. Playback Zoom Level
Premiere Pro provides a huge number of playback zoom levels and clip scale settings, but sometimes these can actually reduce performance.
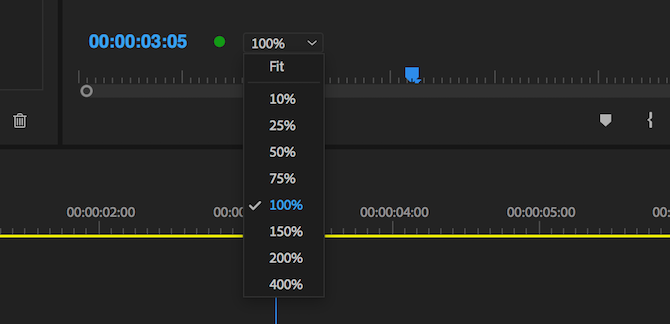
On the bottom left of the Program Monitor is a Playback Zoom Level control. This adjusts the size of your playback monitor. You can set this to 100 percent, or a larger or smaller percentage. You may want this larger if you’re working on a small screen, but if you have the resolution to spare, setting this to a smaller percentage results in a marginal performance increase.
Another feature you can adjust is Scale. If you’re working with a 4K clip on a 1080p timeline, then you’ll need to scale or “zoom out” the clip to ensure it is all visible. While there’s nothing wrong with this, it does require more processing power, so consider shooting everything in 1080p to begin with, or transcode your footage, as shown below in the “Transcode Footage” section.
The Scale control can be found in the Effect Controls panel, underneath Motion.
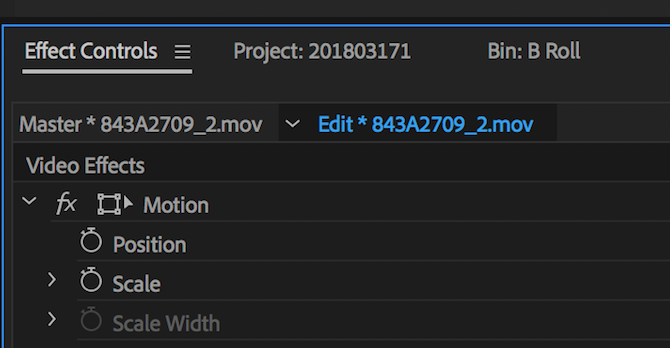
If you don’t see the Effect Controls panel, you can enable it by going to Window > Effect Controls.
3. Use Proxies
Proxies are a great way to squeeze more performance out of your system. Proxies in Premiere Pro are simply a different set of files for editing and the final render.
If you’ve shot a film in 4K or higher, but your computer cannot edit 4K smoothly, you can work with reduced quality, 1080p or less proxies, which then get “swapped” out by Premiere for the final render.
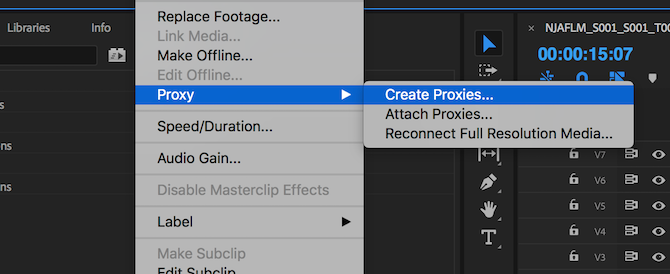
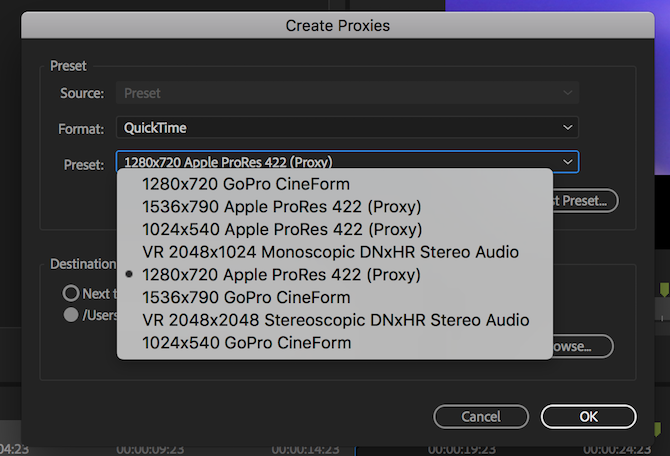
To create proxies, right click on a clip in your project browser, and choose Proxy > Create Proxies.
From the Create Proxies menu, you’ll be able to choose a file format and proxy location. Choose something like GoPro Cineform or Apple ProRes, and then hit OK. This will open the Adobe Media Encoder, which will automatically render all of your selected clips into easy-to-edit proxy files.
Finally, you can add a button to toggle proxies on or off into your Program Monitor Toolbar (the buttons underneath your video preview).
Start by choosing the Button Editor button on the bottom right of your preview window.
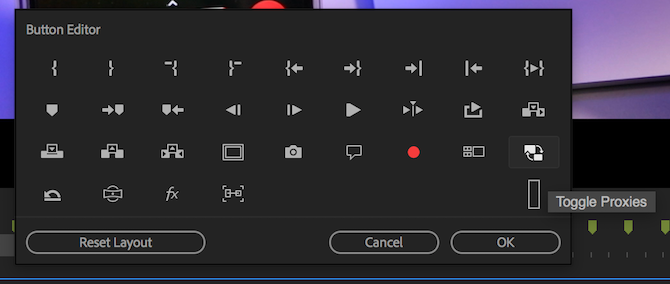
Drag the Toggle Proxies button onto your toolbar and exit the button editor. Now, whenever your press the proxy button, it will turn blue, and proxies will be used. Press it again to use your original media. However, Premiere Pro will automatically use your original media when rendering, so don’t worry about losing quality.
4. Transcode Footage
Most video recorded on a DSLR or mirrorless camera is stored in a highly compressed format, usually H.264. While our guide to codecs has more information, put simply, codecs like H.264 are very good at reducing file size, but are incredibly tough for your computer to work with.
Edit ready formats such as Apple ProRes produce larger file sizes, but are less taxing for your system to edit.
If you convert all of your shots to an easy-to-edit format, you’ll find that your computer is less taxed, and you can continue to squeeze performance out of it.
The Adobe Media Encoder is able to quickly and easily convert multiple files, and this excellent tutorial from YouTube channel AdobeMasters covers everything you need to know:
As mentioned above, if you’re working with 4K footage, but only need to deliver in 1080p, you can use the Media Encoder to render these shots out to 1080p. You’ll still retain some of the benefits of 4K, but your computer won’t have to work with so many pixels!
If you’re still not convinced about 4K, then take a look at our reasons to shoot in 4K guide.
5. Upgrade Your Computer
If you’ve tried all of the performance tips so far, and your machine still isn’t up to the task, it may be time to upgrade. We have a budget 4K editing computer guide, but your choice of computer does depend on your video requirements and budget.
For example, the 2011 Macbook Pro can just about handle basic 1080p video editing, but really struggles with any kind of effects, or anything more complex than simple cuts. The 2017 5K iMac can handle nearly anything consumer level, but this machine will also struggle with the kinds of cameras used to shoot movies, or the high-end cameras used by YouTubers such as Marques Brownlee or Jonathan Morrison, who both film on expensive Red cameras.
Whatever your needs, be prepared to splash out on premium components—video editing really is that demanding. If you’re building your own system, then take a look at our guide to building your own PC.
Once you’ve got your ultimate editing computer, and got your settings fine tuned, you can begin to focus on ways to increase your efficiency. These next five tips will help you to become an editing ninja in no time!
6. Set In and Out Points
When previewing your shots in the Source Monitor, it’s possible to mark In and Out points. These simply tell Premiere when your clip should start and end. No footage gets deleted, however.
In and Out points save you lots of time. Rather than having to drag a clip onto your timeline, scrub to the part you like, and then trim the start and end, Premiere automatically chops your clips based on the In/Out points.
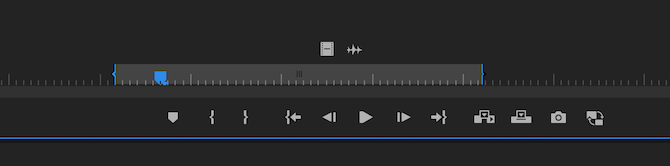
You can bring up the Source Monitor by double-clicking on a clip in your Project Browser. Press Spacebar, or use the controls at the bottom to start playing and scrubbing through your clip. Once you find a section you like, press the I key to mark the In point, and then press the O key once you reach the Out point. You can also use the Mark In and Mark Out buttons found in the controls beneath this clip.
Once you’ve marked your points, you’ll see a “mini timeline” appear under your clip. This shows roughly where your marked section appears in relation to the whole shot. You can also click and drag the curly braces to adjust your points, or simply resume playback and tap I and O again as many times as you like.
7. Learn the Shortcuts
Shortcuts make a world of difference in getting that edit finished fast. Once you learn the shortcuts, you’ll be able to fly through the timeline, making cuts, applying effects, and more. If you use shortcuts combined with setting In and Out points as shown above, then your film practically edits itself.
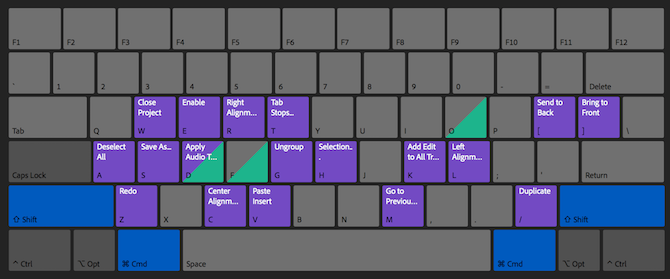
Go to Premiere Pro CC and then Keyboard Shortcuts to bring up the Premiere keyboard shortcuts menu. Here you can see all of the currently assigned shortcuts, which is great for learning them. Alternatively, you can re-assign as many as you like, which is where you can really speed up your workflow.
YouTube legend Peter McKinnon has an unbelievable trick you can use to build your edits, and all it takes is a few shortcut presses:
8. Ripple Edit
Have you ever been frustrated trimming clips in Premiere Pro? Yes, setting In/Out points helps a lot, but what if you want to chop one second off the start or end of a clip which is already in your timeline? The whole process can be time consuming. You have to select the Razor tool (using the keyboard shortcut C), cut your clip, delete the bad section, and then subsequently shuffle all the following clips to fill in the gap.
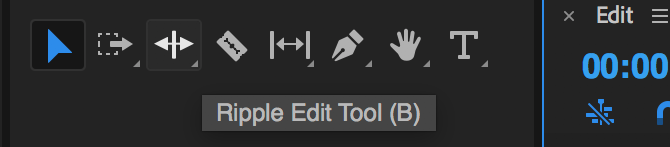
Well, by using the Ripple Edit Tool (shortcut B), you can drag to expand or reduce a clip, and premiere will automatically move all of the other clips to fill in the gap.
This quick tutorial from YouTuber Richard Rho shows you how to use the ripple edit tool in less than three minutes:
9. Use Adjustment Layers
Adjustment layers are an incredibly powerful tool, and they are very easy to learn.
Any change or effect you make to an adjustment layer is applied to all the clips below. This is especially useful during color correction. You can make dramatic changes to your adjustment layer, and have it impact tens or hundreds of clips underneath it. This saves you a lot of time, and prevents you having to make common changes to several different clips.
If you decide to make another change, simply go and change your adjustment layer, and not the multiple individual clips.
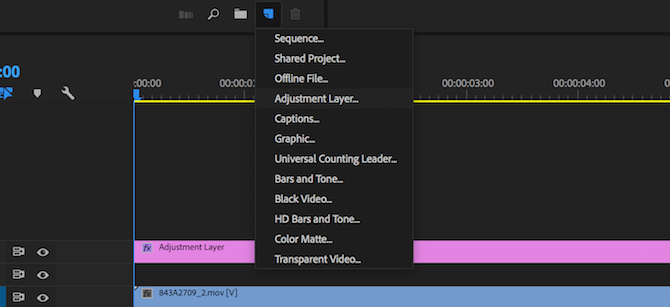
Create a new layer by choosing New Item > Adjustment Layer from the Project Browser.
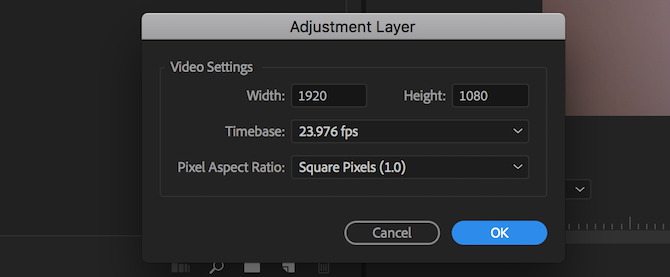
From the Adjustment Layer Settings panel which appears, leave all the options at their default and then choose OK. Your new adjustment layer will appear alongside your footage, and can be treated exactly like a clip. Drag it onto your timeline, and then get creative applying any effects you like to it. Any footage underneath this adjustment layer will have the effects applied to it.
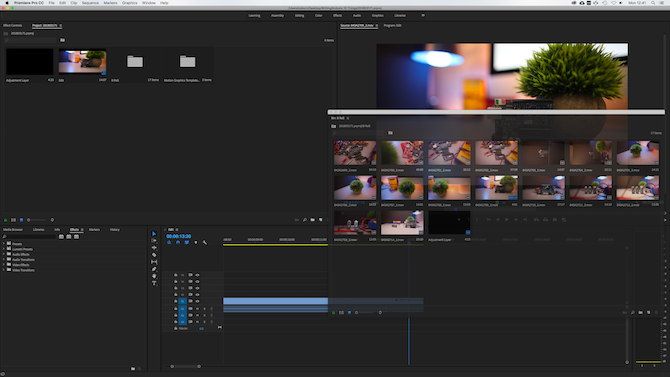
10. Use Workspaces
Premiere Pro contains the ability to save different workspaces. These workspaces present different options, tools, and panels, to make different tasks easier for you. Premiere Pro comes with several different workspaces by default, but it’s also possible to create your own. This allows you to save your favorite tools and layout, ready to restore at a moment’s notice.
![]()
At the top of Premiere Pro is the Workspaces Panel. Here you can see all of the default workspaces, along with any custom ones you have created.
To create your own workspace, use an existing one as a starting point. You can click and drag any panel to anywhere, to arrange your perfect setup. If there’s an extra toolset you need, you can enable this through the Window menu.
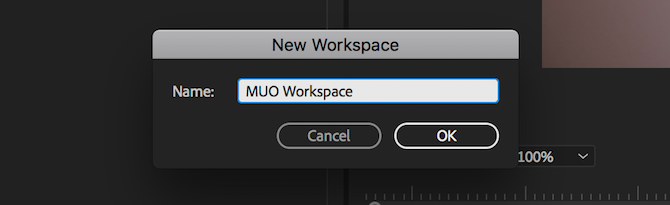
Once done, you can save this layout as a custom workspace. Choose Window > Workspaces and then Save as new Workspace.

Give your workspace an appropriate name, and the choose OK.
Now your custom workspace is all set up and ready to go. There are two additional workspace options which you may find helpful. Both can be accessed through the Window > Workspaces menu.
If you decide you’d like to re-arrange your workspace, you can do this without a problem. Once you close Premiere Pro, however, you’ll lose all your changes. You need to save your changes to your workspace. Choose Save Changes to this Workspace, and your custom workspace will be updated.
If you’ve gone too far and would like to restore your workspace to its former glory, simply select Reset to Saved Layout, and you’ll be back where you started.
Speed Up Video Editing in Adobe Premiere Pro
These tricks show that little changes here and there can add up to big gains over a whole edit. From transcoding to keyboard shortcuts and everything in between, these tips are surefire ways to increase your edit speed in Adobe Premiere Pro!
Once you’ve learned these basics, why not move onto these tips for editing video like a pro and learn how to master time remapping in Premiere Pro.
Read Full Article
No comments:
Post a Comment