Hand-lettering is all the rage now, and if you’re interested in giving it a go, one of the most popular apps you’ll want to add to your arsenal is Procreate. And to get the most out of the app, you’ll probably want to install a few free or paid hand lettering brushes.
Installing brushes you’ve downloaded couldn’t be easier.
How to Install Brushes in Procreate
You can download the brushes on your computer and save them to the cloud (iCloud or Dropbox) or you can download them directly on your iPad.
If you download the files to your iPad as a ZIP file, you can unzip the files with a free app like FileExplorer: File Manager or iZip. No matter how you choose to download the brush, the installation process is the same:
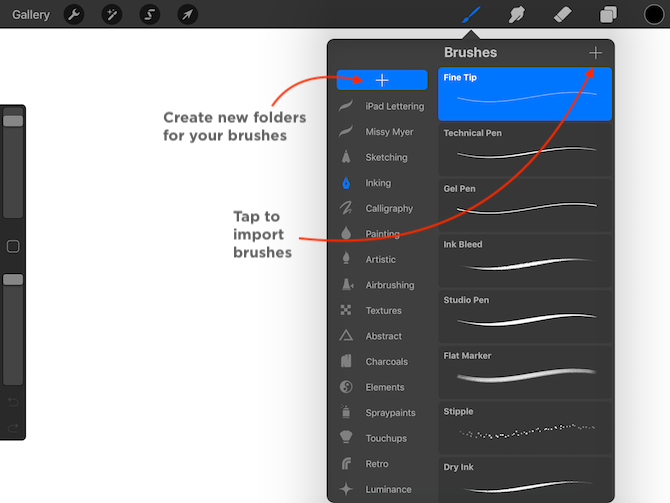
- Open a new canvas and tap the paintbrush icon to open the Brushes panel.
- Select the folder where you want to install the brush. (You can create a new folder by tapping the + button at the top of the list of brush sets.)
- Tap the + button above the list of brushes to import a new brush.
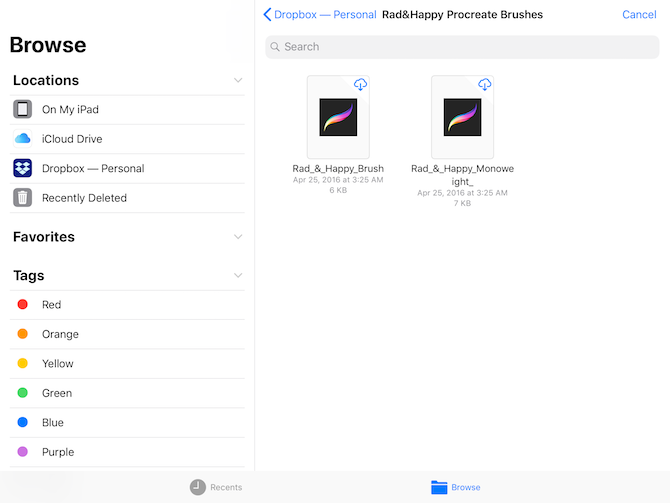
- Tap Import in the dialog box that opens.

- You’ll see the iPad’s File interface. Navigate to the folder containing your downloaded Procreate brushes.
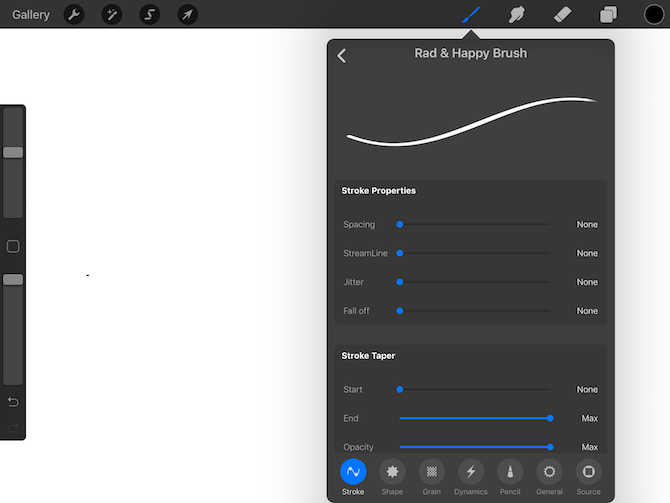
- Tap the brush you want to install. The screen will go back to the Procreate canvas with the brush panel open. (At first the brush will be labeled as an untitled brush, but once you hit the back button to go back to the list of brushes, the name will appear.)


To get you started, you can find some great free Procreate brushes courtesy of Missy Myer.
While Procreate is great for hand-lettering, it’s not the only way the popular iPad app can be used. It is one of the most powerful iPad art apps out there.
Image Credit: tomeversley/Depositphotos
Read the full article: How to Install Brushes in Procreate
Read Full Article
No comments:
Post a Comment