
There’s more to sharing in iOS than simply posting pictures and videos on social media. The Share button performs a myriad of functions, from sending files to specific apps, to saving links for later, and even running complex multi-step workflows.
You can also use the Share menu to automate processes, save time, and keep your most useful shortcuts close at hand. But in order to make it useful, you’ll need to customize it a bit first.
So here are the basics of sharing in iOS for iPhone and iPad owners.
The Basics of Sharing in iOS
There are two main ways to share something in iOS: using the dedicated Share button, and using context-based menu options. The Share button is easy enough to recognize; it looks like a box with an arrow coming out of it:
![]()
This button often shows up in menu bars for apps like Safari and Music. Tapping it will grab the web page, video, song, or other item you’re currently focused on. Here are a few examples of what the Share button does in different apps:
- Safari: Shares the open web page.
- Music: Shares the currently playing track.
- Photos: Shares the visible video or photo.
- YouTube: Shares the current video.
You can also share via context menus, which often appear when you select or highlight something. As an example, if you highlight text on a web page, you’ll see an option to Share it.

If you tap and hold an image you find on Twitter, you’ll see an iOS context menu appear to share it.
These two methods are the easiest way of getting data in and out of applications on iOS. While many apps force you to share content within the developer’s ecosystem (like Facebook), iOS context menus let you move that data to any app or online location you want.
Let’s take a look at what happens when you do try to share using one of these methods.
How to Use the Share Sheet in iOS
When you choose to share an item using iOS, you’ll use the Share sheet. This is a three-tiered sharing interface, allowing you to share with nearby devices, apps, and using actions.
The first tier is for AirDrop:

AirDrop is an Apple-to-Apple wireless sharing protocol. It allows you to share from an iPhone to another iPhone, from an iPhone to a Mac, and from a Mac to an iPhone. Windows and Linux users cannot use the protocol. Any nearby devices will appear in this top row.
The second row is for sharing to apps:
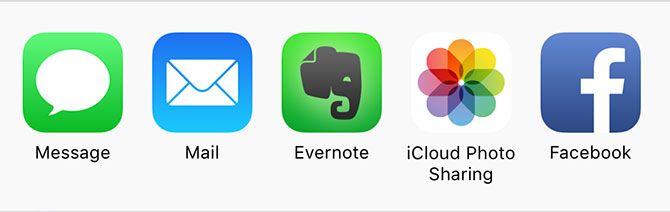
This is how you export an image directly to Instagram, add a spreadsheet to your Google Drive, or create a new note in Evernote using the item you’ve just shared. Some of these will appear inline, like the Add to Notes option, while others will launch the respective app.
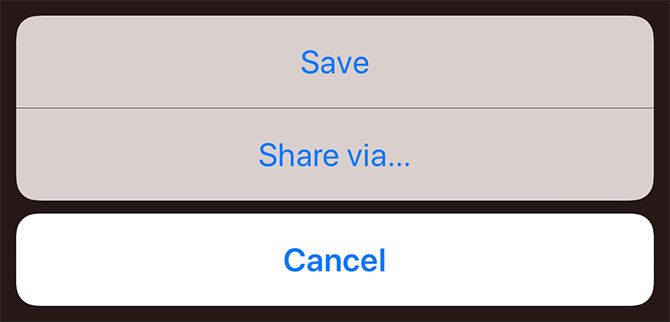
The final line is for using actions, or “activities” as Apple sometimes refers to them:
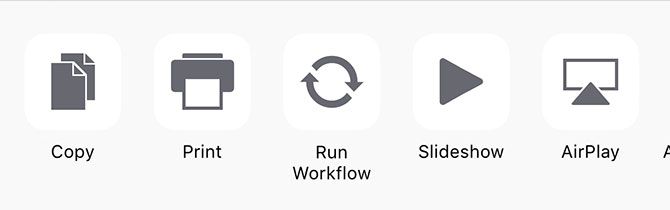
Actions don’t necessarily involve sharing at all. They include options like saving a photo, opening selected content in a browser, adding bookmarks and favorites, and even copying content to your clipboard. We’ll take a look at how you can vastly expand your available actions later.
How to Customize Your iOS Sharing Options
You can customize both the apps and actions sharing tiers to show only the options you want to use. As you’re likely aware, you need to have an app installed for it to show up in the sharing menu. Installing more apps gives you more options.
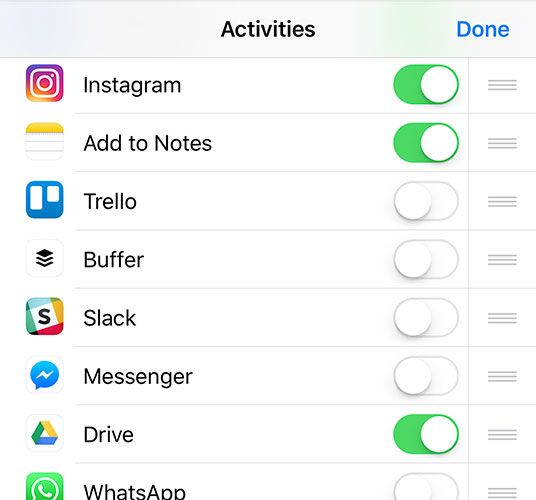
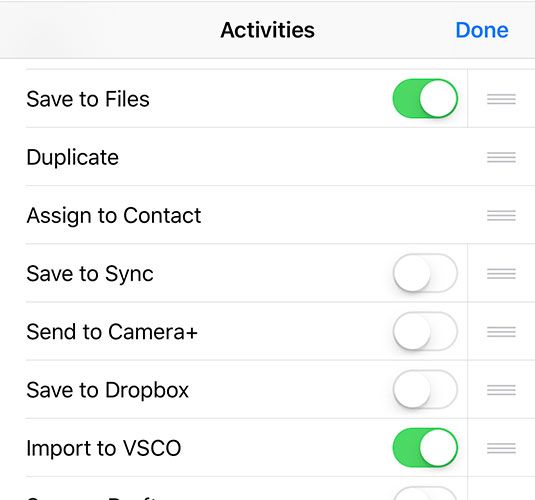
To enable these options, share an item and scroll all the way to the end of the list. Tap the More option to reveal a list of installed sharing locations. To enable one, make sure there’s a green slider next to its name. You can do the same for the actions menu below; just hit More.
We’d recommend only keeping the apps and actions that you actually use. It’s also possible to rearrange these options, so you can put your favorite destinations near the start of the queue. Just tap and hold, then drag an app to where you want it. The same is true for the actions menu, shown below.
You may discover new sharing methods you hadn’t realized were available before. Remember to check this menu when installing new apps, particularly ones geared towards creating content or storing it.
How to Do Even More With Workflow
Upstart app Workflow made a name for itself with its clever use of iOS inter-app activity. Apple acquired the app shortly after, and it’s now available free to everyone on the App Store. If you don’t have it yet, download Workflow now!
Once installed, make sure to enable the Run Workflow option in the actions (bottom) tier of the Share sheet. Using this shortcut, you can execute complex workflows using shared items, and you don’t even need to compose them yourself.
Workflow features a bustling gallery of downloadable workflows for doing more with your device in less time. In order to make your action menu more useful, you’ll need to download workflows that specifically tap into the Share sheet.
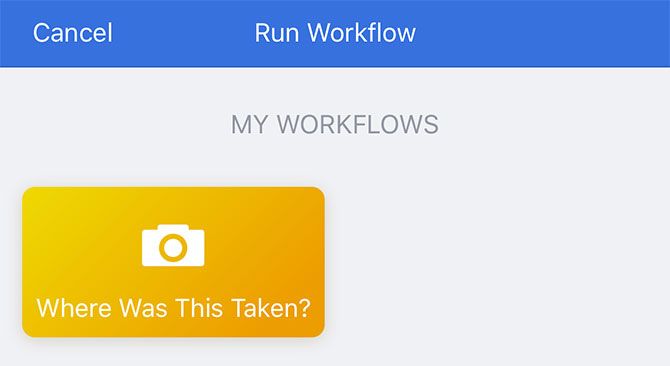
Once you’ve got a few action item workflows downloaded, you can hit the Share button, choose Run Workflow, then tap on the relevant workflow to run it. Here are a few of our favorites:
1. Where Was This Taken?
Takes a photo, checks for location data stored within that photo, then places a pin in Maps to show you where the picture was taken. Works great with Photos, plus any images you find on the web or receive from a friend.
Download: Where Was This Taken? Workflow
2. Quick Save Link (to Evernote)
This action grabs the active link (e.g. a web page in Safari) and creates a new note with it in Evernote. You can also use it as a regular workflow to save the current clipboard contents instead.
Download: Quick Save Link Workflow
3. Search Link on Twitter
Curious what Twitter is saying about the day’s biggest news story, new Apple gadget, or movie review? Use this workflow to search Twitter for the current active link.
Download: Search Link on Twitter Workflow
4. Translate Selection (to English)
This is a strictly context-based action. Simply highlight some text, hit Share, then run this workflow to detect the original language and translate the text into English. You could easily customize it to translate to another language if you wanted.
Download: Translate Selection Workflow
5. Self-Destructing Clipboard
Copying sensitive data like passwords or unlisted YouTube videos? Run this workflow to copy the selected item to your clipboard, then paste it as normal. Six minutes later it will clear your clipboard, so you can’t accidentally paste it again.
Download: Self-Destructing Clipboard Workflow
6. Save Links on Page to Reading List
Found an interesting page full of must-read articles? Use this workflow to grab each individual link on the page and save it to Safari’s built-in Reading List service.
Download: Save Links on Page to Reading List Workflow
More Apps Means More Possibilities
If you’re short on sharing locations, you probably don’t have many apps that enable them. Downloading apps like Dropbox and Google Drive will let you share directly to those services. Even apps like Snapchat have built-in Share sheet integration, so make sure you’re making the most of the services you love.
If you’ve found this useful, why not take a look at our in-depth guide to iOS for beginners? You’re bound to learn something, even if you’ve been using an iPhone for years!
Read the full article: How to Master and Expand Your iPhone’s Share Menu
Read Full Article
No comments:
Post a Comment