Packed full of sensors, buttons, a color LCD screen, and Wi-Fi connectivity, the Wio Terminal from SeeedStudio is fantastic value and well documented. That makes it easy to get on with what's really important: making cool stuff.
Electronics programming can be quite frustrating at times. Sourcing components, finding the right libraries to make use of them, figuring out the right parameters to pass in, then hoping there’s some example code to get started with. It all adds up to a massive time suck that detracts from the fun stuff. That’s largely why I’ve fallen out of love with the Arduino ecosystem. SeeedStudio thinks the Wio Terminal might rekindle my relationship with electronics though, and I think they’re right.
The Wio Terminal is an Arduino-compatible development board, crammed full of features and well documented, available for an entirely reasonable $30. Read on to find out why it’s the coolest thing since an Arduino Uno.
Wio Terminal Features and Specifications
The Wio Terminal is built around an ARM Cortex M4F system-on-a-chip, which is a 32-bit ARM processor running at 120Mhz (200Mhz burst). It features 4MB storage, 192k RAM, and there’s a Realtek RTL8720DN wireless chip providing Wi-Fi and Bluetooth connectivity (though the Bluetooth stack wasn’t implemented at the time of writing).
In terms of built-in features, there’s a lot to shout about:
- 2.4″ color LCD screen
- 3 pushbuttons
- 5-way joystick
- Buzzer
- Micro SD card slot
- Light sensor
- IR emitter
- Accelerometer
- Wi-Fi
- Bluetooth
- USB-C, for client or host mode
- Two Grove system connectors

The USB-C connector is how you’ll power the device for now, though a battery kit is expected to be available at a later date. The Wio Terminal can act as both a USB client, to emulate a keyboard, mouse or MIDI device to the host PC; or a host, so it can, for instance, read signals from a wired game controller (though it’s not yet clear how to power it in this mode).

For more complex projects, or those who just prefer Python, the Wio Terminal is able to combine the best of both worlds with ArduPy. You’ll be able to program in Python using the MS Visual Code editor, yet still import your favorite Arduino libraries (or make use of existing ArduPy ones). Personally, I can’t stand Python, but you can learn more about using the Wio Terminal in this way on the SeeedStudio blog.
Getting Started with Wio Terminal
Power on the device with the switch to the left of the screen–and you’ll be immediately greeted by a small Flappy-bird stype retro game (the code for which is available here in case you ever want it back).

You’ll need the Arduino IDE installed to begin programming the Wio Terminal, and to install support for the Wio boards. Enter the URL provided in your preferences, then use the Boards Manager screen and search for Wio.
You’ll find countless code examples for all the various onboard components on the Wio wiki. Many require you to install an additional library into your Arduino Libraries folder, but that’s a simple process (Sketch -> Include Library -> Add Zip).
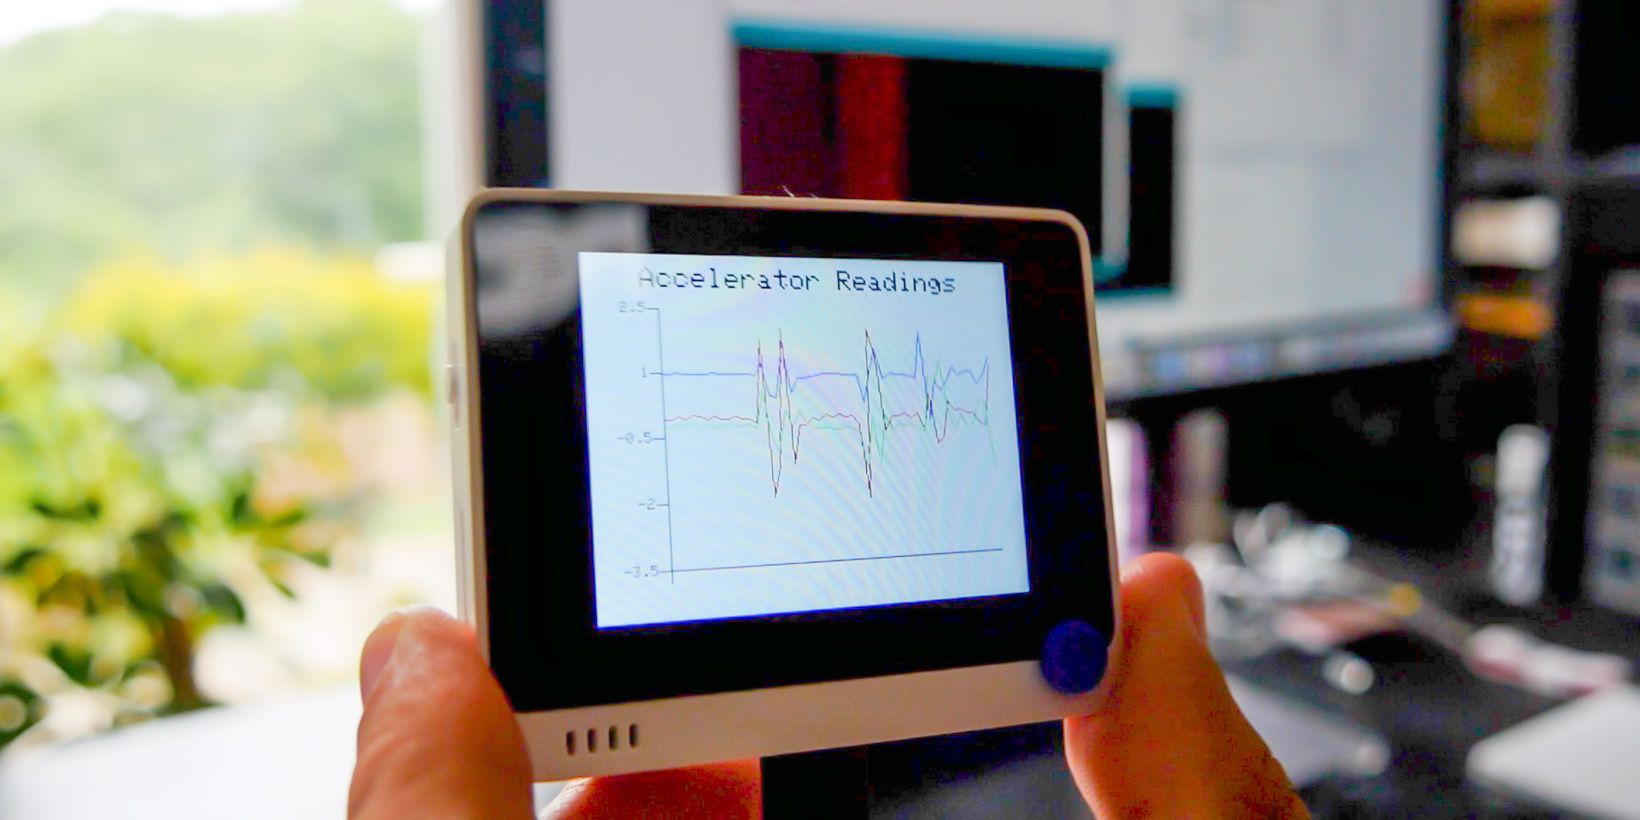
My first foray involved the sample code for reading accelerometer values and plotting the results on the screen. Very cool, and it really shows off the device’s capability for data logging projects. You’ll also find code for writing values to an SD card.

From there, it was trivial to modify that to read values from the included light sensor instead.

Another ten minutes later, I’d combined the joystick code sample with the LCD fonts demo, to make a simple joystick test program with visual output.

At that point, I wanted to connect another sensor from my bits box, and it was then that I realized there’s a small trade-off to be made in such a polished device. Compared to the barebones board and pin access of the Arduino Uno, it’s a little more difficult to get to the pins on the Wio Terminal. The pinouts for the 40-pin connector can be found in the online documentation, but they aren’t labeled on the device itself and there’s always a risk of plugging in the wrong things.

Which brings us neatly on to the topic of: what options are there for adding components and sensors?
Grove Connectors
On the front of the device are two Grove connectors. Grove is a mature hardware ecosystem that covers every kind of sensor you could possibly want, and more besides.

This is by far the easiest way to add something to the Wio Terminal, and of course, all the Grove components are also well documented with libraries provided. For beginners, it’s a fantastic place to expand from. There’s a small premium on sensors and components within the Grove system, but not a huge amount–and the time you’ll save not having to mess around means it’s absolutely worth it.

For pro users, you can still make use of existing components either through direct pin access on the underside or through the use of Grove system breakout cables. You won’t have as many digital or analog pins as an Arduino, simply because many of them are already in use by on-board components.
Realistically though, how many times have you needed all those IO pins?
Connectivity Options
The model we were sent for review is an engineering prototype, so getting Wi-Fi to work requires a firmware upgrade. It’s a fiddly process and only needs to be done once, but I expect later models to have this ready to go out of the box.
Unfortunately, the Bluetooth hardware is not yet functional. It’s all there on the board, but the libraries needed to use it are not developed yet. Again, this is an early prototype, so I expect a couple of things to unpolished. The Wio Terminal is the latest in a long line of Wio branded devices, and SeeedStudio is an established company, so I’m confident this will be added in time. Still, if you were hoping to use the Bluetooth features straight away in your project, hold off on purchasing for now.

On the underside of the Wio Terminal, you’ll find a 40-pin Raspberry Pi compatible connector, which enables you to use the Wio Terminal as a Raspberry Pi Hat. This functions via a serial device, so you could send messages from Python running on the Pi to display on the Wio Terminal, for instance. You could feasibly offload some processing work to the Wio Terminal (it can run Tensorflow Lite), use it for the buttons etc, but this seems a waste. Unless you really, really want to program in Python, you’d probably be better off doing everything natively on the Wio Terminal itself. Still, it’s nice to have options.
Is the Wio Terminal Right for You?
Given the choice between the Wio Terminal, which is stuffed to the brim with hardware features like a color screen and joystick–for an entirely reasonable $30–or a $20 official Arduino Uno which has literally nothing else… I know which one I’d choose.

Of course, you could opt for unofficial clones and then source only the additional features and components you needed for a somewhat cheaper price. But you should also factor in your time. Part of what’s so attractive about the Wio Terminal package is that everything is so well documented, and I don’t need to track down compatible libraries or code snippets. That means you can concentrate on the things that matter: building awesome stuff.

That’s why I’m calling it now. The Wio Terminal is the new standard for IoT and data logging development boards. And for beginners looking to get started with electronics programming, the Grove sensor system will save you time and frustration in those crucial early learning stages. At $30, the Wio Terminal is a bargain.
Enter the Competition!
Wio Terminal GiveawayRead the full article: Why I’m Never Buying an Arduino Again: The Wio Terminal
Read Full Article
No comments:
Post a Comment