One of the most common mistakes when taking a photo is that it ends up looking blurry. This is either because you moved, the object moved, or your camera didn’t focus properly.
Don’t worry. Depending on the level of blurriness involved, this is something that can be fixed. All you need is Photoshop. Here’s how to make your photos sharper using Photoshop.
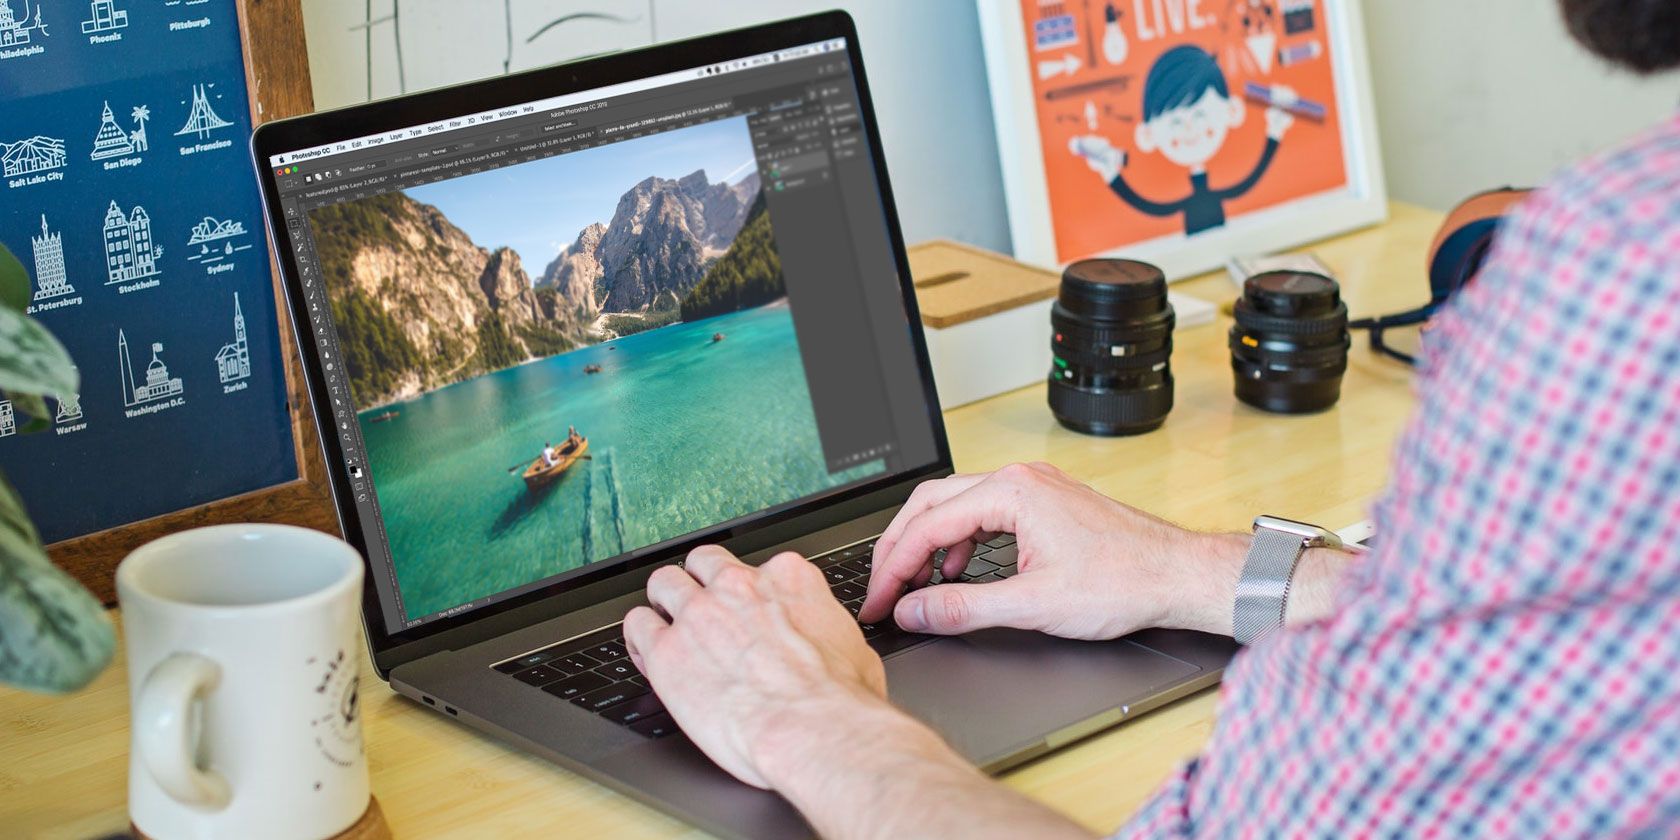
Step 1: Open Up Your Photo

When you’re sharpening pictures, the overall changes will be subtle. Photoshop is there to make minor adjustments, not rebuild your image from the ground up.
If a photo is so blurry you can’t make out any of the shapes, then it’s probably not fixable. However, if you have a photo that’s still discernible but fuzzy around the edges, then it’s a good candidate for improvement.
For this tutorial, I’ve used a photo of some flowers that I took during my recent vacation to Victoria. I love the details in this photograph, but the flowers are a bit blurry.
There’s a couple of different ways that you can sharpen an image in Photoshop. For this tutorial, however, we’re going to focus on the most versatile of these options—the Smart Sharpen tool. It’s a feature that comes with Photoshop CC.
Once you have your own photo open, go to Filter > Sharpen > Smart Sharpen. You’ll see it clustered together with the other sharpening tools.
Step 2: Learn How to Use the Smart Sharpen Tool

When you click Smart Sharpen, a new window will pop up.
Your window might be smaller than mine or be in a different place, but that’s fine. You can make your window larger and reposition it on the screen to give you a bigger area to work with, as I have done in this example.
To make your window larger, click and drag on one of the corners to resize it. Click and drag on the pale grey bar at the top of the window to move it around the screen.
Along the right side of the Smart Sharpen window you’ll see your settings. At the top is the Preview window checkbox, which should be turned on.
Next is the Preset menu, your general settings, and your Shadows and Highlights. Let’s take a look at all of these categories.
Step 3: Your Preset Menu

You’ll see your Preset menu at the top of your settings. This is where you can load a sharpening preset, save a preset, or create a custom one.
An interesting thing to note is that Photoshop automatically sets you to Default if you haven’t used this tool before. The minute that you start changing the settings, it will switch your Preset to Custom.
Step 4: Your General Functions

After you’re done with your Preset menu, it’s time to move down and explore your general settings. This is where you can adjust the sharpness of your image. When you sharpen an image, it increases the contrast between the items in your picture.
Amount means the overall sharpening that you’ve applied to your image. The higher the percentage, the more sharpening there will be.
Radius is the area around the sharpened edge that will be affected. The higher the percentage, the larger the affected area.
Reduce Noise helps you reduce image artifacts in your picture.
All three of these options are great. If you push these settings too high, however, your image can start to look jagged or pixelated due to the high contrast.
When this happens, it’s best to reduce these settings to add a bit of blurriness back.
At the bottom of these settings, you’ll see a dropdown menu called Remove. In this menu you can choose to remove three different types of blur that may be affecting your image.
A Gaussian Blur comes from an overall blurry image. This might be affecting your picture if it was taken at dusk, for example, when visibility was poor.
Lens Blur occurs when you’ve moved, but the object didn’t.
Motion Blur occurs when the object in your pictures were moving. If you choose to remove Motion Blur, you’ll see the little circular “dial” beside it become active. This dial allows you to change the direction of the motion blur removal.
Step 5: Shadows and Highlights

Under your general settings, you’ll see your Shadows section. This section works the same way as the previous area, but unlike your general settings it focuses specifically on the dark areas of your picture.
Play around with this setting and see what works best for you. Each image will have a slightly different level of blurriness, so the settings I required to calibrate my photo might be different from yours.

Under the Shadows section, you’ll see Highlights. This section works the same as the other two, but focuses on the brighter areas in your image.
Step 6: Save Your Preset and Check Your Work

A cool way that you can check out the changes in your Smart Sharpen window—before you apply them—is to click and hold on the image in your preview window. Drag it a bit. When you do, Photoshop will show you what your images looked like before you applied the changes.
Let go of your mouse, and it reverts to the new changes.
If you’re happy with how your image looks, you can press OK and apply the settings immediately. You can also choose to save the settings first.
To save the settings as a preset, go back to your Preset dropdown menu and choose to Save Preset.
Once that’s done, click OK. Photoshop will apply the changes and exit the Smart Sharpen window.

Once you go back to your main workspace, you’ll see your image with its changes applied.
Because these changes are going to be subtle, it’ll be hard to see what’s different at first glance. Let’s compare the new and old images side-by-side:

As you can see, the new edges on the left are much cleaner.
If you don’t like the changes you’ve made to your own image, no problem. Just go File > Undo Smart Sharpen to undo the changes you’ve made.
Once you’re done with your tweaks, save your picture and its updates by going to File > Save.
You can also go to File > Save As if you want to keep a copy of the original, unaltered picture.
If you’re looking to perform a few more image edits before you save your file, check out our article explaining how to change the background of a photo in Photoshop.
Step 7: Tips to Keep in Mind

A few more things to keep in mind when sharpening your photos using Photoshop:
- When sharpening, it’s best to sharpen your image in small amounts. Too much at once can result in image artefacts instead of having a nice, natural looking effect.
- Under Filter > Sharpen, you will see other sharpening tools you can use. These work well, but unfortunately they do not have as much versatility as the Smart Sharpen tool.
Fixing Your Photographs
Photoshop is a great editing tool, whether it’s for photographs or graphic design. With this basic introduction to the Smart Sharpen tool you might even be able to save some of your photos from the junk pile.
Are you looking for more ways to fix your photos in post? Then here’s how to crop your images using Photoshop.
Read the full article: How to Make Your Photos Sharper Using Adobe Photoshop
Read Full Article
No comments:
Post a Comment