If you’re getting ready to build a PC, you’ll need some basic tools as well as your components.
Here we’re giving a rundown of tools and equipment you should have on hand for the best building experience.
1. Screwdriver
The one most essential tool for building a computer is a Phillips-head screwdriver. This is used for tightening the screws on most components to hold them in place. Get a decent quality screwdriver of an appropriate size to make your life easier.
It is useful for your screwdriver to be magnetic as this will help you to keep control of your screws when fitting items from awkward angles.
2. Pliers
Sometimes you’ll find a screw or bolt which is so tight it’s hard to undo it. In these cases, a pair or pliers is useful. You can use them to loosen up tight fastenings.
Pliers are also handy for retrieving small screws if you drop them into a cramped location like behind the motherboard tray. You want to make sure you remove any loose screws, as leaving them in the case could potentially cause an electrical short. So if you drop a screw, be sure to retrieve it before continuing.
3. Anti-Static Equipment
You should be aware of the minor risk to your components from electrostatic discharge. This occurs when two surfaces rub together and create static electricity, which can create a small spark. If this happens near your components, it can damage them.
There’s some debate over how serious a problem this is when building a PC, but if you’ve spent a lot of money on components then it’s a good idea to take extra precautions.
The best way to avoid electrostatic discharge is to wear an anti-static wrist strap. This is a bracelet-like device which you attach around your wrist and connects to an electrical socket. That way, if any electrical charge builds up between your body and the computer, it can be safely dissipated through the socket and won’t create a spark.
4. A Clean Workspace
It’s important to have space to work while you build. Look for a flat surface at an appropriate height so you’re not bending over and hurting your back, with good clear overhead lighting. Some parts are small or hard to seat correctly and it’ll be much easier if you can see what you’re doing.
One thing to avoid is working on carpet. Carpet can generate static electricity, especially if you’re wearing fluffy socks, which can potentially harm your components. This isn’t very likely to happen but it is a risk.
The best surfaces are a wooden desk or coffee table, or you could use your kitchen counter as long as there’s enough room and you aren’t too near the sink.
5. Zip Ties
Once your components are placed into your case, you need to manage the cables to keep everything neat and tidy and to make sure you’re not obstructing any airflow.
To do this, you’ll need zip ties, velcro ties, or twist ties. These will let you tie down cables to points inside your case and bundle cables together for easier management.
See our article on cable management tips for building a PC like a pro for more on this topic.
6. Thermal Paste
If you buy a new CPU or a new cooler, it will probably come with a small tube of thermal paste. But if you are building using second-hand components, you’ll need to supply your own thermal paste.
You may also want to consider having your own thermal paste on hand as the paste that comes with some CPUs or coolers is not of the best quality. The thermal paste helps transfer heat from your CPU to the cooler so using a quality paste can help prevent your computer from overheating.
Some popular quality thermal pastes are Arctic Silver 5, Thermal Grizzly Conductonaut, or Noctua NT-H1.
If you’re using an all-in-one cooler you won’t need thermal paste as it will come with paste pre-applied. Just make sure you understand how little thermal paste is needed before applying.
7. Rubbing Alcohol
If you’re adding new thermal paste to your CPU, you’ll need to remove the old thermal paste first. Thermal paste hardens over time and becomes crusty and less effective.
Fortunately removing old thermal paste is very easy. You can use rubbing alcohol to remove it. Just dip a q-tip in the rubbing alcohol and gently rub at the old thermal paste to remove it.
If you don’t have rubbing alcohol you can use acetone in a pinch, which is found in nail varnish remover. However, some nail varnish removers contain conditioning oils as well as acetone so they aren’t ideal to use on a CPU. Stick to rubbing alcohol for the best results.
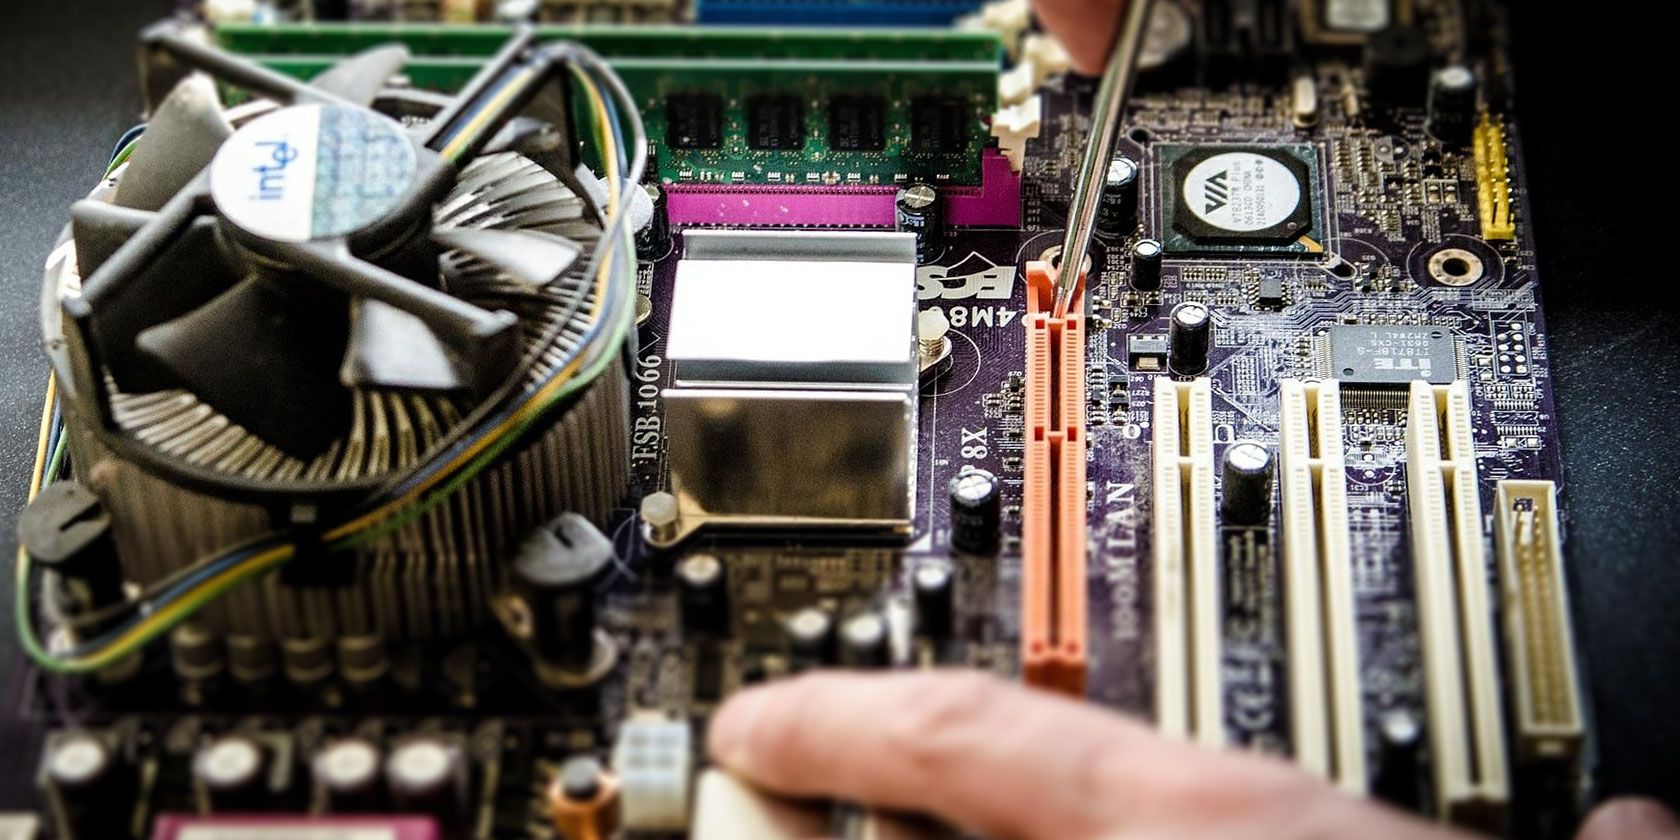
8. A CPU Installation Tool

This tool isn’t necessary but it can give you confidence if you’re a first-time builder.
When you install a CPU, you have to make sure that it is lined up correctly with the socket on the motherboard. There’s a small triangle in the corner of the CPU which will help you line it up. You just need to gently drop the CPU into the socket. Don’t slide it around or push too hard or you could damage your CPU.
If you’re worried about the process, you can use a CPU installation tool like this one from ASUS. It’s a small plastic bracket which holds the CPU in the correct position and helps you drop it neatly into the socket.
9. Spare Parts
Finally, one of the most useful things you can have on hand when building is a currently working PC for troubleshooting purposes.
If you connect all your components, your new PC should be able to POST (power-on self test). This means that the components are communicating with each other and the machine is able to access the BIOS. The BIOS is the basic software which the computer runs on and onto which you install an operating system. Learn more about BIOS in our article on discovering your BIOS and how to make the most of it.
However, sometimes you’ll connect your components and the PC won’t POST. When this happens, you can listen out for beep codes which can tell you what the problem is. But if that doesn’t work, it’s time to start troubleshooting.
This is where your working PC comes in. You can swap out components one at a time for components from your working PC, because they are known to be functional. If you swap out your new RAM for your old RAM and the new PC now posts, for example, you are likely dealing with a faulty or incorrectly seated RAM stick.
Having known working parts on hand makes troubleshooting so much easier.
If you have these tools on hand, you’ve got everything you need to start building your own PC.
Read the full article: 9 Things Every PC Builder Needs for a Successful Build
Read Full Article
No comments:
Post a Comment