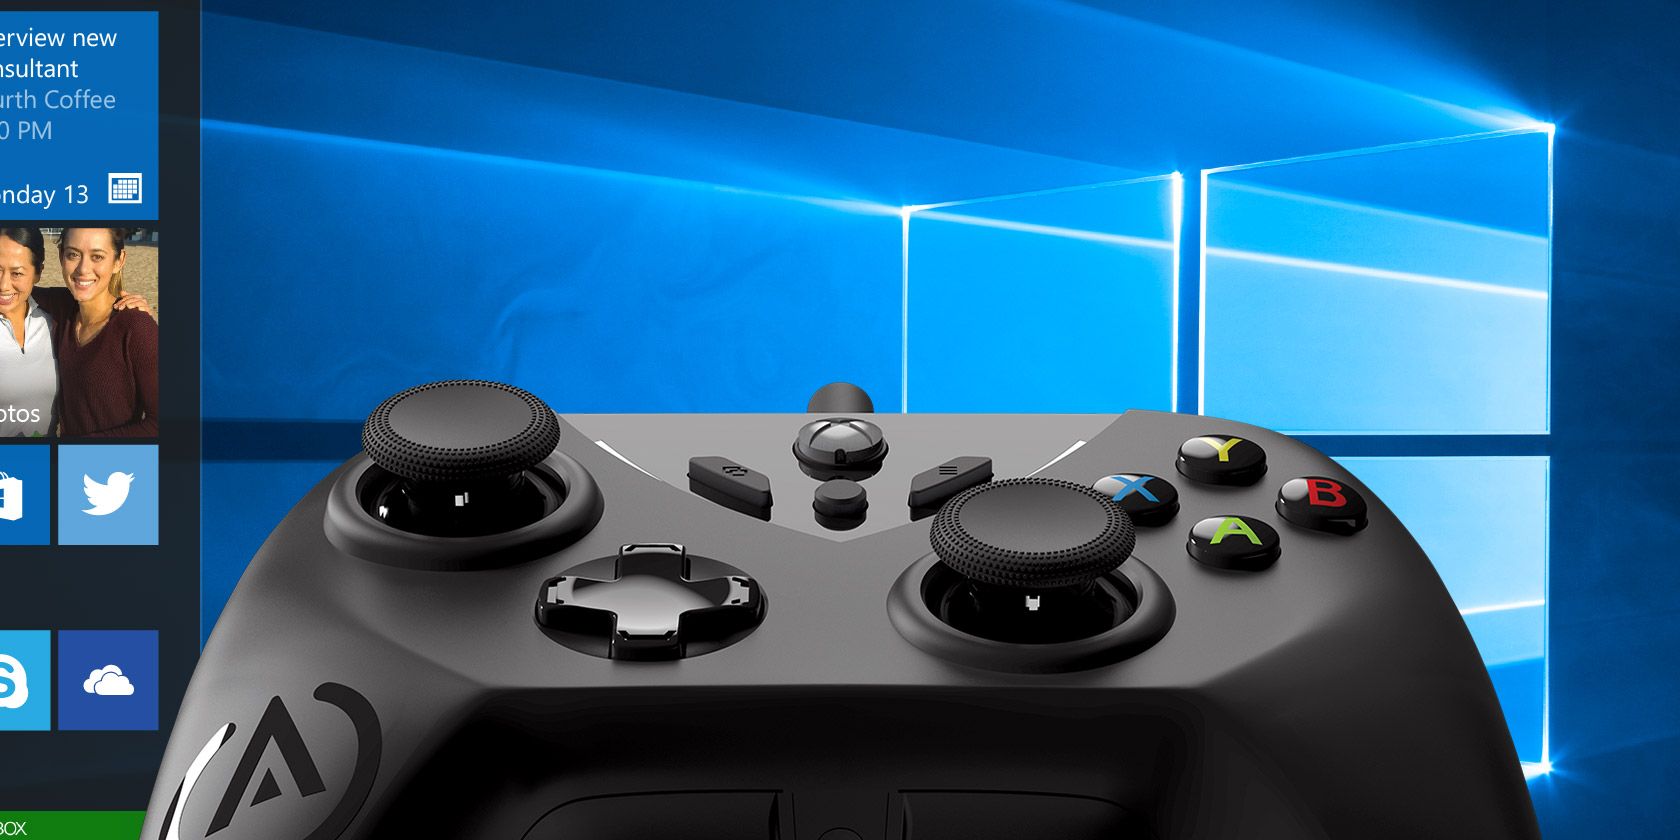
Windows 10 is a great OS for gamers, mixing native games, support for retro titles, and even Xbox One streaming. But it isn’t perfect straight out of the box.
Some tweaks are required to enjoy the best gaming experience Windows 10 has to offer. Here are several ways to optimize your Windows 10 PC for gaming.
1. Optimize Windows 10 With Gaming Mode

Looking for another option to squeeze the best gaming performance out of Windows 10?
Later releases of the operating system feature a gaming mode, built-in optimizations for Windows 10 gamers. To find out more, press Windows key + I, type game mode then click Control Game Mode for optimizing your PC for games.
On the Gaming screen, click Game Mode. Switch to On to take advantage of Game Mode. If your PC supports Game Mode, Windows Update will be suspended while gaming and resources will be managed to achieve the optimum frame rate.
Admittedly, Game Mode is not perfect and many other optimizations for gaming on Windows 10 are available, which we’ll take a look at in the rest of this guide.
2. Disable Nagle’s Algorithm
Nagle’s algorithm essentially bundles data packets at the cost of a smoother internet connection. Having Nagle’s algorithm enabled on your computer may contribute to latency issues when playing games online.
To disable this and improve gaming performance on Windows 10, edit the Windows Registry: Start > type regedit > Regedit. Tread carefully when fiddling with the Windows Registry!
In the address bar, copy and paste the following path:
HKEY_LOCAL_MACHINE\SYSTEM\CurrentControlSet\Services\Tcpip\Parameters\Interfaces
In the left-hand pane, you’ll see a collection of folders, with filenames comprised of letters and numbers. In order to access the correct file, match your IP address with the listed DhcpIPAddress in one of these files.

Check your IP address by going to Windows key + X > Windows PowerShell and entering ipconfig.
Look for the “IPv4 address” listed under your current connection (typically Ethernet or Wireless LAN) to identify your IP address.
Once you’ve tracked down the IP address of your internet connection, right-click on the corresponding folder and select New > DWORD (32-bit) Value.
Here, create two DWORD Values: name one TcpAckFrequency and the other TCPNoDelay. Once you’ve created the values, double-click on each and set their parameters to 1.
This activates the two parameters, thereby disabling Nagle’s Algorithm. If you run into any problems, set their parameter value to 0 and they will be disabled.
3. Disable Automatic Update and Restart
Windows 10 will automatically update your OS and schedule a restart without your permission. While this feature doesn’t activate often, you never want to be caught unaware and risk your game save.
Not only can automatic updates restart Windows without warning, downloading updates in the background will limit your network connectivity.
While you cannot disable automatic restart, it can be delayed. Start by accessing your update settings under Windows key + I > Update and security > Windows Update > Advanced options > Update Options.
Here, disable Automatically download updates, even over metered data connections (charges may apply). This is the best option to reduce the chance of Windows Update downloads interrupting your gaming performance.
Ensure that We’ll show a reminder when we’re going to restart is left enabled, too. Windows will now give you plenty of warning when the system is going to restart following an update.
In the main Windows Update screen, it’s worth using the Change active hours feature.

By specifying when you’ll be using Windows 10, you can prevent Windows Updates downloading and installing during active hours.
4. Prevent Steam From Auto-Updating Games
If you use Windows to play games, you’re probably buying and installing games via Steam.
One of the largest annoyances with Steam is its update feature, which will not allow you to prevent automatic updates across all your games. This may eat up memory by updating games you don’t play or limit your network connectivity with background updates.
To prevent Steam from updating games in the background, head to your Steam client and access your update options under Steam > Settings > Downloads.
Uncheck Allow downloads during gameplay to prevent Steam from updating content while you’re gaming.

To prevent Steam from downloading updates for largely-unused games right-click on each of the installed games in your Library in question and select Properties.
Under Automatic Updates, change Always keep this game up to date to Only update this game when I launch it.

5. Adjust Windows 10 Visual Effects
Your graphical user interfaces (GUI) can be a hindrance to your processing power. By default, your Windows 10 appearance settings are set to impress.
Games running in the foreground may conflict with a shiny GUI running in the background. Adjust these settings to optimize Windows 10 for gaming performance.
Press Windows key + I and type performance, then select Adjust the appearance and performance of Windows > Adjust for best performance > Apply > OK.

Then switch to the Advanced tab and ensure that Adjust the best performance of is set to Programs.
6. Max Power Plan to Improve Windows 10 Gaming
Power options are often left alone due to their supposed, negligible effect. Some gamers claim adjusting for higher performance works, while others fail to notice any difference changing their PC power settings.
The only way to know for sure is to test it out on your PC. Change your power settings via the Settings screen, using Windows key + I > type power > Power and sleep settings > Additional power settings.

If you have a high-performance option, select this. If not, use Create a power plan to configure a new, custom power plan.
This option will allow your PC to perform better at the cost of higher energy consumption and temperature levels. For this reason, it’s better to activate this Windows 10 optimization on the desktop rather than laptop PCs.
7. Keep Your Drivers Up-to-Date
Your GPU (Graphics Processing Unit) is the core of your PC gaming experience, and it requires the latest Windows driver to keep it working faster and better.
All graphics cards, no matter how old or new, benefit from continually updated drivers.
To check your GPU name and specs, right-click Desktop > Display settings > Advanced display settings > Display adapter properties.
Although you can download driver updates through this window under Properties > Driver > Update Driver I prefer visiting the manufacturer’s website to ensure the driver is up-to-date.
Manufacturers will often provide free gaming and update software as well which will keep your drivers up to date automatically, as is the case with AMD’s Gaming Evolved client.
For optimal performance, it is highly recommended that you install the chipset and LAN drivers for your motherboard as well since they are crucial for optimal gaming performance.
The easiest method to check chipset drivers is to open your command prompt under Windows key + R > type cmd > OK and paste the following command.
wmic baseboard get product,Manufacturer,version,serialnumber
Your motherboard’s manufacturer and product name will appear in the command prompt.
List your manufacturer and product name to search for your drivers online. You should find the necessary software on the Support page of the manufacturer’s website.
Along with the chipset drivers, you will also find your on-board LAN drivers for an optimal internet connection.
Rather have all of your drivers updated continually through a single software client? Manufacturers like Intel and MSI provide free update software to keep tabs of your LAN drivers, GUI setup and more.
8. Install DirectX 12 to Optimize for Gaming
DirectX 12, the latest version of Microsoft’s popular API tool, is a key element of Windows 10 gaming.
It delivers support for multiple GPU and CPU cores, better frame-rates, lowered power consumption and enhanced graphical effects.
To check if you have the latest version of DirectX, go to Windows key + R > type dxdiag > OK. Moments later, you’ll see the DirectX Diagnostic Tool.

Don’t have DirectX 12 installed? You can fix this with Windows key + I > Update and security > Windows Update > Check for updates. Wait while the updates are installed.
If you’ve recently installed Windows 10 onto your computer, you may not have officially downloaded the latest DirectX update. Note that there is no stand-alone update package for DirectX 12.
Optimize Windows 10 for Gaming: You Won’t Regret It!
Windows 10 is a legitimate delight for the modern gamer.
With a towering game selection, Xbox One compatibility and software specifically designed for gaming, it’s clear the gamer community has a special place in Windows 10’s future. However, nothing’s perfect. Reach closer to gaming perfection with these Windows 10 gaming optimizations:
- Windows 10 Gaming Mode
- Disable Nagle’s Algorithm
- Disable automatic updates
- Prevent automatic updates from Steam
- Tweak visual effects for performance
- Use maximum power settings
- Keep drivers up to date
- Install DirectX 12
And are you curious about gaming routers and if they’re worth it?
Read the full article: 8 Tips and Tweaks to Optimize Windows 10 for Gaming
Read Full Article
No comments:
Post a Comment