Notepad++ is a free text editor that makes an excellent Notepad replacement on Windows. It includes many useful features like a tabbed interface (multiple documents), zoom in and out, bookmarks, and macro recording. It also has some good features for programmers like syntax highlighting, code folding, and autocompletion for programming, scripting, and markup languages.
Even with all the great features in Notepad++, you can add more powerful features with plugins. The Notepad++ Plugin Manager (or Plugins Admin) is the launchpad to extend its capabilities. In this article, we’ll cover how to install, update, and remove plugins in Notepad++ using the Plugin Manager.
Important Settings During Installation
There are a couple of settings you should watch for when installing Notepad++.
If you’ve already installed Notepad++, you can uninstall it and keep your custom settings. Just make sure to click Yes on the following dialog box when you uninstall Notepad++.
Then, reinstall Notepad++ and make sure you set the following options the way you want. It doesn’t take long to uninstall and reinstall the program.

On the Choose Components screen during installation, make sure Custom is selected from the dropdown list. Then, check the Plugins Admin box in the list.

Notepad++ stores configuration files in the %LOCALAPPDATA%\Notepad++\plugins folder. If you plan to copy or move Notepad++ to a USB flash drive, or another external drive, so you can run it on any Windows computer, you can store the configuration files in the program folder instead.
To do this, check the Don’t use %APPDATA% box on the following Choose Components screen.

Opening the Notepad++ Plugin Manager
The Plugins Admin dialog box (or plugin manager) lists the available and installed plugins. You can install additional plugins and update and remove included plugins with this dialog box.
To open the Notepad++ plugin manager, go to Plugins > Plugin Admin.

Installing an Included Notepad++ Plugin
A list of plugins included with Notepad++ displays on the Available tab on the Plugins Admin dialog box.
To install a plugin, check the box for the plugin you want to install and then click Install.

The Plugins Admin dialog box automatically closes, and you’ll see a warning telling you that Notepad++ will exit and restart to complete the installation.
Click Yes.

Once Notepad++ restarts, you’ll see the installed plugin on the Plugins menu with any available options and settings for it.
The installed plugin moves from the Available tab on the Plugins Admin dialog box to the Installed tab.

How to Manually Install a Notepad++ Plugin
Do you want to install a plugin that’s not available in the list on the Available tab on the Plugins Admin dialog box? Maybe you found a plugin on the Notepad++ Plugin Resources, or on another site, that you downloaded.
First, make sure the file you downloaded is safe. There are several reliable sites for doing a quick free antivirus scan. Then, close Notepad++, if it’s open.
Your downloaded plugin is most likely a ZIP file, so extract the contents of the file.
If you didn’t check the Don’t use %APPDATA% box during the installation of Notepad++, go to the %LOCALAPPDATA%\Notepad++\plugins folder.
Otherwise go to C:\Program Files\Notepad++ (or whatever folder you chose for the program folder during installation). Create a new folder in this location and name it with the name of the plugin.
There should at least be a DLL file. Copy the DLL file and any other files and folders (keeping the same directory structure) and paste them into the new folder you created in the plugins folder.

When you open Notepad++ again, you’ll find the manually installed plugin available on the Plugins menu. Each installed plugin has a submenu with its own options and settings.

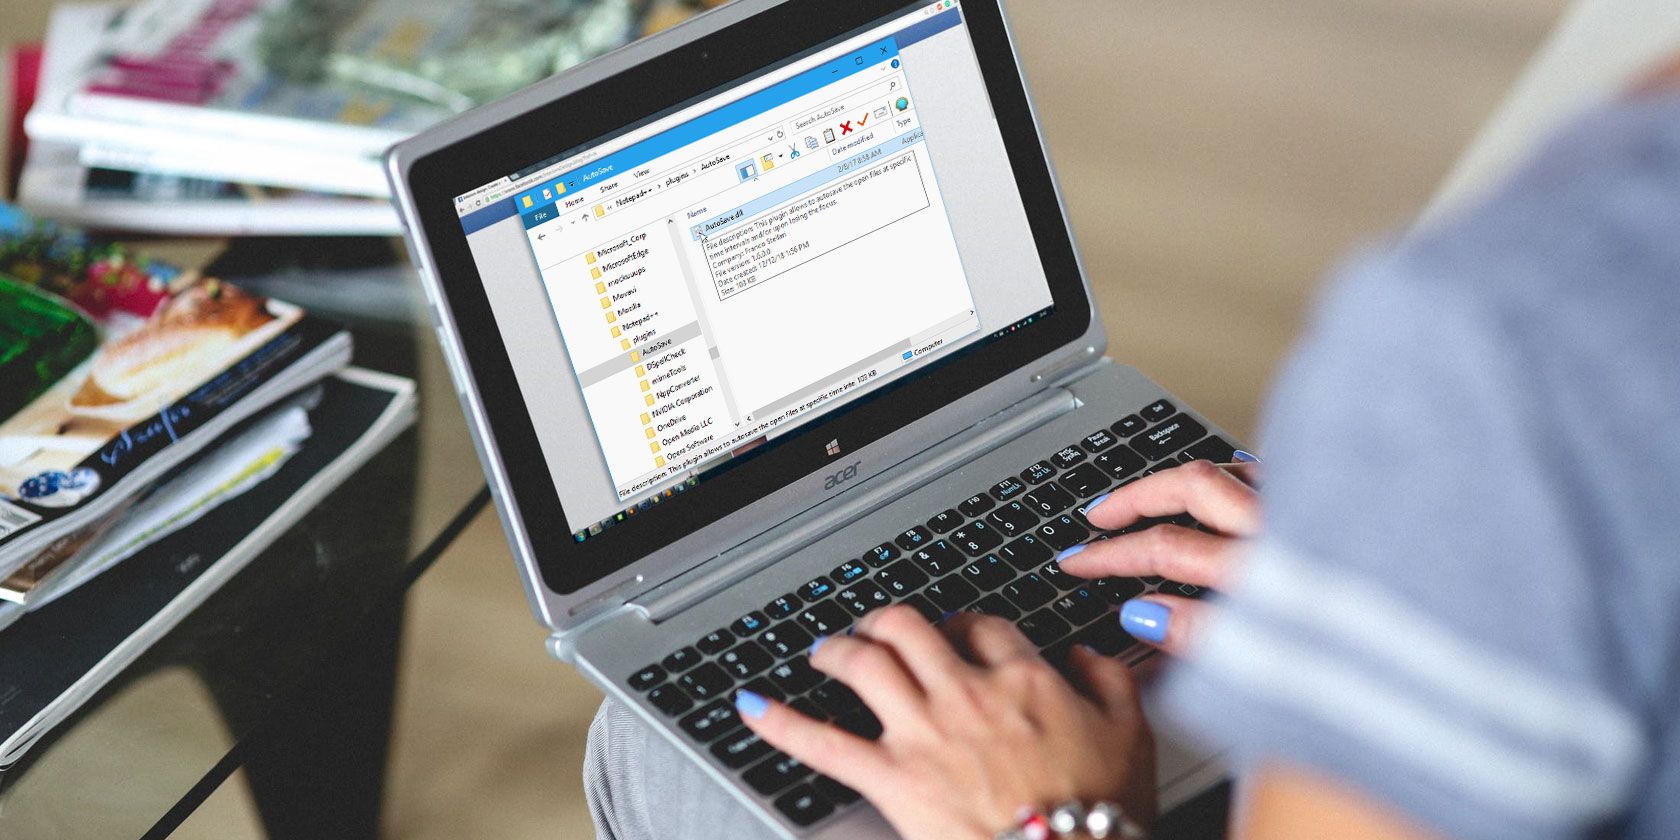
For example, here are the options for the Auto Save plugin we installed.

How to Update Notepad++ Plugins
When an included plugin has an available update, you’ll find it on the Updates tab on the Plugins Admin dialog box.
Manually installed plugins do not display in the Updates list. To update a plugin you installed manually, download the new version and replace the old DLL file with the new one.
- To check for updates, go to Plugins > Plugin Admin and click the Updates tab. Check the boxes for the plugins you want to update and then click Update.
- You’ll see the Notepad++ exit dialog box. Click Yes.
- Notepad++ restarts with the most current versions of the selected plugins.

How to Remove Included Notepad++ Plugins
The Notepad++ Plugin Manager makes it easy to uninstall the plugins you don’t need. It won’t remove the manually installed plugins though.
- Go to Plugins > Plugin Admin and click the Installed tab.
- Check the boxes for the plugins you want to remove. You can remove more than one at a time.
- Click Remove. The removed plugins move back to the Available tab.

How to Manually Remove Installed Notepad++ Plugins
To remove plugins you installed manually, do not use the Installed tab on the Plugins Admin dialog box. You must delete them manually.
You might want to make sure you have a backup of your manually installed plugins, in case you want to install them again.
- Open File Explorer.
- If you didn’t check the Don’t use %APPDATA% box during the installation of Notepad++, go to the %LOCALAPPDATA%\Notepad++\plugins folder.
- Otherwise, go to C:\Program Files\Notepad++ (or whatever folder for the program folder you chose during installation).
- Select the folders for the plugins you want to remove, using Shift and Ctrl to select multiple folders. Then, press Delete or Shift + Delete to delete them permanently (bypassing the Recycle Bin).
The next time you open Notepad++, the manually installed plugins are no longer available on the Plugins menu.

What to Do About Missing Notepad++ Plugins
If you upgraded Notepad++, you may notice that some of your plugins are missing on the Plugins menu. Plugins were previously stored in a different location, so the updated version of Notepad++ is not finding them. Follow these steps:
- Close Notepad++. Then, open File Explorer and go to the %PROGRAMFILES(x86)%\Notepad++\plugins folder. Select the folders for the missing plugins and copy them.
- Go to the %LOCALAPPDATA%\Notepad++\plugins folder and paste the missing plugin folders there.
- When you open Notepad++, you should see the plugins that were missing on the Plugins menu.
You may want to back up the plugins you copied to the %LOCALAPPDATA%\Notepad++\plugins folder to a different location also.
Where to Get More Notepad++ Plugins
Earlier we mentioned the Plugin Resources web page. Notepad++ provides a quick and easy way to access that directory of plugins.
On the toolbar, click on ? > Get More Plugins. The Plugin Resources web page opens in your default browser.

Add More Features to Notepad++ With Plugins
Take a look at the Plugin Resources web page for more Notepad++ plugins and see if any catch your eye. They’re easy to install so try some out.
Notepad++ is one of the best notepad alternatives for Windows, with some very useful features like finding and replacing words in multiple files.
Read the full article: How to Install the Notepad++ Plugin Manager and Manage Plugins
Read Full Article
No comments:
Post a Comment