
Keynote is the simplest way to make a beautiful presentation on your Mac. If you pick a template you like and let the defaults do the trick, you’ll always end up with something decent. But there’s a lot more to Keynote after you’ve mastered the iWork basics.
Keynote sneaks in amazing features for animations, transitions, shared elements, and more. Keep reading to find out the best Keynote tips that will boost your presentations.
1. Master Keynote’s Slide Transitions
Transitions and animations are the two biggest reasons to use Keynote for making a presentation. It’s the subtle effects that will set your presentation apart from others using Microsoft PowerPoint or—heaven forbid—a PDF slideshow.
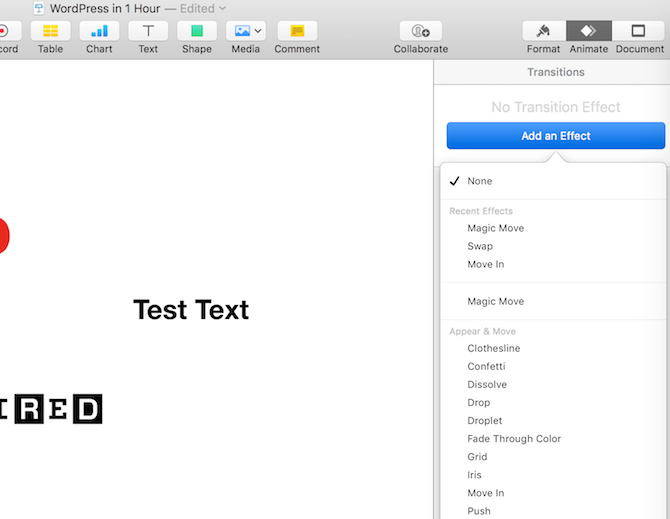
To add a transition effect, select the slide from the slide navigator on the left. From the right sidebar, click on the Animate tab. Then select the Action option and you’ll see a big blue Add an Effect button. That’s your cue.
When you click on it, you’ll be able to select from more than a dozen effects. Pick something basic like Confetti, or go fancy with a Swish or Swirl.
Once you select a transition, you’ll be able to define the duration, the direction, and the start time.
2. Animate Individual Objects on the Slides
Once you’ve got the right transition effect, you can move on to animating specific parts of the slides. Here, you can do two tasks: animate objects as they come into the slide, and move their position at a later time.
This feature gives you incredible control over exactly when and where the objects show up. You can animate a bullet list to show up one after the other, or have an image bounce in from the right edge of the screen.
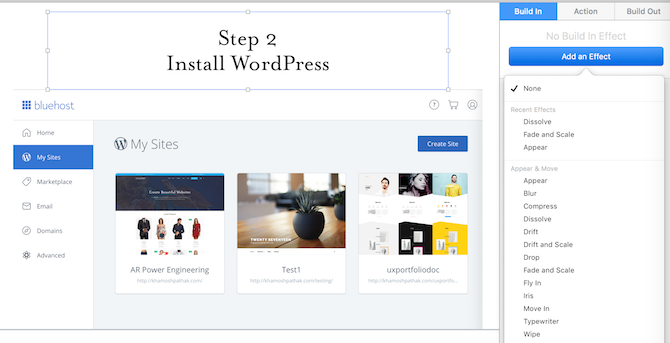
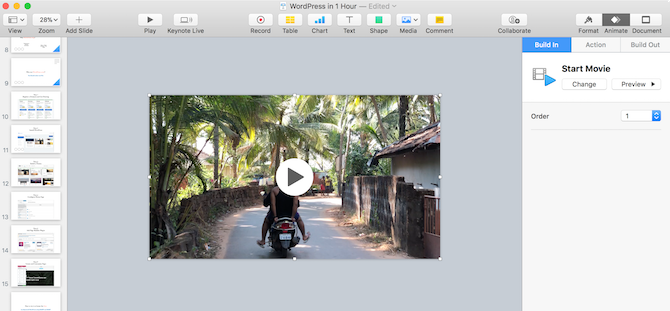
To animate objects as they come into the slide, use the Build in section in Animate.
Select the object you want to animate and then from the Build in section, choose Add an Effect and select an animation. Click the Preview button to see how it looks. If you want to animate multiple objects together or one after the other, select all of them when defining the Build in effect.
When multiple objects are involved, click on the Build Order button from the bottom of the sidebar. Here, you’ll be able to define the order in which the objects show up on the screen.
3. Move Objects Within Slides

To make your presentation extra groovy, you can even move objects within slides. Say you’re showing a process chart in your presentation. It would be helpful to actually move an object from one section of the screen to another.
You can do this using the Action tool. In the particular slide, click on the object you want to move. Then from the sidebar, go to the Action tab and select the Move effect.
The object will now duplicate. Move the duplicated object where you want it to end up. You’ll see a line linking both objects. That’s the path the object will take as it animates. Click on the line and drag it from the middle if you want to add a curve to the animation.
From the sidebar, you can define the duration, delay, and acceleration as well.
4. Master Magic Move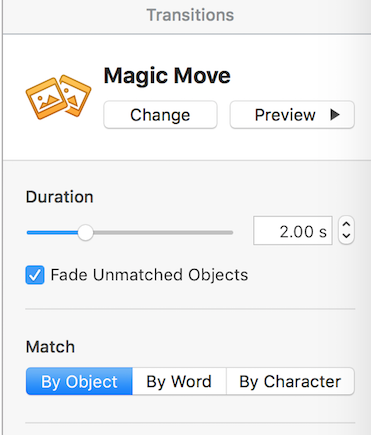

Magic Move is a legendary feature. This mind-blowing little utility has been in Keynote for ages.
Magic Move combines the transition and animation features we’ve talked about above. Instead of moving an object from one position to another in one slide, you can directly move an object from one slide to another, with complete control over the animation.
First, place the objects on the slides the way you want. From the Slide Navigator, duplicate the slide by using the Cmd + D shortcut.
Now, change the position of the objects on both slides. The first slide will have objects in the default state. In the second slide, position the elements where you want them to end up.
Select the first of the two slides (not both) and from the sidebar, click on the Animate tab. From the Add an Effect section, choose Magic Move.
Preview it and you’ll instantly see a smooth animation going from one slide to another. Keynote takes care of the transition and animation automatically. But if you want, you can change the duration, match it with text instead of objects, and define when to start the transition.
5. Use Master Slides for a Consistent Design
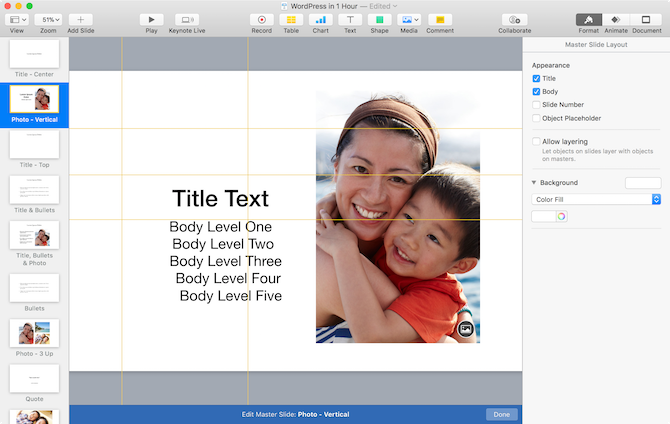
If you’re working on a big presentation and you want to have a consistent styling, get into the habit of using Master Slides. These let you define particular layouts for designs you use frequently.
Right-click on a slide and click on Edit Master Slides. The content from your slides will swap to the default template. You can now move the default objects around and when you save it, your current presentation’s slides will update to match the template.
If the default templates don’t do it for you, why not try these great free Keynote templates?
6. Update Fonts Throughout Presentation
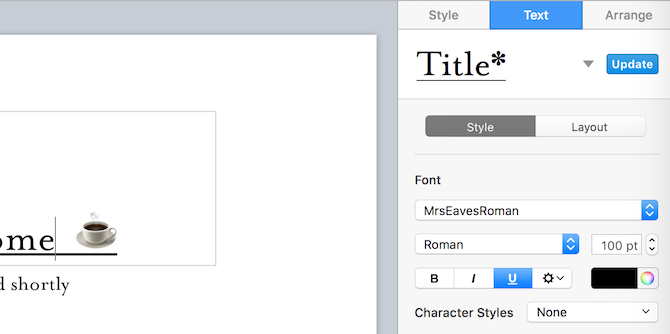
If you always fiddle with fonts until the last minute, you’ll appreciate this one. Keynote has a useful feature where you can apply a font change across the entire presentation.
Say you change the font size of a title in one slide and you want it updated everywhere else too. After making the change, click on the Update button next to the text style dropdown. This saves you from tracking down everywhere else you’ve used that style.
7. Embed a YouTube Video in Keynote
Unlike Google Slides, there’s no straightforward way to embed a YouTube Video directly into a Keynote presentation. But you can use a different method. You’ll first need to download the YouTube video, which we can’t help you with here.
Next, create a new blank slide and from the menu bar, select Insert > Choose. Select the video you downloaded and it will instantly show up in the slide. You can use the same steps to embed music as well.
While we’re talking about media, let’s discuss the aspect ratio of Keynote presentations. By default, Keynote formats presentations to a 4:3 aspect ratio. That’s fine if you’re presenting it on a projector. But if you’re using a TV or recording the Keynote as a video, you’ll want to use widescreen instead.
From the sidebar, switch to the Document option and from Slide Size, choose the Widescreen format.
8. Make Your iPhone or iPad a Keynote Remote
Forgot to bring a clicker for your big presentation? Don’t worry, you can use your iPhone or iPad as a remote for your Keynote presentation.
On your Mac, go to Keynote Preferences and choose Remotes. Click on the checkbox next to Enable. Then on your iOS device, click on the remote icon from the top toolbar and press Continue.
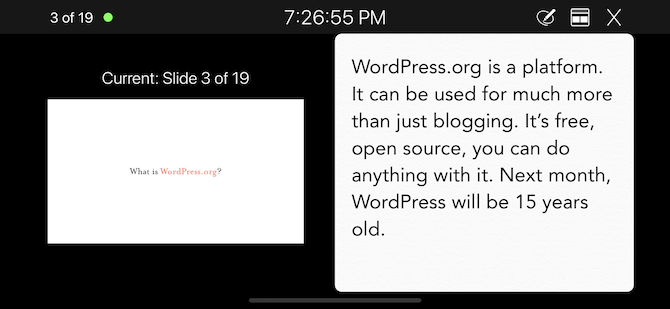
Now, on your Mac, you’ll find your iOS device listed in the Remotes section. Confirm the passcode and your devices will link. Simply press Play on your iOS device. You can now control the presentation and read presenter notes as well.
9. Customize Your Toolbar
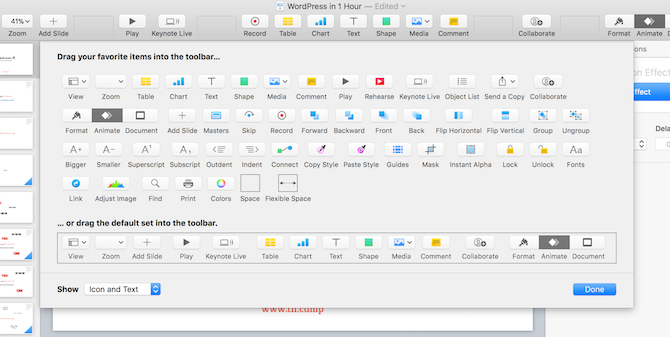
Once you start working with Keynote more often, you’ll figure out which features you use most. Like with everything else on your Mac, you should take the time to customize it.
Click on View from the menu bar and select Customize Toolbar. You’ll see a huge array of icons. Drag in the features you use often and remove the ones you never touch. While you’re working on this, you may want to customize your keyboard behavior too.
10. Make Use of Action Buttons
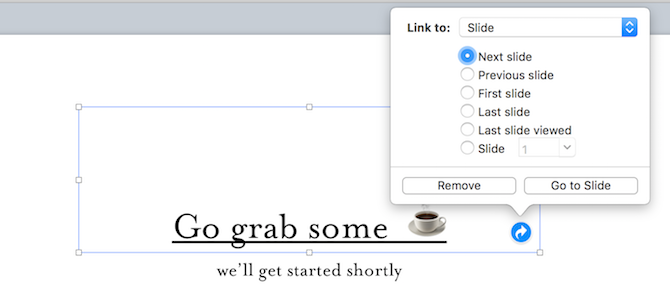
There’s a hidden feature in Keynote that lets you turn any object into an interactive button. You can create a shortcut to jump to a particular slide, open a web page, or even end the presentation.
Select a shape and use the Cmd + K keyboard shortcut. From here, select if you want to link to a slide, web page, or an email.
Getting Advanced With iWork
Now that you’ve dug a bit deeper into the world of Keynote, why not dive into our advanced tips for the whole iWork suite? Just like Keynote, there’s a world of customization waiting inside them.
Read the full article: 10 Tips and Tricks for Amazing Keynote Presentations on Mac
Read Full Article
No comments:
Post a Comment