
Apps you install on your Mac can run into a variety of problems. An app might refuse to open a particular file, crash or hang in the middle of the work, or worse—crash at launch. Any erratic behavior that impedes the ability to use your Mac is frustrating.
The cause can be something external or internal. We’ll show you how to fix common app problems on macOS.
1. Quit or Force-Quit the App
An app might hang in the middle of work. After a few seconds of this, your mouse pointer will turn into a spinning rainbow beach ball. This indicates that the app is not responding, which arises due to several reasons. These include low free RAM, high CPU usage, or a bug in the app.
Most of the time, your other apps will continue to function. The pointer appears as a beach ball only when it’s over the window of the problematic app. To solve this problem, you need to quit the apps you aren’t actively using and free up valuable resources.
To quit an app, bring it to the foreground (the app name should be visible in the menu bar) and choose Quit from the app’s menu. The shortcut Cmd + Q also works.
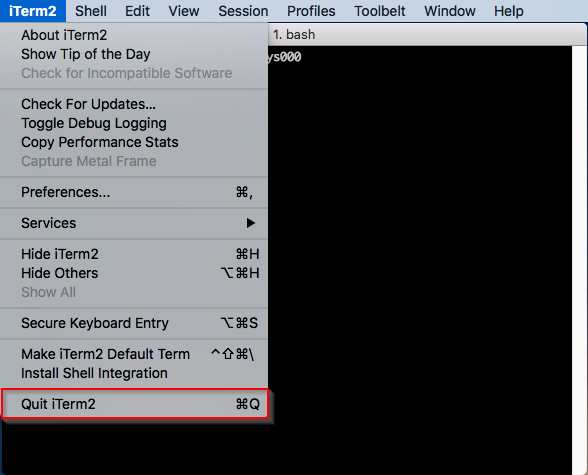
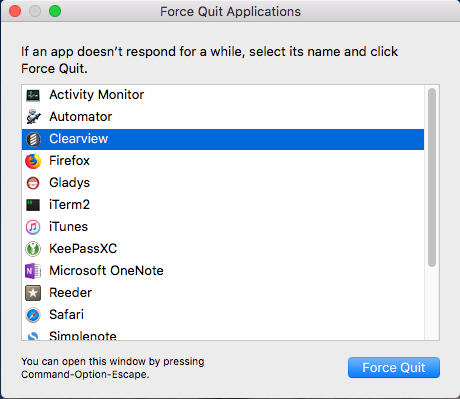
When an app gets stuck, and the regular Quit command won’t work, go to Apple menu > Force Quit or press Option + Cmd + Esc. Select the app in this window, then click Force Quit.
If an app keeps running even after you use the Force Quit command, a second attempt should do the trick.
2. Restart Your Mac
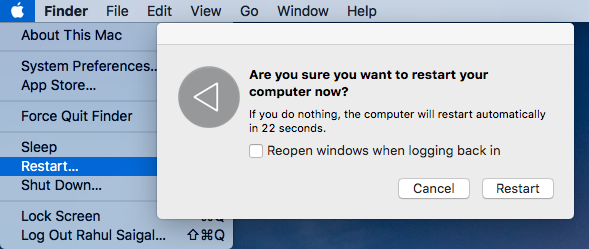
This simple procedure can resolve hangs, crashes, memory leaks, and other problems related to an app. To restart, click Apple Menu and choose Restart. When the confirmation alert appears, click the Restart button.
macOS then quits all background apps and running processes. This eliminates memory leaks, frees up RAM and CPU, and reduces the number of virtual memory swap files from the hard disk.
If the Apple Menu won’t open or your Mac is frozen, then press and hold Control + Cmd while you press the power button to force a restart. Alternatively, you can press and hold the power button for approximately 10 seconds to restart your Mac.
3. Apply Software Updates
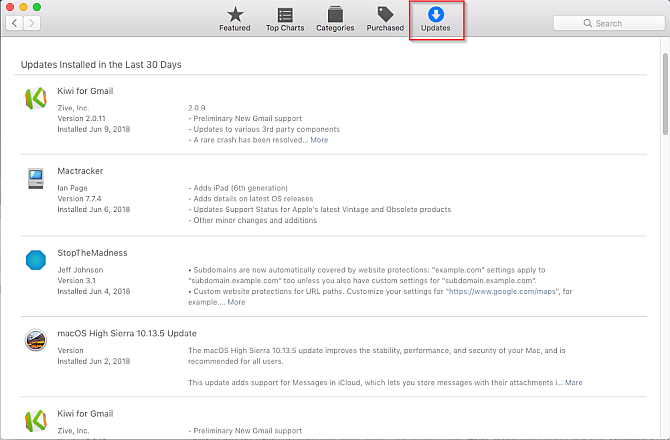
If an app is not functioning properly, you might want to download and apply any available updates. Launch the App Store, and click the Updates button. To update the app, click the Update button next to it.
When an app update is available, you’ll also receive a notification, and a badge will appear on the App Store icon.
Apps you’ve downloaded from a developer website may or may not have an automatic update mechanism. Some apps check for updates every time you launch, while others check on a fixed schedule, or only on demand. Look for a Check for Updates command on the Help menu, Application menu, or the Preferences window.
Keeping up with updates is challenging. To solve this problem, turn on the automatic update feature whenever possible or add the app to a Twitter list. The developer will likely share on Twitter when it releases a minor or major update to the app.
4. Check for Compatibility Issues
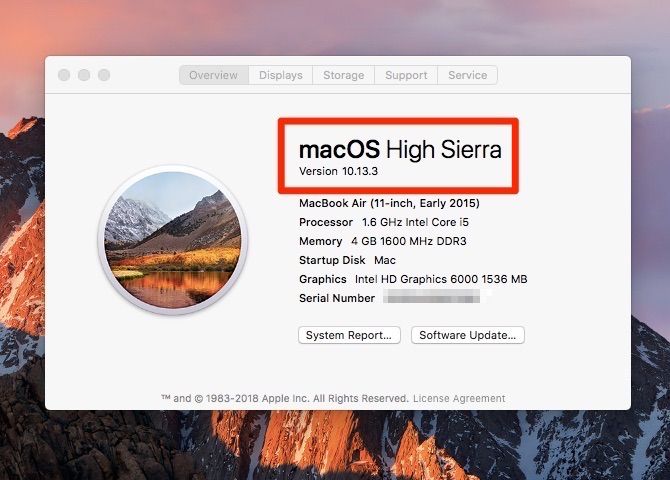
If you’re still having issues, you should ensure that your apps are compatible with the newest version of macOS. To do so, open Apple Menu > About This Mac to check which OS version you’re using. Most app developers list compatibility on their websites, so you can check if yours is supported.
While this should be no problem for the majority of apps, check with the developer for specific compatibility with your version of macOS if needed. The developer might also update users of any serious compatibility issues.
You should also check for old 32-bit apps on your system. To do so, open Apple Menu > About This Mac and click on the System Report button.
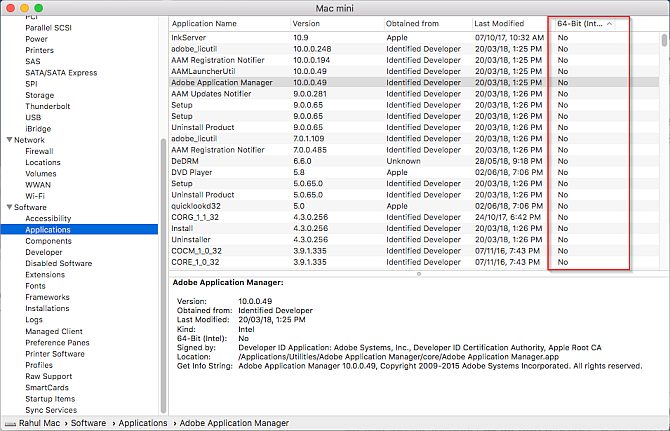
Scroll down the left pane and select Applications from the Software section. Wait for few seconds to build the list of installed apps. In the right pane, look for the 64-bit (Intel) column header. Adjust the column widths and click the header to sort the list.
No means the app is 32-bit, and Yes means the app is 64-bit.
At WWDC 2018, Apple announced that macOS Mojave is officially the last version to support 32-bit apps. This means that if you rely on a 32-bit app, you should find a replacement or contact the developer about updating it.
Aside from this, most developers have their apps ready to go when a new macOS version releases, but you may run into bugs early on. Check support forums and similar communities to see if others have had your issue.
5. Delete the Preference File
Preference files contain an application’s settings. They’re essential because they include parameters required for an application to work correctly. If there’s a fault in the preference file, an app could experience a crash, hang, or even corrupt data.
Most preference files live in the following Library folders:
~/Library/Preferences or /Library/Preferences
~/Library/Application Support/[App or Developer name] or /Library/Application Support/[App or Developer name]
~/Library/Containers/[App name]/Data/Library/Preferences
According to the Apple developer documentation, the preference files follow a standard naming convention, known as reverse domain naming system. It includes the company name, then application identifier, followed by the property list file extension (.plist). For example, com.apple.finder.plist is the preference file for Finder.

A developer might use a proprietary naming convention, but concentrating on the app name usually makes it clear. For example, org.idrix.Veracrypt.plist is the preference file for the Veracrypt app.
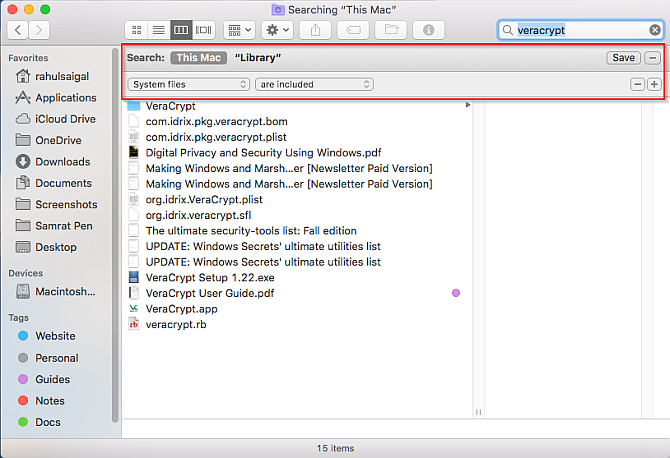
To locate the preference file for an app, first quit it if it’s running. Open the Library folder and set the window to List view, then click the Name column to sort the list alphabetically.
Type the app name in the Search field. To narrow the search results, click the Plus button and set the second row to System files are included.
Drag the preference file to your desktop. Since a background server process maintains the entire preference architecture, you need to clear its cache to remove the outdated preference information. This way an app won’t continue to use the old preference file.
To do this, choose Apple Menu > Log Out and log back in. Now, open the Terminal and type killall cfprefsd, and press Return.
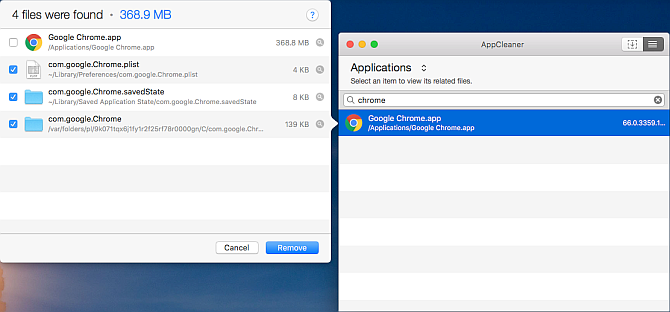
There’s another way to remove preference files. AppCleaner is a free utility to uninstall any Mac app without leaving data behind. But it can also remove the preference file without touching the rest of an app.
Type an app name into AppCleaner, and click it to load the results. Uncheck the app, tick all the other options, and click Remove.
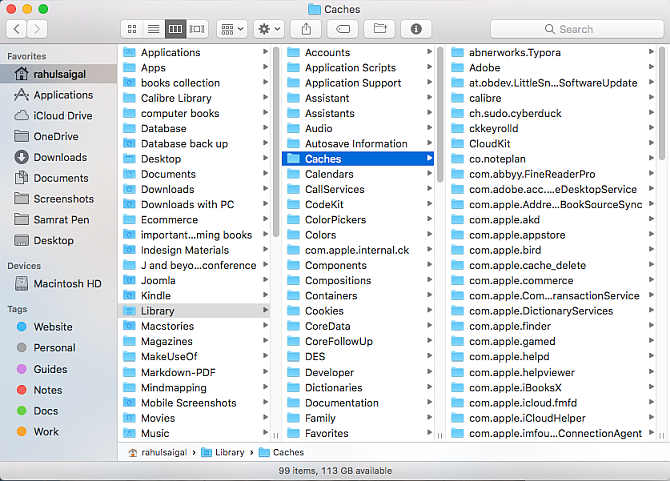
6. Delete the Cache
All Mac apps use caches. The cache file stores frequently used information, which helps apps run more efficiently.
If a cache file becomes corrupt for some reason, then an app may crash or misbehave while reading that file. macOS may try to remove that corrupt cache, but because of the hidden nature of these cache files, problems resulting from corrupt cache contents are difficult to find.
Cache files live in the following Library folders:
~/Library/Caches or /Library/Caches
~/Library/Containers/[App Name]/Data/Library/Caches/[App Name]
~/Library/Saved Application State
The app name follows the same naming convention as the preference files. Quit the app, and look for the particular cache file or folder in the above location. Once you locate them, drag them to the trash. The app will again regenerate the cache files automatically.
If the app has display issues, you might want to clean the system level font cache. Open the Terminal and type the following:
sudo atsutil databases -remove
Press Return and type your administrator password at the prompt. When the process is complete, restart your Mac.
You should not wipe out caches indiscriminately, because they keep your Mac performance smooth. Deleting them means your computer has to rebuild them, so only do so when you have an issue.
How to Troubleshoot Your Mac Even Further
Ideally, one of the above steps will fix the app problems you’re facing. If not, you can always try uninstalling the app and reinstalling a fresh copy.
Beyond these general approaches, an app might require specific troubleshooting steps for more in-depth problems. You’ll likely have to examine log files or contact the developer for individual support.
If you have some other macOS issues, you might want to try quick fixes for common Mac problems.
Image Credit: SIphotography/Depositphotos
Read the full article: 6 Simple Steps to Fix Mac Apps That Crash or Freeze
Read Full Article
No comments:
Post a Comment