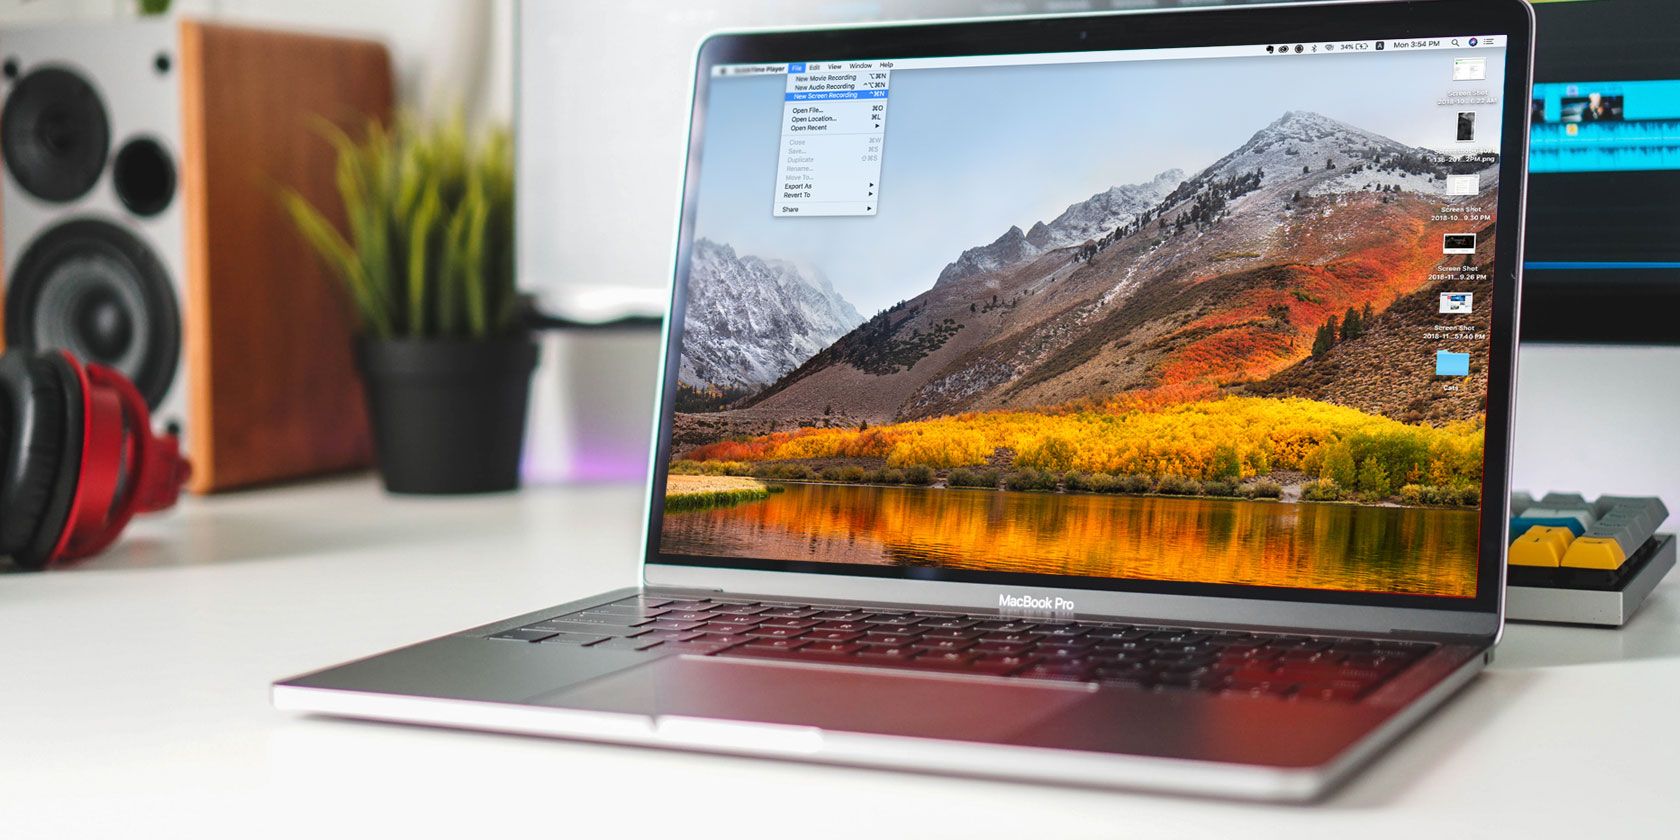
There are many times when recording your Mac screen can come in handy. Maybe you want to create a screencast tutorial. Perhaps you’re creating a business presentation. Or maybe you’re interested in making video notes for yourself.
Whatever the reason, it’s simple, and you have a few different ways to do it. So here’s how to record your screen on a Mac with several methods.
How to Record on Mac With QuickTime
QuickTime comes preinstalled on your Mac and you can do a lot with it, like rotating video files for instance. So using this tool to record your screen makes perfect sense. Open QuickTime Player, then select File > New Screen Recording from the menu bar.
Click the arrow next to the red button to set up the recording. Here, select from None or Internal Microphone for your audio and check or uncheck Show Mouse Clicks in Recording.

Now hit the red button, then simply click to record your entire screen, or drag to choose a specific part of it, and start recording. This will place the QuickTime Player icon in your menu bar. When you finish recording, just click that button.
Your recording will pop right open for you to view. To save it, select File > Save from the menu bar, give your recording a name, and choose its location. Click Save and you’re done.
Benefits
- The app is installed on your Mac by default, so there are no extra costs or installations.
- QuickTime Player offers additional features such as movie and audio recordings.
- You can use AirPlay or sharing options immediately from your recorded video.
How to Record on Mac With the Screenshot Utility
One of the new features that comes with macOS Mojave is the screenshot utility. This cool tool lets you capture screen recordings in addition to screenshots.
To open the utility, press Cmd + Shift + 5 on your keyboard. At the bottom of the window that displays, you’ll see two options to Record Entire Screen and Record Selected Portion.

If you choose Record Entire Screen, a camera icon will appear. This is handy if you use more than one monitor. Just move the camera to the screen you want to record and click for the recording to begin.
If you choose Record Selected Portion, drag the corners of the box you see to adjust the size. You can also move the box to a different area on your screen. Click Record to start recording.
Benefits
- The screenshot utility is a new feature of macOS Mojave, so it’s free and required no software installing.
- Features include a built-in microphone for audio, a timer for timed recordings, and the ability to show mouse clicks for tutorials.
- Like QuickTime, you can use AirPlay or sharing options immediately from your recorded video.
How to Record on Mac With Third-Party Apps
With the above two options, there’s no reason to seek a third-party app for recording your Mac screen unless you want or need more features. Here are a couple of options that offer a little extra.
Viking Recorder Lite
Once you install Viking Recorder Lite, a handy icon will pop into your menu bar, letting you start a recording in a snap. You can capture your entire screen or just part of it, include audio along with mouse clicks, and adjust the codec and frame settings.

To begin, select Start Screen Recording from the menu bar dropdown box and make your setting adjustments in the popup window. Select Stop Recording from the dropdown when you finish and then follow the prompt to save your recording.
Standout Features
- Viking Recorder Lite comes with both a built-in movie editor and YouTube downloader.
- You can use hotkeys, tweak the user interface, view help balloons, have the menu bar icon blink during recording, and use the Notification Center.
- As you move the New Recording window, you can see a quick preview.
If these standout features interest you, then give Viking Recorder Lite a try for free. If you like it and want more features, including unlimited video lengths, you can look at the paid version.
Download: Viking Recorder Lite (Free) | Viking Recorder ($3)
Smart Recorder Lite
Smart Recorder Lite is another good screen recording app with a super-simple interface. Open the app and select your options for the capture device, full or partial screen, screen quality, audio source, and saved path.

To begin, open the app, make your settings adjustments, and then click Start Recording. An icon will pop into your menu bar where you can see the elapsed time as you record. Click that icon when you finish, and your recording will open immediately for you to view. It will also save to the location you specified in the settings.
Standout Features
- Smart Recorder Lite lets you record your screen or use the FaceTime HD camera.
- You can record audio from additional sources (even more than one at a time), including the built-in microphone, computer sound card, or input device.
- Screen quality options range from low to high, and frame rate options go from 1-30FPS.
If you like this, you can grab Smart Recorder Lite for free. You can also take a look at the paid version, which offers additional features like recording times beyond 300 seconds.
Download: Smart Recorder Lite (Free) | Smart Recorder ($5)
Next: How to Take Screenshots on a Mac
Recording your computer screen used to be more complicated. But as you can see, it gets easier all the time. Hopefully, one of these methods is exactly what you need to screen record on your Mac.
And if you’re interested in learning more about Mac screenshots or how to use your Mac to capture your Android screen, we’ve covered those too.
Read the full article: How to Screen Record on a Mac
Read Full Article
No comments:
Post a Comment