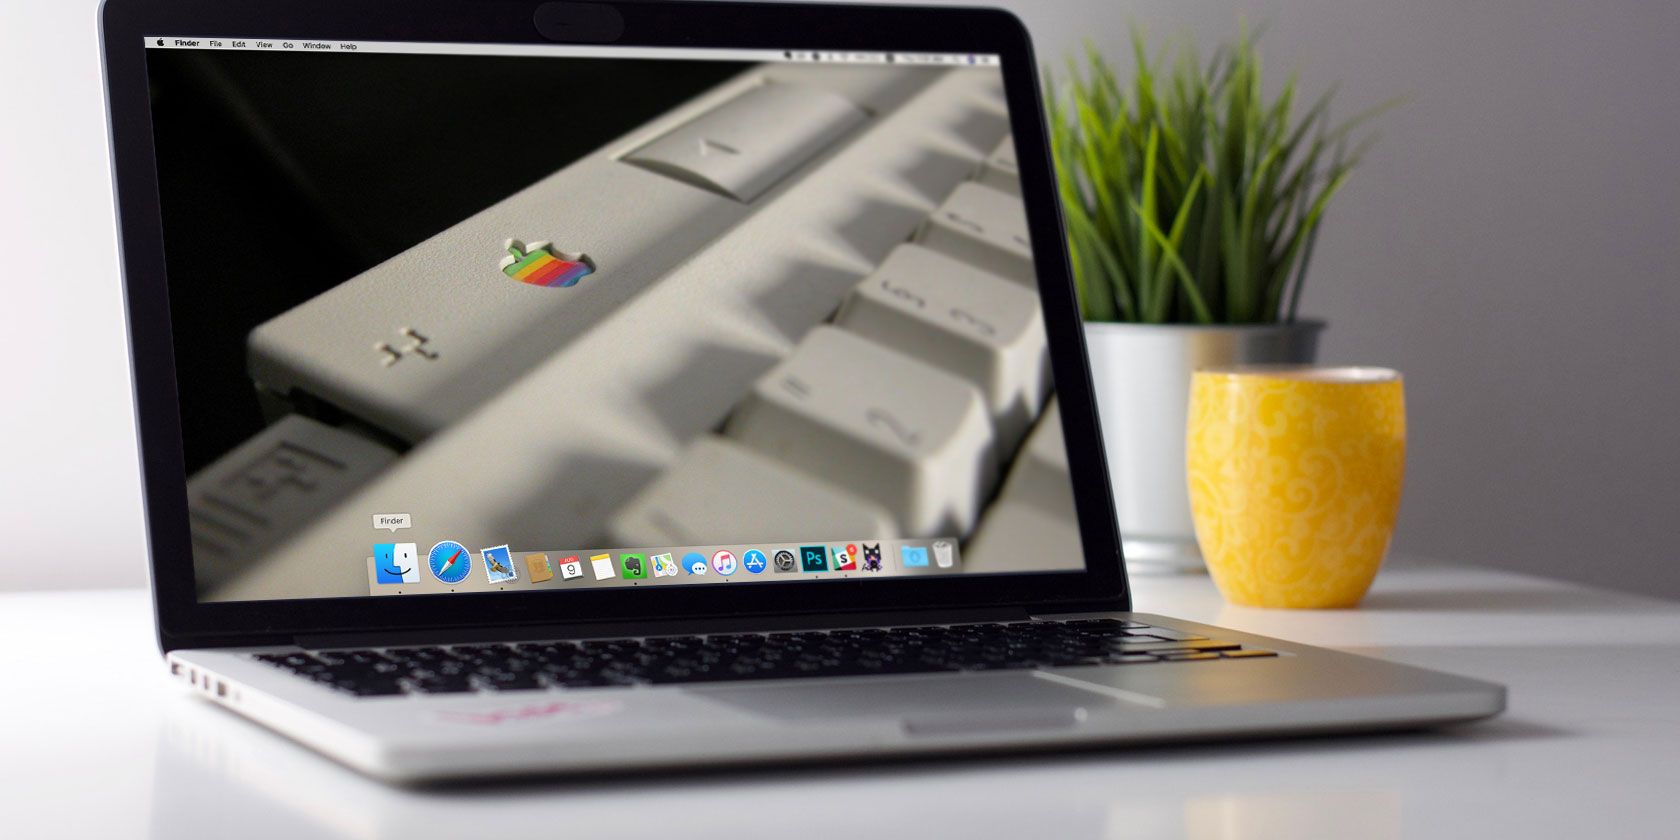
If you like to relive the good old days, you might enjoy the idea of making your Mac look retro. You can do that from the outside with a new decal or sticker, but what about the inside? That’s easy too!
With the following six tips, you’ll soon have macOS looking as good as old.
Note: Our tips focus on generic changes, not specifically those to match older macOS versions.
1. Paint the Screen Old
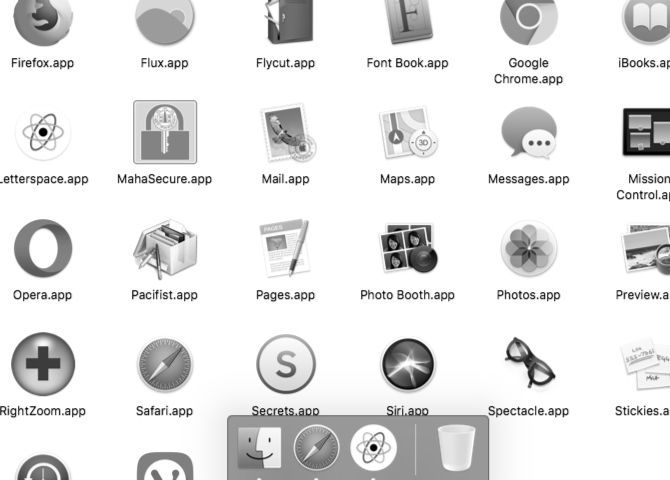
Computers of the past had either neon colors or, at the other extreme, gray and similar dull colors. You can achieve either effect on your Mac with a few tweaks.
To go gray, start by changing the theme for windows, menus, buttons, etc. from System Preferences > General. Select Graphite from the Appearance dropdown menu there.
You can also select Graphite from the Highlight menu to change the color of highlighted text from blue to a plain gray.
You’ll notice that the Graphite theme doesn’t affect app and folder icons. If you want to dull those down as well, you can do that from System Preferences > Accessibility > Display. Look for the Use grayscale checkbox and select it.
(Skip this step if you’d like to retain the option to customize colors across apps.)
Immediately, the icons in the sidebar and Dock turn gray. If you peek into the Applications folder, you’ll see that the apps in there are also gray.
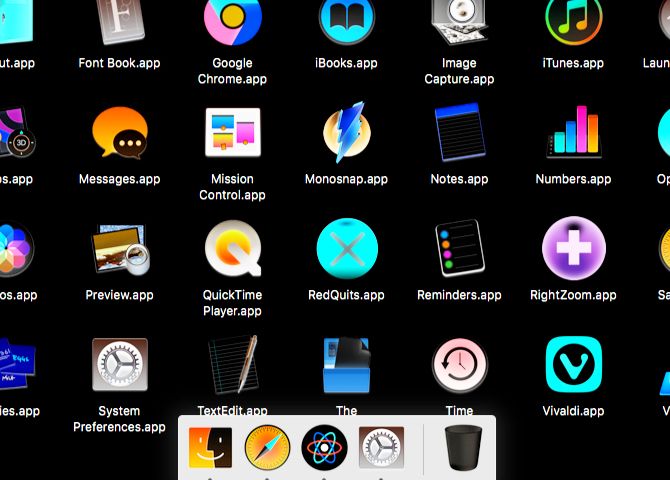
Prefer brighter colors? You might want to enable the Invert colors option under System Preferences > Accessibility > Display.
To add to the overall retro look, you can also:
- Increase contrast: Visit System Preferences > Accessibility > Display and select the Increase contrast checkbox. Then drag the Display contrast slider towards the right till you’re satisfied with the visual effect.
- Reduce screen resolution: Select a lower screen resolution from System Preferences > Displays > Display.
2. Get a Wallpaper With the Right Feel
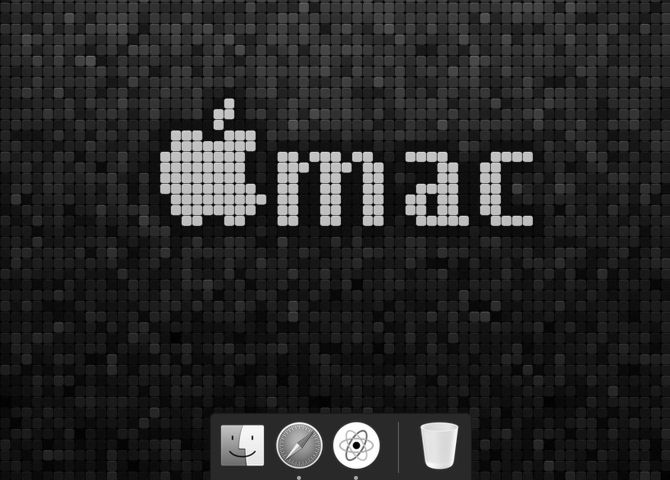
Adding a new wallpaper is an easy way to transform how your Mac looks, so you might next want to get an old-time wallpaper. Start your search with Unsplash. Our ultimate Mac wallpaper resource is also here to help you.
You can go for a wallpaper that, say, shows a rainbow-colored or pixelated version of the Apple logo or displays the logo in neon lights. One with psychedelic effects or tiled textures is also a good choice.
Another option is picking a wallpaper from one of the past versions of macOS (then OS X). You’ll find the default wallpaper for each release at 512 Pixels.
If you want a quicker way to induce nostalgia, pick a dull solid color as the background from System Preferences > Desktop & Screen Saver. Look for Apple > Solid Colors in the sidebar, and select one of the default colors displayed in that section. Medium gray, blue, and green are ideal for what we have in mind.
3. Add Custom Icons
![]()
macOS lets you add custom icons for apps, folders, and other system components. That’s another area where you can personalize your Mac desktop. Start with Daniel Ehrman’s icon pack. It has icons for Safari, Chrome, Firefox, Evernote, QuickTime, Photoshop, and more.
Also, search sites like Iconfinder and Noun Project to find old-style icons. Look for icon sets with flat, pixelated ones, or black-and-white icons. Those with exaggerated gradients will work well too.
4. Install a Classic Version of Finder
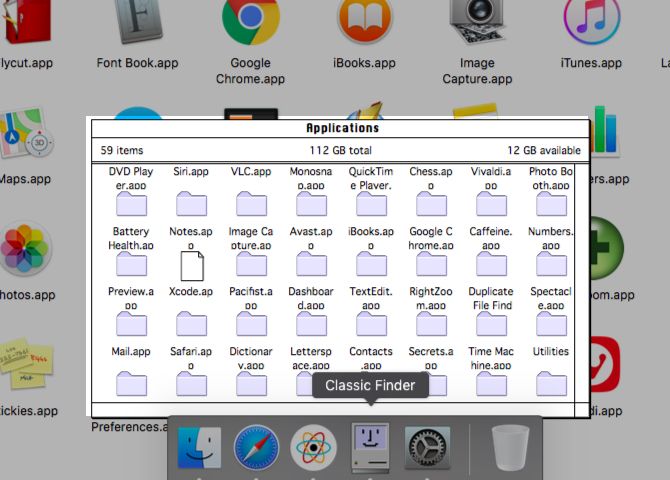
Finder started out as a visually simple, toolbar-free file explorer. If you want to return to that experience, you can thanks to the open source app Classic Finder. It runs in parallel to your usual Finder app, allowing you to switch between the two anytime.
If you’d rather have the stripped-down Finder experience without the classic Finder look, try Simple Finder. You’ll have to enable parental controls first via System Preferences > Parental Controls. Once you do, you’ll find the Simple Finder option in the Other tab that appears.
5. Make the Command Line Old Again
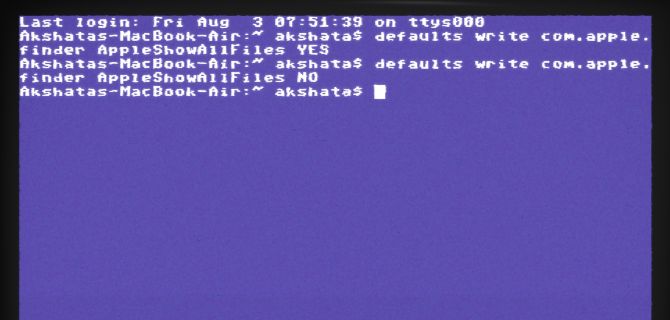
Your Mac’s Terminal app looks nothing like the black-and-green vision that says “instant flashback”. To bring back that classic look, you need the cool-retro-term app. It lets you emulate the look and feel of CRT screens from the past.
To use cool-retro-term, you’ll need to know how to install Mac software from Terminal with Homebrew.
If you prefer an easier solution, try Cathode ($5), which comes with a free demo version. The app has quite a few options to get the look of the terminal just right. You can change themes, sounds, colors, fonts, and other visual effects.
6. Switch to a Monospaced Font
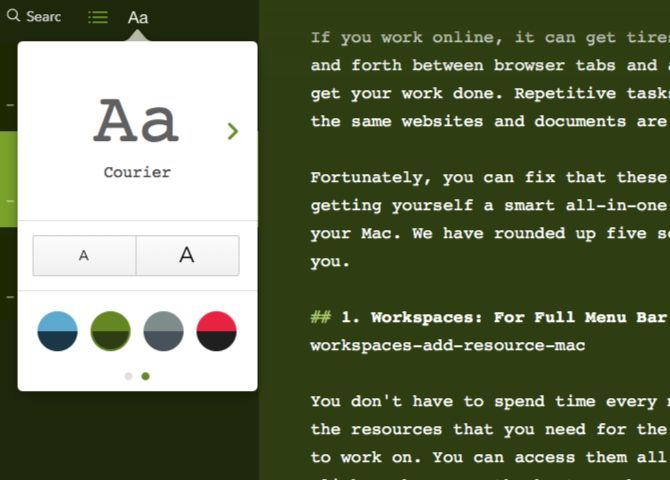
Monospaced or fixed-width fonts bring typewriters to mind, and typewriters equal charmingly old. That’s why switching to a monospaced font is perfect for our purposes here. It’s a pity that you can do it only in certain apps and not across macOS, though.
Your Mac already comes with a few fixed-width fonts. To view them, open the Font Book app and click Fixed Width under Smart Collection in the sidebar. You’ll see the available fonts listed on the right. Courier, Menlo, and Monaco are your top options.
If you aren’t happy with the default choices, you can find a new font from a site like Font Squirrel. After you install the font, feel free to switch to it via Format > Font > Show Fonts within apps that support font changes. To know more about installing and managing fonts, read our Font Book tips.
Finally, here’s a look at the combined result of various tweaks we’ve made above.
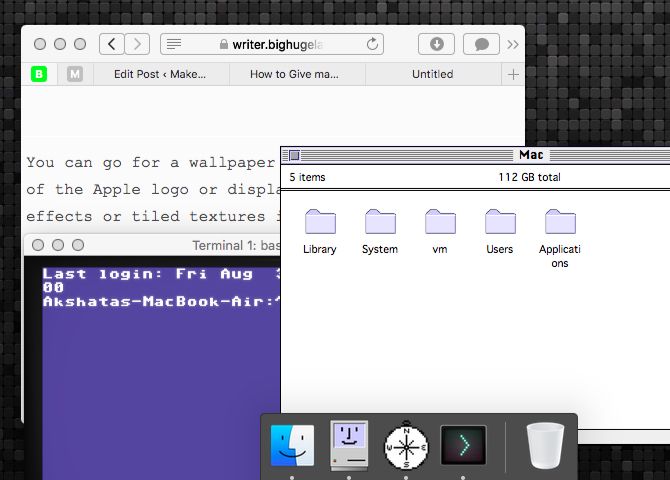
A Brand New Retro Look for Your Mac
After paying for an expensive fancy-looking Apple computer, you might not want to make it look like a relic permanently. So why not use these tips to set up a second user account with a retro feel just for fun? Combined with classic Mac software you still access, it’ll prove handy when nostalgia comes calling!
Read the full article: 6 Fun Ways to Give Your Mac a Retro Look
Read Full Article
No comments:
Post a Comment