09 June 2020

Google Maps Makes It Easier to Stay Safe From COVID-19


Google is making it a little easier to stay safe during the COVID-19 pandemic. To do this, the company is adding a new set of features to Google Maps designed to help us all make better choices when travelling. Which may help prevent a second spike.

Countries Are Emerging From Lockdown

With countries emerging from lockdown and citizens starting to get out and about more, the risk of a second wave of infections increases. However, by avoiding crowded places, and adhering to social distancing rules at all times, that risk falls away sharply.

To help us all stay safe, Google has added new features to Google Maps. As detailed on The Keyword, these are alerts about important information plus levels of crowdedness expected on public transit. Which should make people more confident to venture outside.

New Coronavirus-Related Google Maps Features

The first coronavirus-related feature is alerts about important information which may impact your journey. These include alerts from local transit agencies insisting you wear a mask and alerts for drivers likely to encounter COVID-19 checkpoints on their route.

Transit alerts are launching in Argentina, Australia, Belgium, Brazil, Colombia, France, India, Mexico, Netherlands, Spain, Thailand, United Kingdom and the U.S. The other alerts are not yet being offered in as many countries, but more will be added over time.

The second coronavirus-related feature allows you to check the levels of crowdedness on public transit vehicles and in stations. You can now see how crowded a particular bus or train journey is likely to be based either on historical data or live updates.

Simply search for a station on Google Maps and you should see its busiest times and how busy it is right now. Or find a public transit service operating between A and B on Google Maps and click “Crowdedness”. You can also provide the live data if you’re travelling.

Check Websites for Information About COVID-19

With the world gradually emerging from lockdown, the onus is on us all to keep the infection rate down. By avoiding crowds, adhering to social distancing rules, and wearing masks in confined spaces, we can ensure the worst of COVID-19 is behind us.

However, all the while this coronavirus is still with us, it’s worth staying informed on the virus and its devastating effects. So, be sure to book our list of websites you can trust for COVID-19 information. Because a little knowledge goes a long way.

Image Credit: Alexandre Dulaunoy/Flickr

Read the full article: Google Maps Makes It Easier to Stay Safe From COVID-19


Read Full Article

15 Essential Tips for Ubuntu Linux Power Users


ubuntu-linux-guide

Using Linux distros like Ubuntu can take some getting used to. If you’ve switched from Windows or Mac, it can be jarring. After all, with a choice of desktop environments, file managers, and ways to install software, it can be overwhelming.

Think the learning curve is steep? Think again. While there is much to take in with Linux, you can become a power user in minutes with these Ubuntu tricks and tips.

1. Get Lightning Fast at the Command Line

If you’re using Linux it makes sense to get to know the command line app, Terminal. This provides a deeper level of access to your Linux computer, so long as you know the right commands.

All sorts of things can be done in the terminal, e.g. editing text files, connecting to Wi-Fi, and more. While working in the command line, keyboard shortcuts can help to shorten steps and save time.

Linux features a host of command line shortcuts. For example, you can use the up and down arrows on your keyboard to cycle through previous commands. Or use Tab to complete partial commands and even file and directory names.

Our guide to the most important Linux terminal shortcuts will show you more.

2. Launch Ubuntu Linux Applications With a Keyboard Shortcut

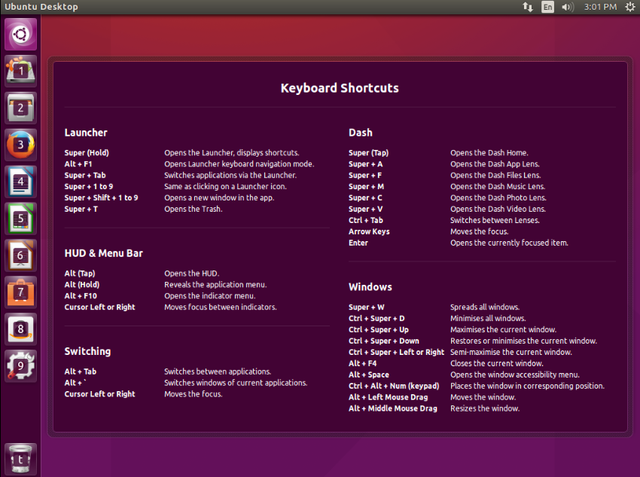
Keyboard shortcut tips for Ubuntu

One of the best Ubuntu tips is to embrace the power of keyboard shortcuts.

While using the mouse to click an icon might seem quick, or even hitting the Super key to start inputting the app name, there’s a faster option.

The first nine applications in the Ubuntu launcher (by default down the left-side of the desktop) are assigned numbers. You can open any of them using Super + 1 to 9. Further, if you want a new window for an app that is already open, use Shift alongside the shortcut.

Learn more Linux desktop shortcuts for GNOME, KDE, and Unity.

3. Make Ubuntu Remember the Last Session

Ubuntu can be configured to remember the applications you had open in your last session before logging out. If you can’t successfully hibernate or put Ubuntu into sleep mode, this is a useful shortcut.

It relies on the gnome-session setting which is accessed in dconf Editor. You’ll need to install this using

sudo apt install dconf-editor

By setting the applications to automatically reopen you can save time when you log back in. However, while you might save a few mouse clicks, the computer is likely to take slightly longer to load up.

In the terminal, enter

dconf-editor

On the desktop, dconf Editor will open. Expand org > gnome and select gnome-session. Here, find auto-save-session in the right-hand pane and place a check in the box. Click X to close the window.

Test this works by leaving your browser running and logging out. When you log back in, the app should be running. Couple this with a browser that supports session management to resume browsing for the best results.

4. Create a Separate Ubuntu Linux Home Partition

Ubuntu desktop file manager view

New versions of Ubuntu arrive every six months. Although you can upgrade to the latest version via the update manager, sometimes the upgrade doesn’t work as expected. As such, it’s wise to consider a fresh install.

The disadvantage with an upgrade is that you can lose personal data from your home directory. Archiving data is sensible, but a smarter solution that avoids backing up and restoring files is a dedicated home partition.

You can create this when you first install Ubuntu. It can be sized to meet your needs, so make sure you specify enough space for all your files. When you decide to install Linux again, simply specify the partition as Home (use /home as the mount point).

All your files and data on the Home partition will be preserved even after a fresh install.

5. Be Sure to Install a Full Upgrade

You may know that one way to upgrade a Debian-based Linux distro like Ubuntu is to use the upgrade command. Away from the terminal, you may simply wait for the upgrade to be issued via the update manager.

But often when you run upgrades, not everything is upgraded. Certain packages are left in place, usually if required for specific apps to work. If you want to run a complete upgrade that removes those packages use

sudo apt full-upgrade

6. Kill Unresponsive Processes Quickly

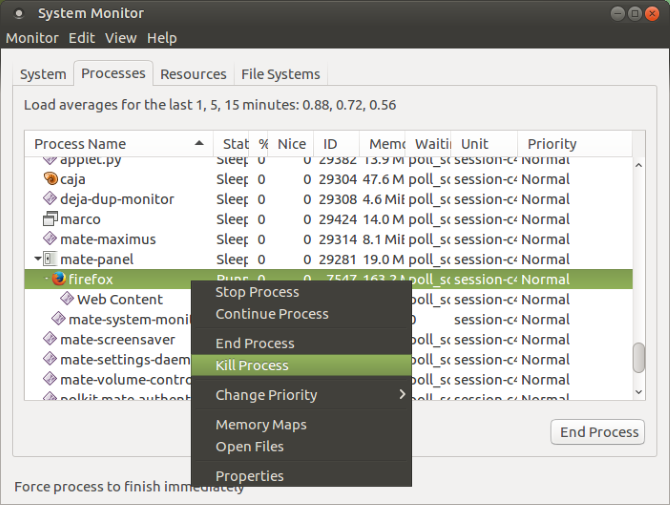
Kill unresponsive Linux processes

All operating systems suffer from unresponsive programs. The smart solution is to close the software and try again.

In Linux, you have several ways to do this. There’s the X in the corner of the application window, but Ubuntu also has a System Monitor tool for finding and killing processes. In addition, the terminal can be used to end unresponsive apps and processes with a selection of “kill” commands.

Check our guide to killing unresponsive programs in Linux for a look at the options.

7. Use PPAs for Bleeding Edge Software Releases

Software goes through various stages before it can be released to the main Ubuntu repositories. Testing and revision increase stability, but you don’t get the very latest software released unless you know where to look.

Before software is added to a repository it can be found in Personal Package Archives (PPAs). Once a PPA address is added to Ubuntu’s list of repositories, applications can be installed from it.

Remember, however, that running the latest pre-release version of an app can result in unexpected errors. Also, while PPAs are a smart option, they’re not secure. Be sure to remove the PPA address after installation.

8. I Am Root

The root account is disabled by default on Ubuntu, mainly to prevent you from making serious mistakes.

Issuing the wrong command as root can have devastating consequences. For example, it’s possible to accidentally delete all of your data. Confident you won’t do this?

A power user tip for Ubuntu is to enable root. It appears to be deleted but is simply hidden. To enable root in Ubuntu, enter

sudo passwd

This requires you to create a new password which can then be used with the root account.

Note, however, that it is safer to simply use sudo for command-by-command elevated permissions. Just enter your password when prompted.

If you have chosen to enable root and give it a password, you can disable it again with

sudo passwd -l root

9. Use the Latest Graphics Drivers

Support for the latest video card drivers are available for Linux. Using the right driver for your video card can make all the difference for graphics intensive tasks. It doesn’t matter whether you’re gaming or editing video—the best graphics drivers are vital.

In most cases, Linux users are using drivers for the Intel graphics chip, which is integrated with the motherboard. In some cases, this might be the only video chip available.

But if the computer has an AMD or Nvidia chip or full graphics card, suitable drivers are required.

Open source and proprietary drivers are available for cards from both manufacturers. Ubuntu makes it easy to find, choose, and install the best graphics drivers.

10. Try Different Ubuntu Linux Desktop Environments

The MATE desktop environment

Unlike Windows 10 and macOS, Linux distros like Ubuntu offer a choice of desktop environments. These are typically available as individual installations, although some distros, like Ubuntu, can be installed with alternative desktop environments preinstalled.

For example, Ubuntu comes in several flavors:

  • Ubuntu vanilla (ships with the GNOME desktop)
  • Kubuntu (Ubuntu plus KDE)
  • Lubuntu (Ubuntu plus LXQt)
  • Ubuntu Budgie (adds the Budgie desktop)
  • Ubuntu MATE (simple, classic Ubuntu desktop)
  • Xubuntu (Ubuntu plus Xfce)

So, you can either install an entire alternative version of Ubuntu or add a desktop manager manually.

Installing a new Linux desktop is straightforward, but occasionally requires an extra package. For example, to install Xfce on Ubuntu, use

sudo apt install xfce4

After installation, you’ll be prompted to select the new desktop choice the next time you login to Ubuntu.

11. Change the Default File Manager

Ubuntu uses the GNOME Files tool for browsing files and drives on your computer. It’s what you use to view the images you’ve downloaded, or the documents you’ve created.

Also known as Nautilus, the default file manager can be swapped for an alternative.

Various alternatives are available, some offering faster performance and few features, others with extra functions bundled in.

Popular alternatives to GNOME Files include

Most alternative file managers will run on Ubuntu without any trouble.

12. Compile your own Kernel

If you’re looking for a weekend project, why not built Linux a kernel to specifically meet your requirements?

This is frankly more of a learning experience. While some might argue that it lets you to use only the features and drivers you require, it usually isn’t necessary. If everything is working fine with the kernel supplied and you don’t have any interest trying to change that, you can skip this.

However, if you’re determined to get your hands dirty in the kernel, check our guide to compiling the Linux kernel.

13. Utilize the Swap Partition to Improve Performance

A great Ubuntu trick for boosting performance is to use the swap partition. This is a memory management method for using spare disk space as RAM overflow. However, it can be customized, tweaked for your benefit.

If your hard drive is large enough, you can expand the swappiness value, and utilize the hard disk for RAM. The result is a Linux system that performs faster.

Note that hacking the Ubuntu swap partition isn’t an exact science and doesn’t work on slower hard disk drives. There is also a risk of extra wear to your HDD.

14. Run Windows in a Virtual Machine

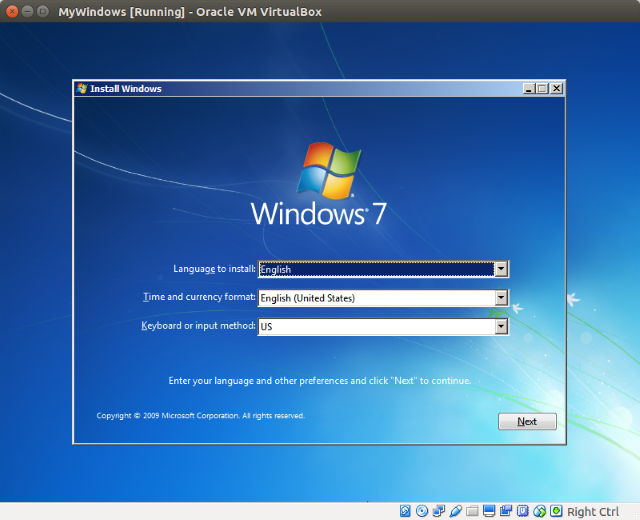
Need to use Windows software? Run the operating system in a virtual machine on Ubuntu

Missing Windows or need to use software that doesn’t have a Linux version? You might be tempted back to the dark side, but there is a simpler option: install Windows inside Linux.

This is possible thanks to virtualization. A virtual PC can be created, using software such as VMware or Virtualbox. An alternative is QEMU, although this is more suitable to experienced users as it relies on detailed command line configuration.

With a Windows virtual machine installed in Linux you can simply power it up and use the app you’re missing. It runs alongside other Linux apps, so you can switch to your Ubuntu desktop at any time.

15. Take Ubuntu Everywhere With a Live USB Disk

Perhaps the best Ubuntu power user trick is to carry the operating system around in your pocket.

With a Live CD installed to a bootable USB stick, you can use Ubuntu on almost any other computer. So long as the USB port can boot live drives and the stick is suitable, you’ll be running Ubuntu in moments.

You might even stick your favorite portable apps on there too for instant productivity. Check our guide to running Ubuntu on a live USB stick to learn how to do this.

Become a Linux Power User With These Ubuntu Tricks

By now you should have a handle on the best Ubuntu tips and hacks that can turn you into a Linux pro.

From the command line to using a different file manager and even compiling your own Linux kernel, Linux distros like Ubuntu are hugely customizable. Linux lets you do whatever you want—and then some.

For the ultimate customization, learn how to customize the Linux splash screen with your own image.

Read the full article: 15 Essential Tips for Ubuntu Linux Power Users


Read Full Article

How to Use Parsec to Play Local Co-Op Games Online


play-coop-online-parsec

While most cooperative games have online functionality these days, there are still many that use the traditional, offline mode with a shared or split-screen.

So what do you do when it isn’t possible to meet up with friends to play local multiplayer games together in person? You use Parsec.

In this tutorial, we show you how to use Parsec to play local co-op games online and remotely. We also detail how to host a game on Parsec.

Local vs. Online Multiplayer Gaming

When it comes to multiplayer games, there are two major types—local multiplayer and online multiplayer. Local multiplayer refers to multiple people playing on the same device—with local multiplayer games on the Nintendo Switch being especially popular. Players either share a view or play in a split-screen mode.

Online multiplayer means that people play on different devices, often in different locations. Online multiplayer became popular through FPS games such as the Call of Duty and Battlefield franchises, but also the dawn of MMORPGs such as World of Warcraft.

Many local co-op games offer an online multiplayer mode through clients like Steam. But platformers, some indie titles, and older couch co-op games often only have local multiplayer built-in.

Parsec bypasses the restriction of local-only multiplayer by streaming your game to friends online. This allows you to turn a couch co-op game into one you can play remotely.

How to Use Parsec: Turning Local Co-Op Into Online Co-Op

Parsec lets you connect to other people’s computers and share a screen through streaming. It’s different from other screen-sharing apps since it grants session guests a limited amount of control on the screen—allowing guest players to input controls into a streamed game.

Here’s a step-by-step guide on how to set up Parsec to play local co-op games with your friends online.

Step 1: Download Parsec and Sign Up

parsec gaming client sign up

To download Parsec, you will need to visit the Parsec Gaming website. Parsec is available for Windows 8.1+, macOS 10.9+, Android, Ubuntu, and Raspberry Pi 3. For the purposes of this tutorial, we’ll be downloading and installing Parsec on Windows 10.

Parsec does have a web browser app. However, in order to host games, you will need to download the standalone Parsec program.

You need an account to use Parsec both as a host or as a player. Luckily, setting one up is very simple.

To sign up, simply click the link on the login screen. The program will send you to the Parsec site where you choose a username, which you can change at a later stage if needed. Once set up, you can log into your account on the Parsec client.

Step 2: Enable Hosting on Parsec

parsec gaming enable host game

To host games on your computer, you will need to enable the hosting feature. You can check whether hosting is enabled on your PC under Settings>Host. Next to Hosting Enabled, you can use the dropdown menu to enable or disable hosting.

Step 3: Add Your Friends on Parsec

parsec app add friends

To join a game with friends, you will either need to connect to their PC or they will need to connect to yours. You will all need to have Parsec accounts to do this since the program uses your unique Parsec IDs to connect you to each other.

To add a friend, visit the Friends tab in Parsec. You can either search for a friend’s username or use their unique Parsec ID.

Your friend will need to approve the request before you can connect through the program. According to Parsec, each friend receives the least amount of permissions by default. You can adjust these permissions if needed.

Once a friend is added, their PC will be included in your list of available connections when they are online. This list can be found in the Computers tab.

host in parsec computers

Step 4: How to Host a Game on Parsec

With Parsec, you can either host or join a game. Who should host the game depends mostly on who owns the game that you want to play. If you all have the game, you should connect to the person with the best internet speed and/or most powerful PC.

To host a game on Parsec, you simply need to launch the game on your PC and get your friends to connect to your session. Friends can join either by requesting to connect or by using the link generated when you share your device.

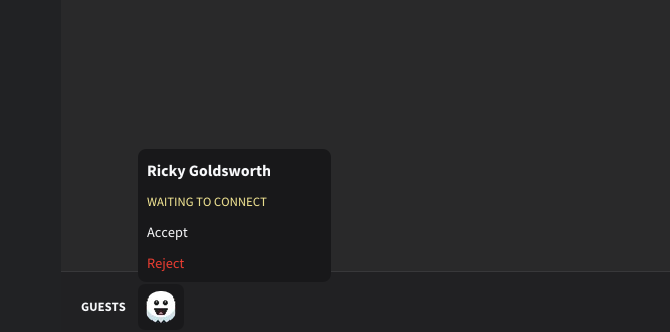
parsec join friend computer request

Once a request is approved and a connection is established, your screen is shared with your friend(s). You just need to open the game on your main screen to start streaming it.

Guests are automatically assigned gamepad controls so that they cannot interfere with other tabs or control your entire PC. You can adjust these permissions by clicking on their profile picture.

However, we recommend that only the host uses a keyboard and mouse, while the guest players use controllers. The host is also able to kick players from the game using the permissions window.

parsec guest permissions on host pc

The game detects guest controllers as if you plugged them directly into the host’s PC. The game will detect additional players and switch to its couch co-op mode.

You can now all enjoy the game together as if you were in the same room. We recommend using a Discord server (how to set up your own Discord server) so that you can talk while you play the game together to get the full local co-op experience.

Use Parsec to Play With Your Friends Online

Now that we’ve explained how to set up and use Parsec, you can play local co-op games with your friends online and remotely. Because while more games and gaming clients such as Steam support online co-op, Parsec is the perfect tool for turning couch co-op games into ones you can play remotely with friends.

And if you’re looking for some great games to play remotely with friends using Parsec, check out our list of the best couch co-op games to play on PC.

Read the full article: How to Use Parsec to Play Local Co-Op Games Online


Read Full Article

The 9 Best Chat Stories Apps for Reading Text Message Stories


chat-stories-apps

Throughout the ages, readers have had numerous options. Depending on your personal preferences, you have been able to pick up mainstream fiction, geeky non-fiction, graphic novels, and magazines, amongst other things.

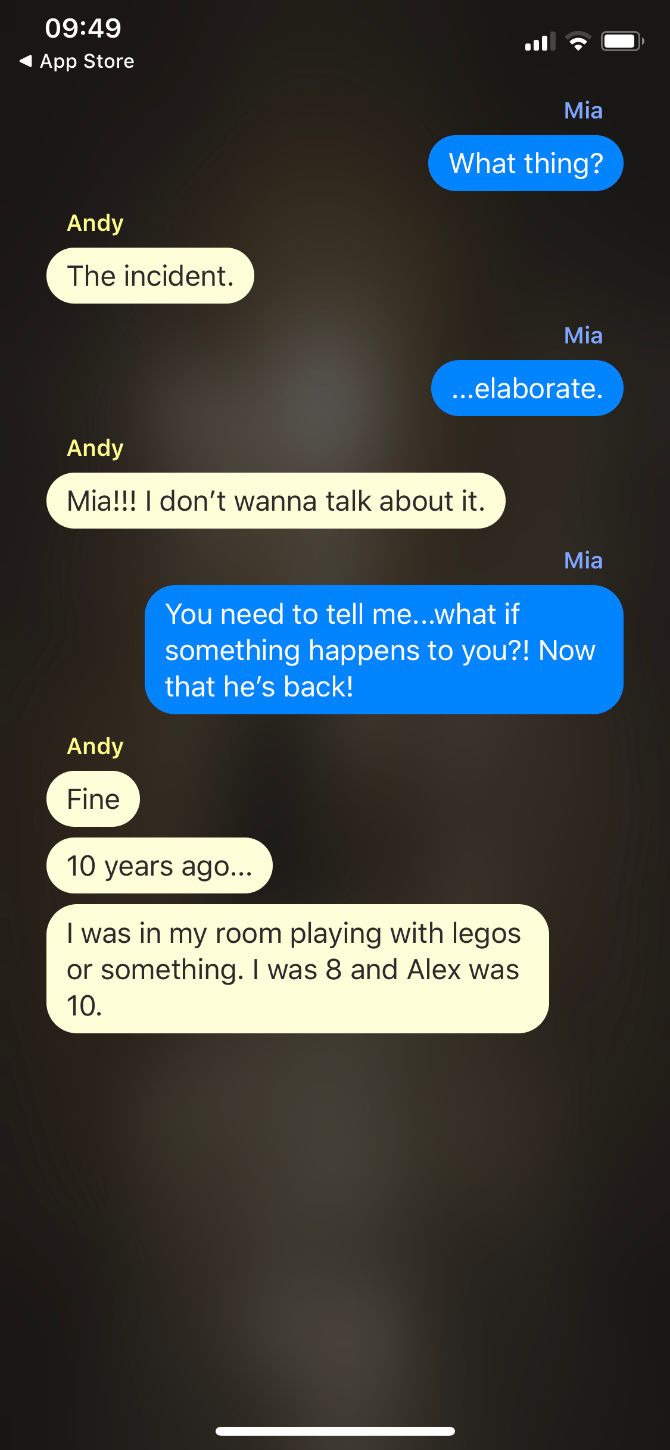
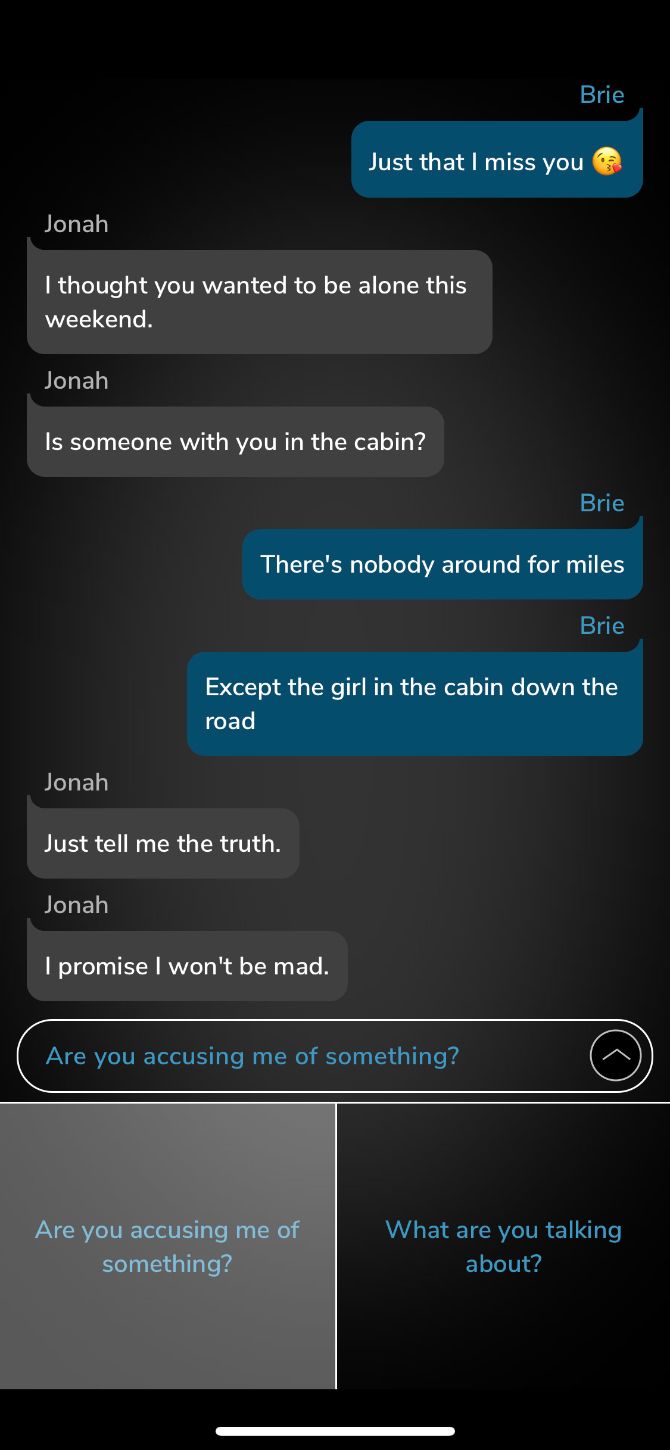
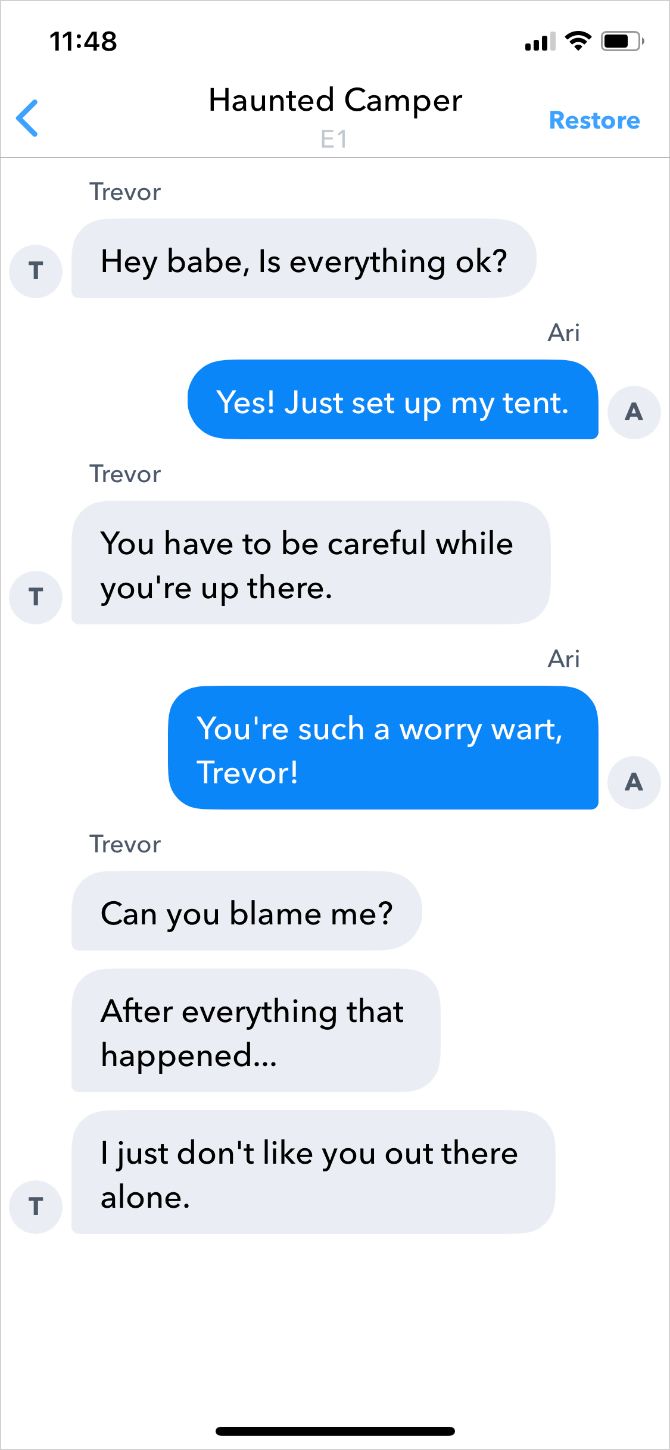
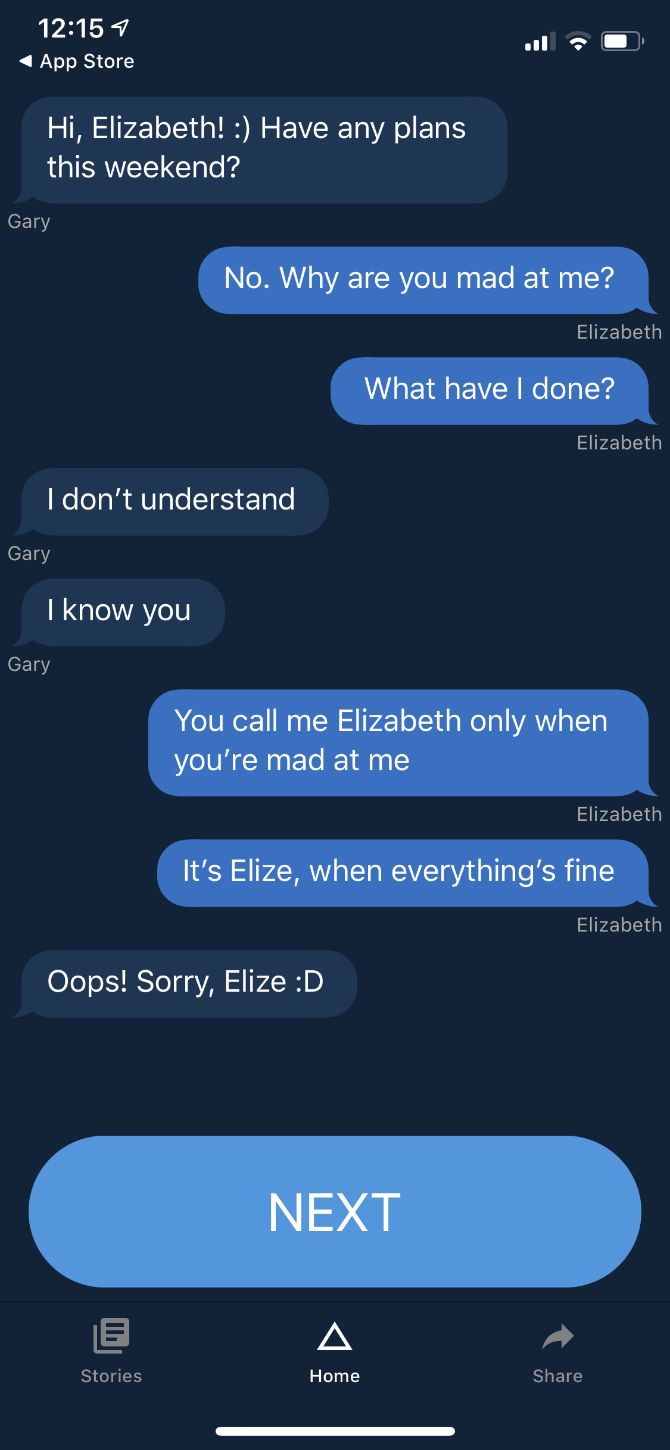
Chat stories are the latest offerings. Presented as short stories delivered in the form of text messages, these apps are wildly popular with younger readers. All you need to do is tap the bottom of the screen to reveal the next message, making it easy to lose yourself in a narrative.

If you’re interested in reading chat stories, here are the best chat stories apps available…

1. ReadIt

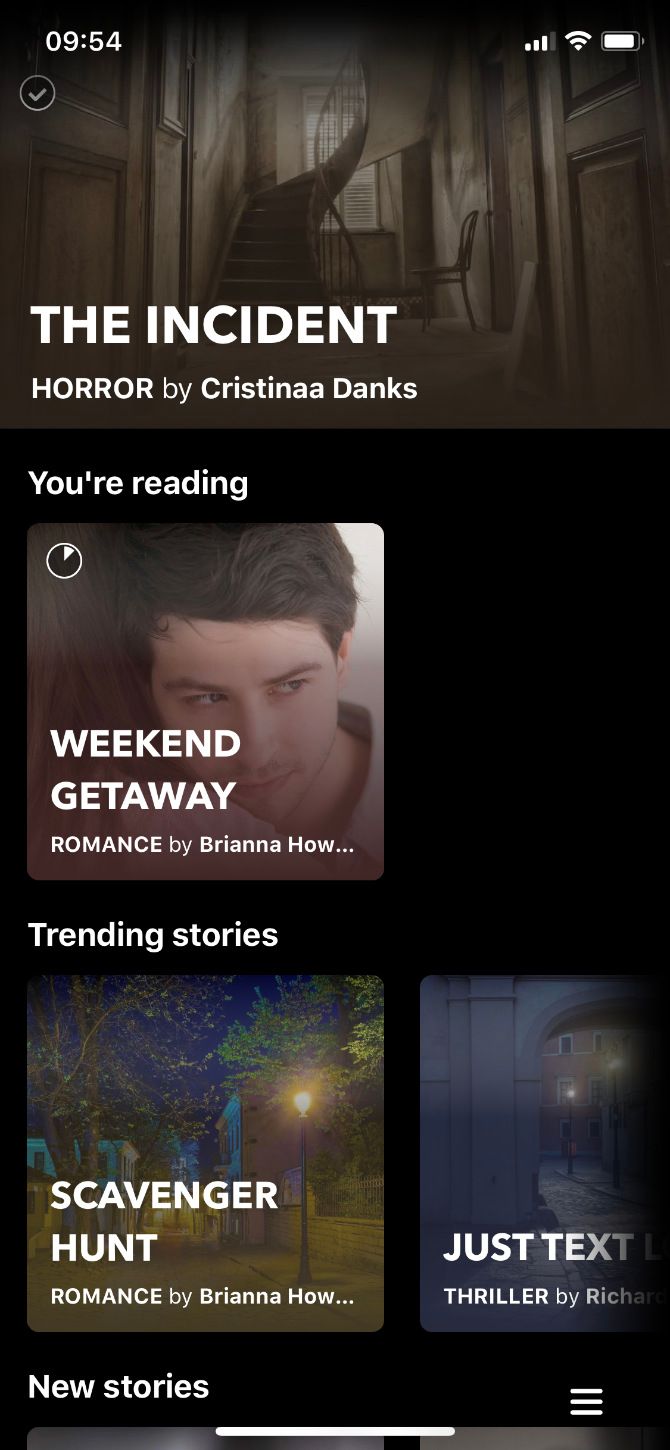
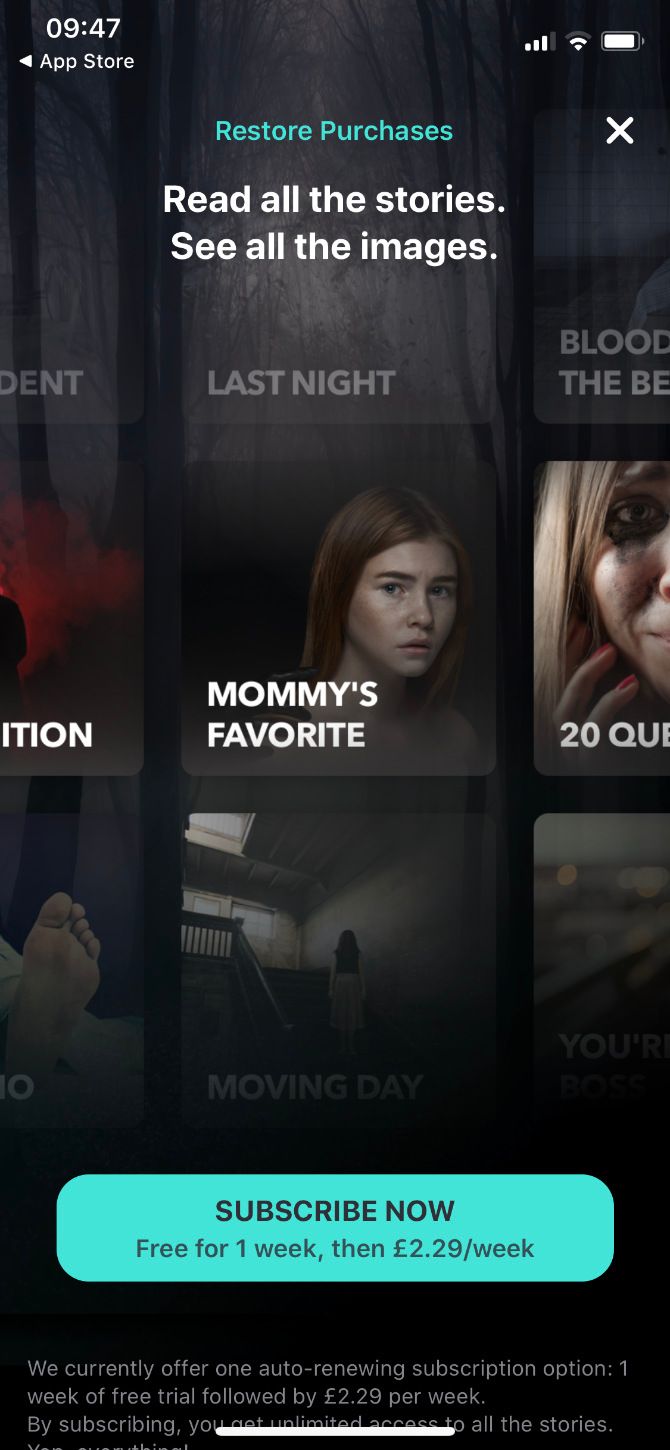
Expect the stories on ReadIt to capture your interest right away. However, keep in mind that you need to get a subscription to read the full stories and to view the images. Many users start out not expecting that and end up disappointed as a result, despite their enjoyment of the material.

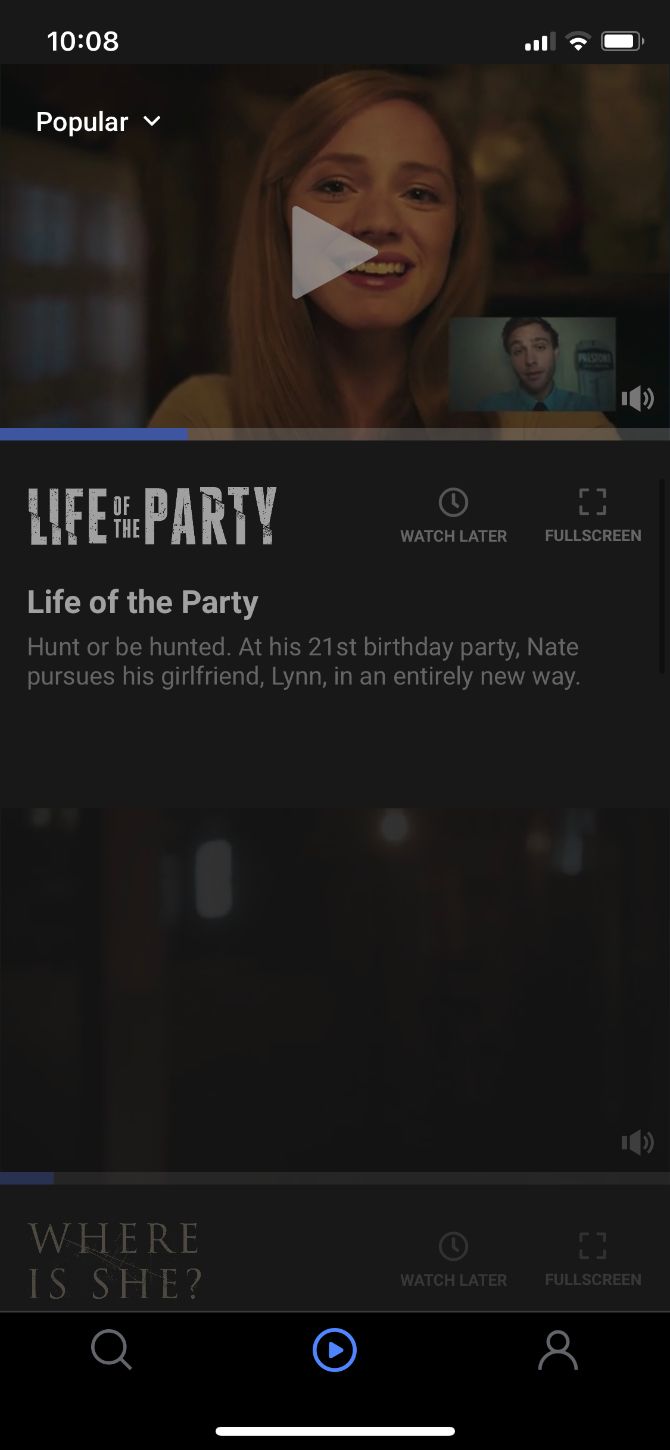
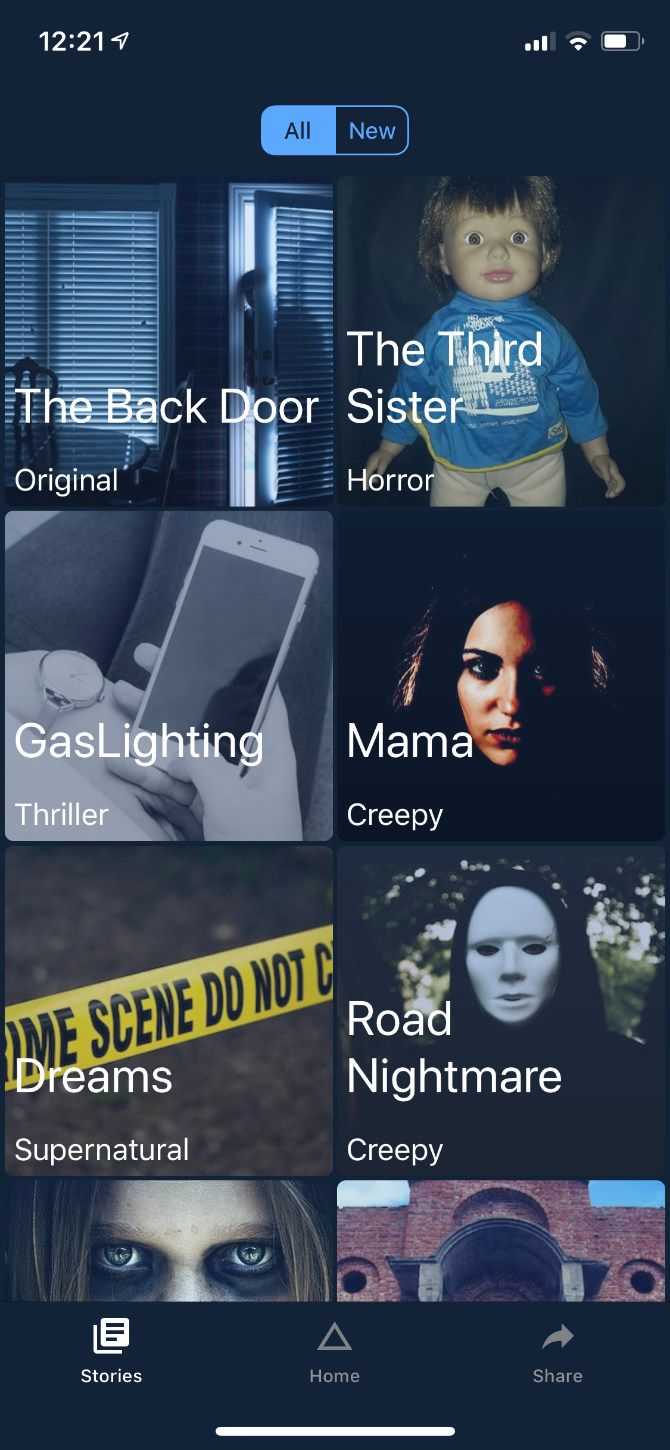
The available genres include horror, romance, and thrillers. The app selects fictional chats for you to read automatically. But you can choose your own stories as well by scrolling to the top and tapping the X button.

ReadIt is one of the highest-rated chat stories apps on iTunes, and it’s worth downloading to find out for yourself why that’s the case.

Download: ReadIt for iOS | Android (Free, subscription available)

2. Hooked

Hooked brings addictive chat stories to the masses through a business model that emphasizes how stories must evolve, as the company explains on Medium. This proved immensely successful as Hooked surpassed Instagram and Snapchat in the iTunes charts at one time.

Like the other apps mentioned here, Hooked offers original stories in a chat-based format. You can even download audio recordings to hear actors read the messages aloud as they appear onscreen. If you don’t feel like reading, Hooked also offers short films to watch.

The content covers a range of genres, including romance, horror, mystery, and comedy.

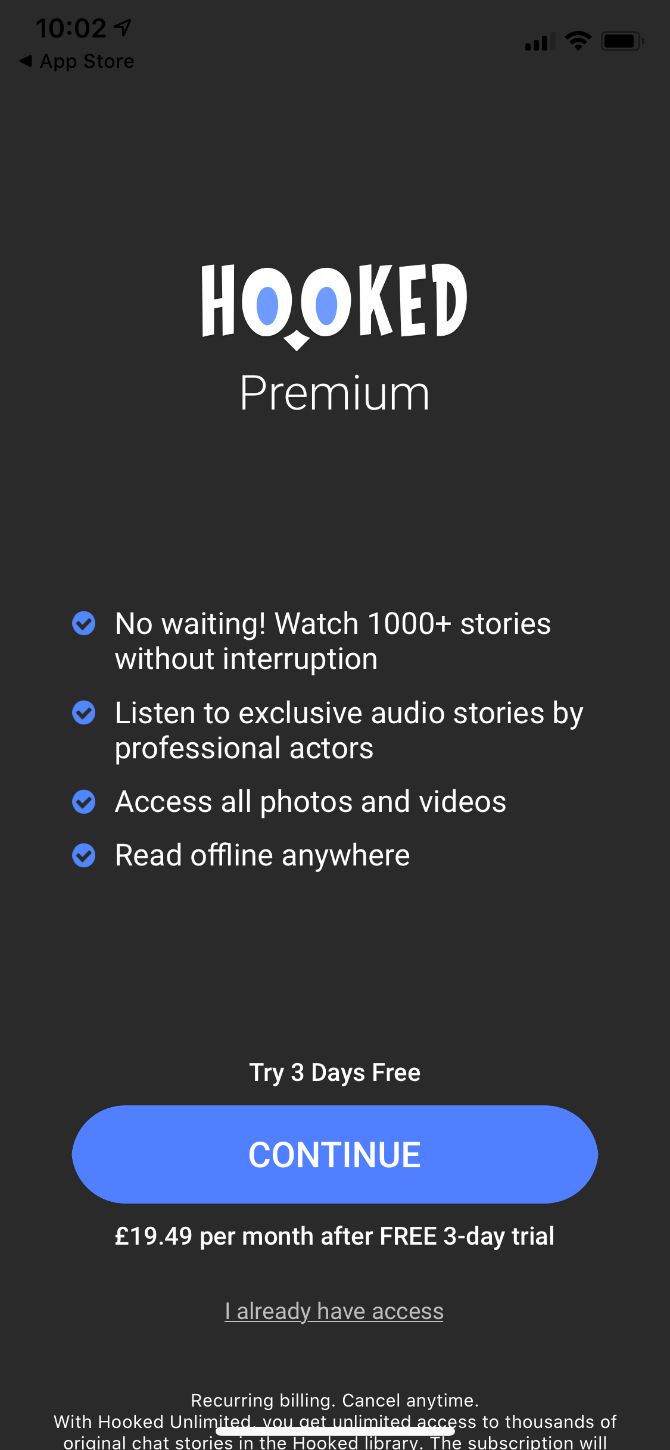
You need to sign up for a subscription to access anything in Hooked, although you can take advantage of a free, three-day trial to see if you like it first.

Download: Hooked for iOS | Android (Free trial, subscription required)

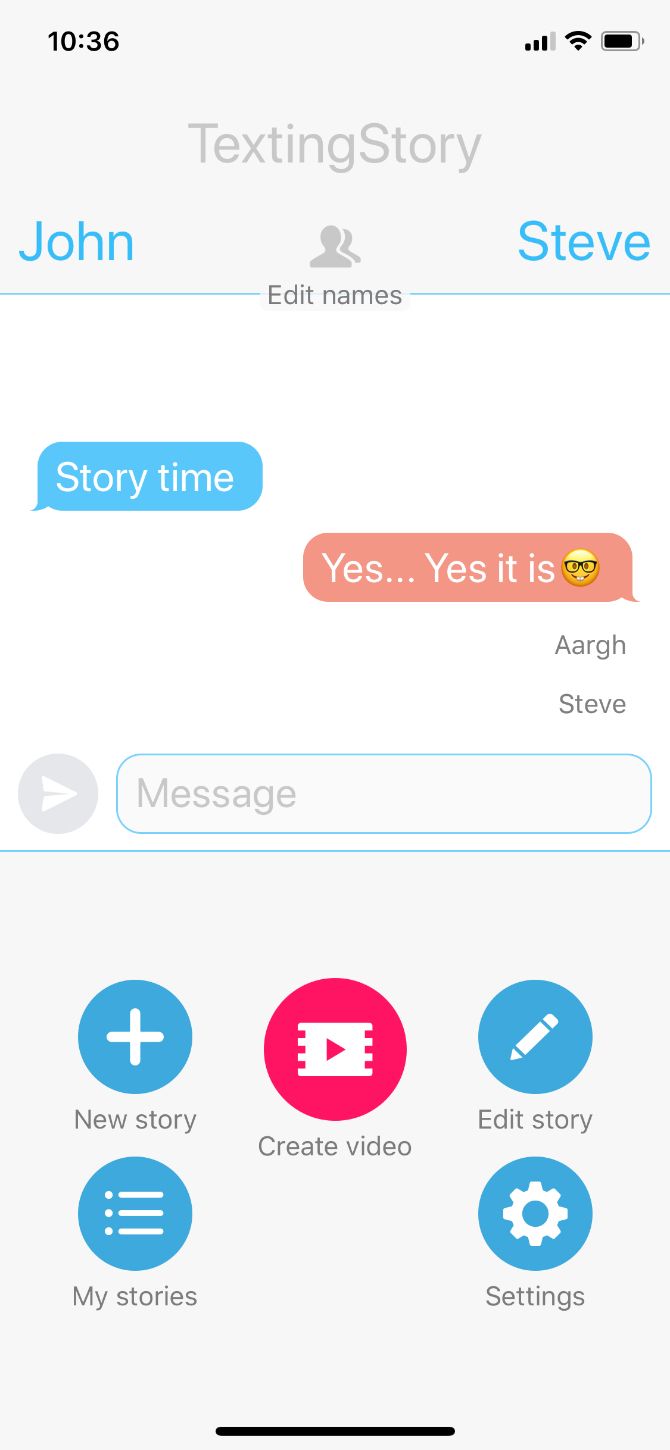
3. TextingStory

While the other apps on this list let you read existing chat-style stories, TextingStory is a tool that lets you create your own.

Make up an exciting story and write it out in text-message form with as many different characters as you like. Add extra color with pictures and GIFs. Then export your finished story as a video to share with your friends.

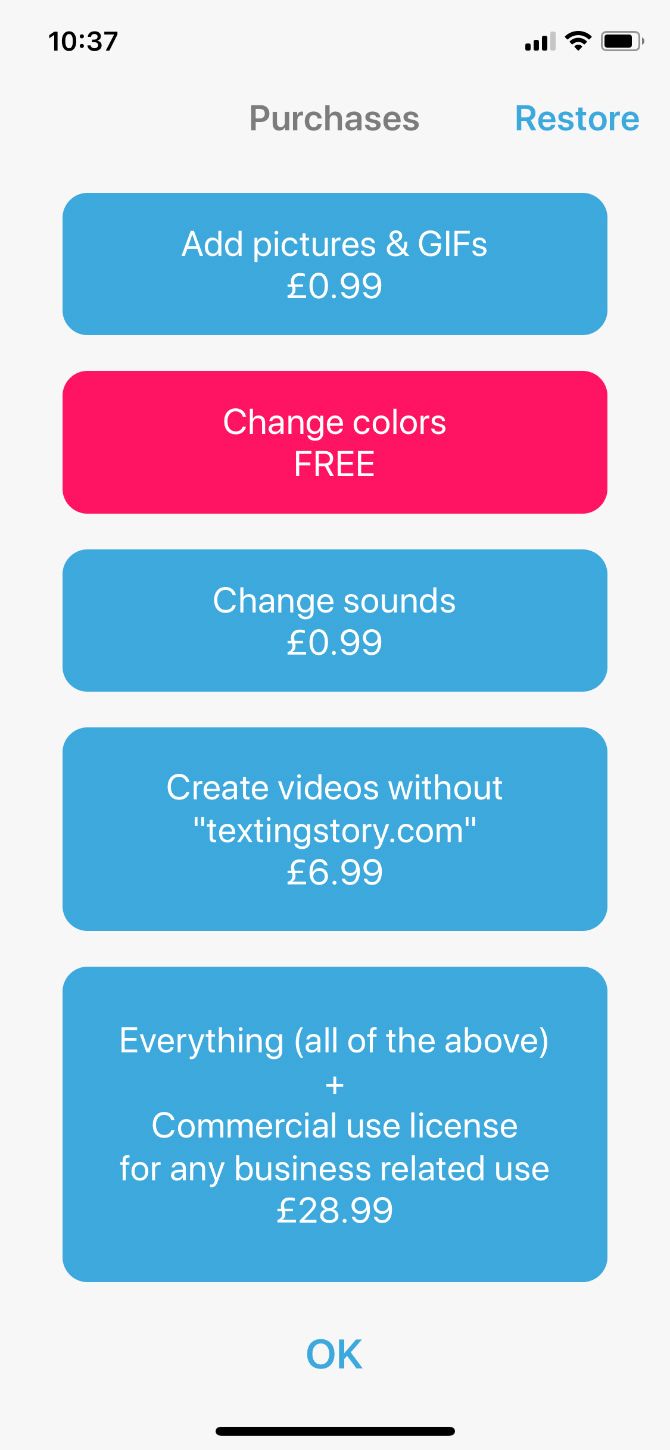
TextingStory is free to download and use. But you need in-app purchases to add custom alert sounds or to unlock picture and GIF support.

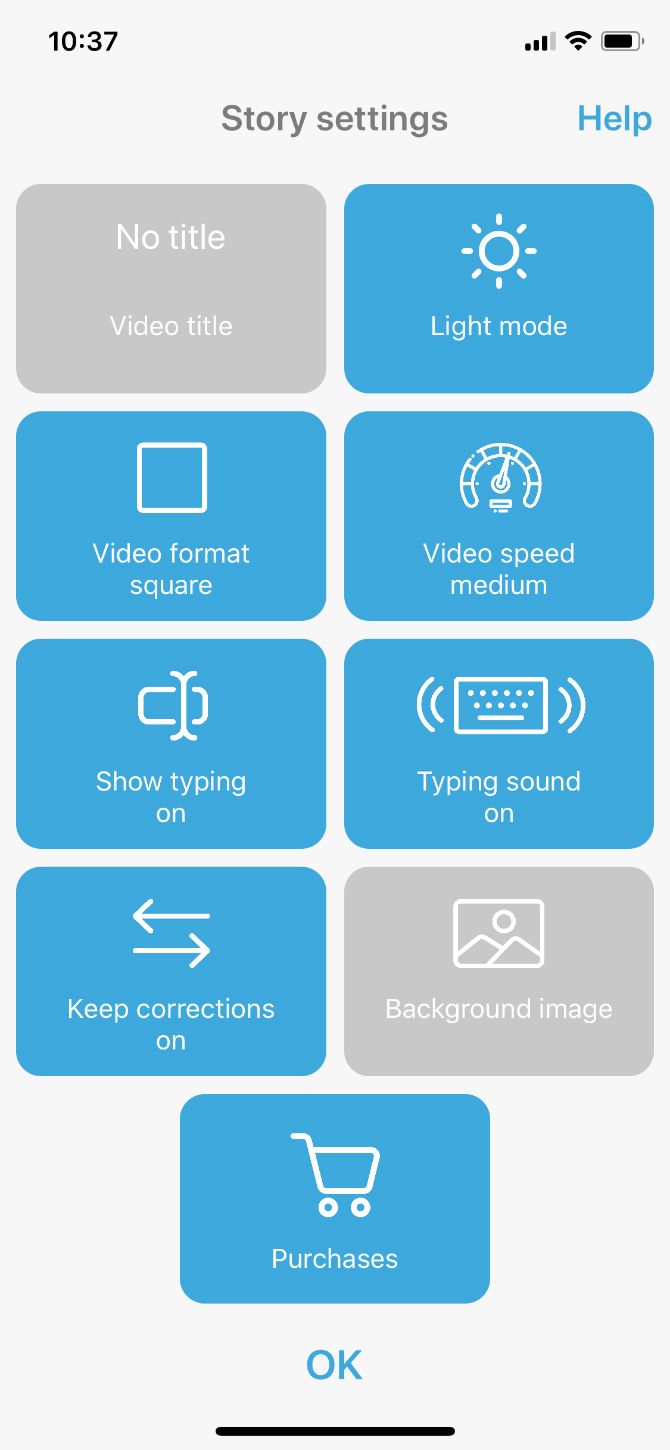
After you finish writing your story, choose the video speed and format you want before exporting it. You need to buy an additional in-app purchase to remove the TextingStory watermark from your finished videos.

Download: TextingStory for iOS | Android (Free, in-app purchases available)

4. Cliffhanger

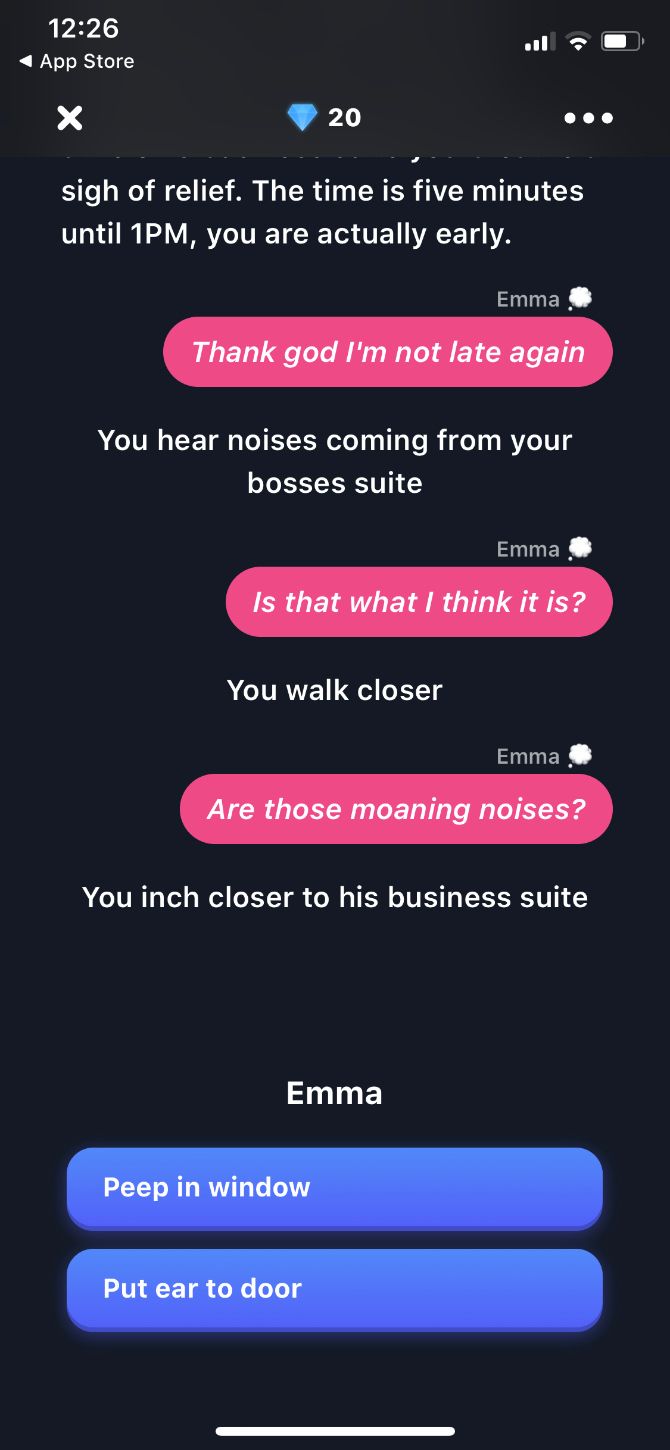
You read most chat stories as if viewing someone’s messaging history. However, with Cliffhanger, you become part of the story. In each chat, there are moments where Cliffhanger lets you choose a response to determine what happens next.

As you may have expected from the name, most of Cliffhanger’s stories are thriller, mystery, or horror. You can enjoy stories for free, or sign up for a weekly subscription for more even stories along with access to images and videos.

Fans of Cliffhanger say the text stories in this app are easy to understand and totally addictive. They confess to spending hours getting lost in the stories, which are updated every week. So if you’re preparing for a long plane or train ride, this app could make the journey more bearable.

Download: Cliffhanger for iOS | Android (Free, subscription available)

5. Tap by Wattpad

Instead of offering text-only chat stories, Tap by Wattpad presents stories with images, colorful backgrounds, sounds, and videos. This makes every story even more engaging and takes full advantage of the technology available on your smartphone.

Tap by Wattpad offers an enormous library of stories covering every genre imaginable, including an LGBTQ+ section. Most of these stories offer alternate endings, giving you more reason to revisit your favorites time and time again.

Enjoy the Tap Original stories that come out every week and are exclusive to this app. They offer something new to read even if you use the other story apps on this list. You can also read or create original stories written by other Tap by Wattpad users.

And don’t forget to recommend Tap by Wattpad to non-English-speaking friends. The app offers content in more than 10 different languages, making this one of the best social reading apps.

Download: Tap by Wattpad for iOS | Android (Free, subscription available)

6. Yarn

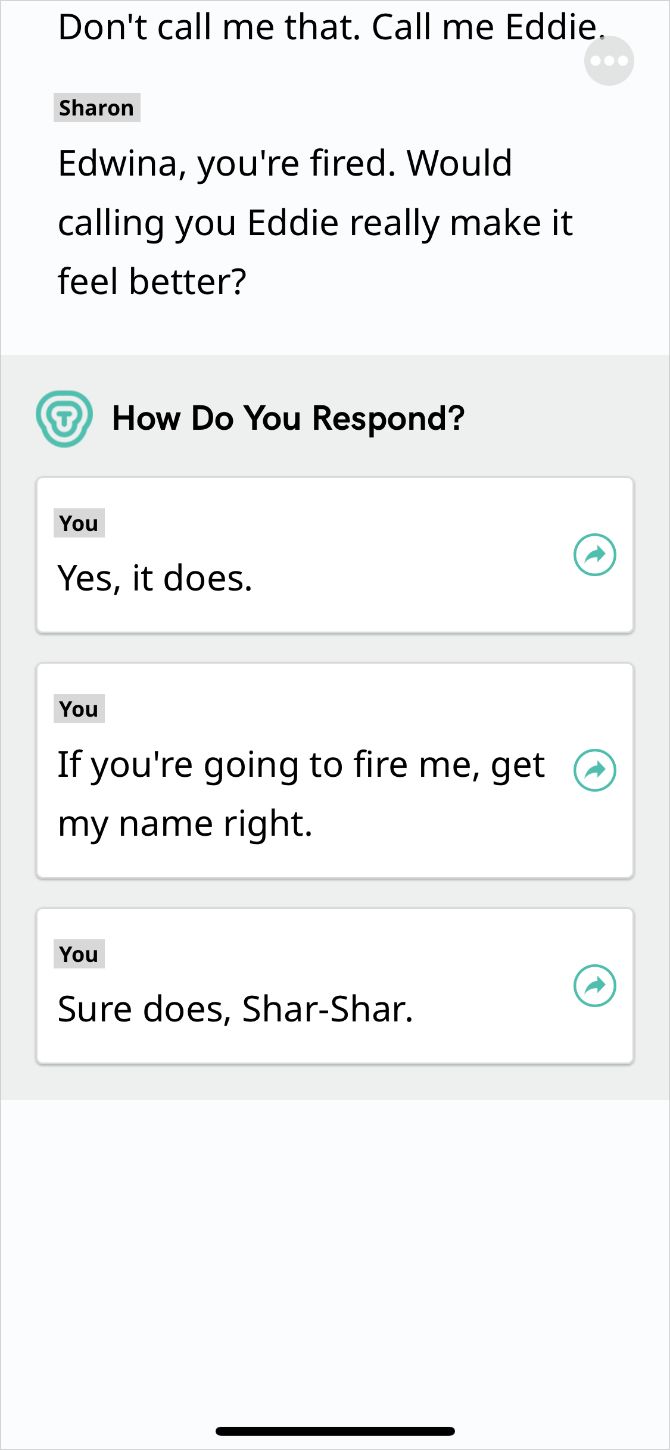
Yarn makes it feel as though you’re peeking through other people’s text messages and learning stories about their life. With a premium subscription, you can enjoy pictures, videos, and audio clips as well. The Yarn app even lets you choose your own responses to change the direction of chat stories.

Analysts say these kinds of chat stories may change the publishing industry with new popular content. And Yarn is further pushing the boundaries with short video episodes to watch as well.

Yarn releases new episodes and conversations daily, keeping everything short to make it easy to binge through lots at once. Just remember, you need to pay for a subscription to unlock unlimited and exclusive content.

Download: Yarn for iOS | Android (Free, subscription available)

7. LEAK

With LEAK you can read short chat stories for free since the app is ad-supported, rather than subscription-based. That said, you can get a cheap subscription to remove those ads and unlock even more content. Unfortunately, LEAK is only available on your iPhone.

Enjoy stories from every genre: love, paranormal, thriller, drama, and more. LEAK keeps all of them short and easy to digest, spicing up conversations with the occasional image or status update as well.

It isn’t the best-looking app on this list, but LEAK is quick and easy to use with fewer restrictions than you’ll find elsewhere. That is, if you don’t mind putting up with the occasional ad.

Download: LEAK for iOS (Free, subscription available)

8. Scary Chat Stories – Addicted

If you like reading edge-of-your-seat scary stories but can’t afford the subscriptions, try this app instead. Unlike the other chat story apps on this list, Scary Chat Stories is completely free.

You can read as many scary stories as you like and enjoy all of the pictures in them without paying for anything. That does mean you need to watch ads instead, which is how the app supports itself. However, you can skip them after a few seconds.

Unfortunately, the spelling and grammar aren’t as good as in other text-based story apps. But if you can see past the questionable writing quality, Scary Chat Stories seems delivers fairly well thanks to its vast catalog of engaging stories.

Download: Scary Chat Stories – Addicted for iOS | Android (Free)

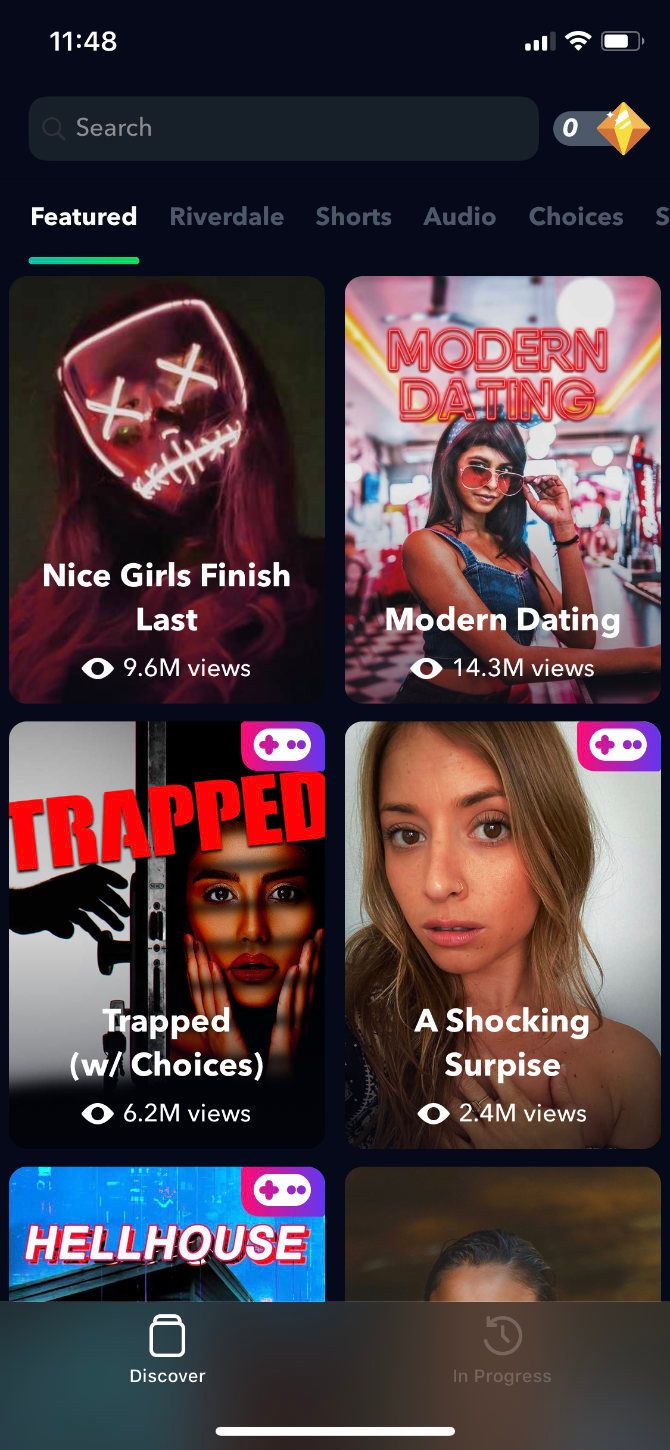
9. Lure

With a regularly updated story collection from in-house writers, this app covers both horror and romance genres. Although stories are still presented in text form, complete with pictures, Lure adds descriptions and actions between the messages so you can follow exactly what’s happening in each story.

Statistics at the top of a story’s introduction screen show how many people viewed and loved each tale. The introduction screen also tells you how long you can expect to spend reading it, with most stories averaging just under an hour.

When reading without a subscription, there is a waiting period that prevents tapping to immediately see the next section. A subscription removes the adverts and the need to wait. You can also purchase gems to spend on more stories without a subscription.

Sadly, Lure is only available for iOS.

Download: Lure for iOS (Free, subscription available)

Other Apps for People Who Love to Read

Perhaps this was your introduction to chat stories, a genre that has taken youth culture by storm. Or maybe you already knew a bit about them but haven’t downloaded any apps yet. Either way, we hope this article helps you find some brilliant chat stories apps to try out.

If you enjoy chat stories, there’s a good chance you enjoy reading fictional novels as well. So be sure to check out the best apps for book lovers. That way, you can read chat stories or full-length novels on your phone, depending on your mood at the time.

Read the full article: The 9 Best Chat Stories Apps for Reading Text Message Stories


Read Full Article
How to Read Text Out Loud on Android: 3 Methods You Can Use


Using Android text to speech can be a really great way to boost your own productivity. Having your phone read text out loud while you multitask with other important jobs can save you some time.
We’ll show you how to use text to speech with your Android phone. There are several methods at your disposal for having Android read text out loud.

1. Read Aloud With Google Assistant

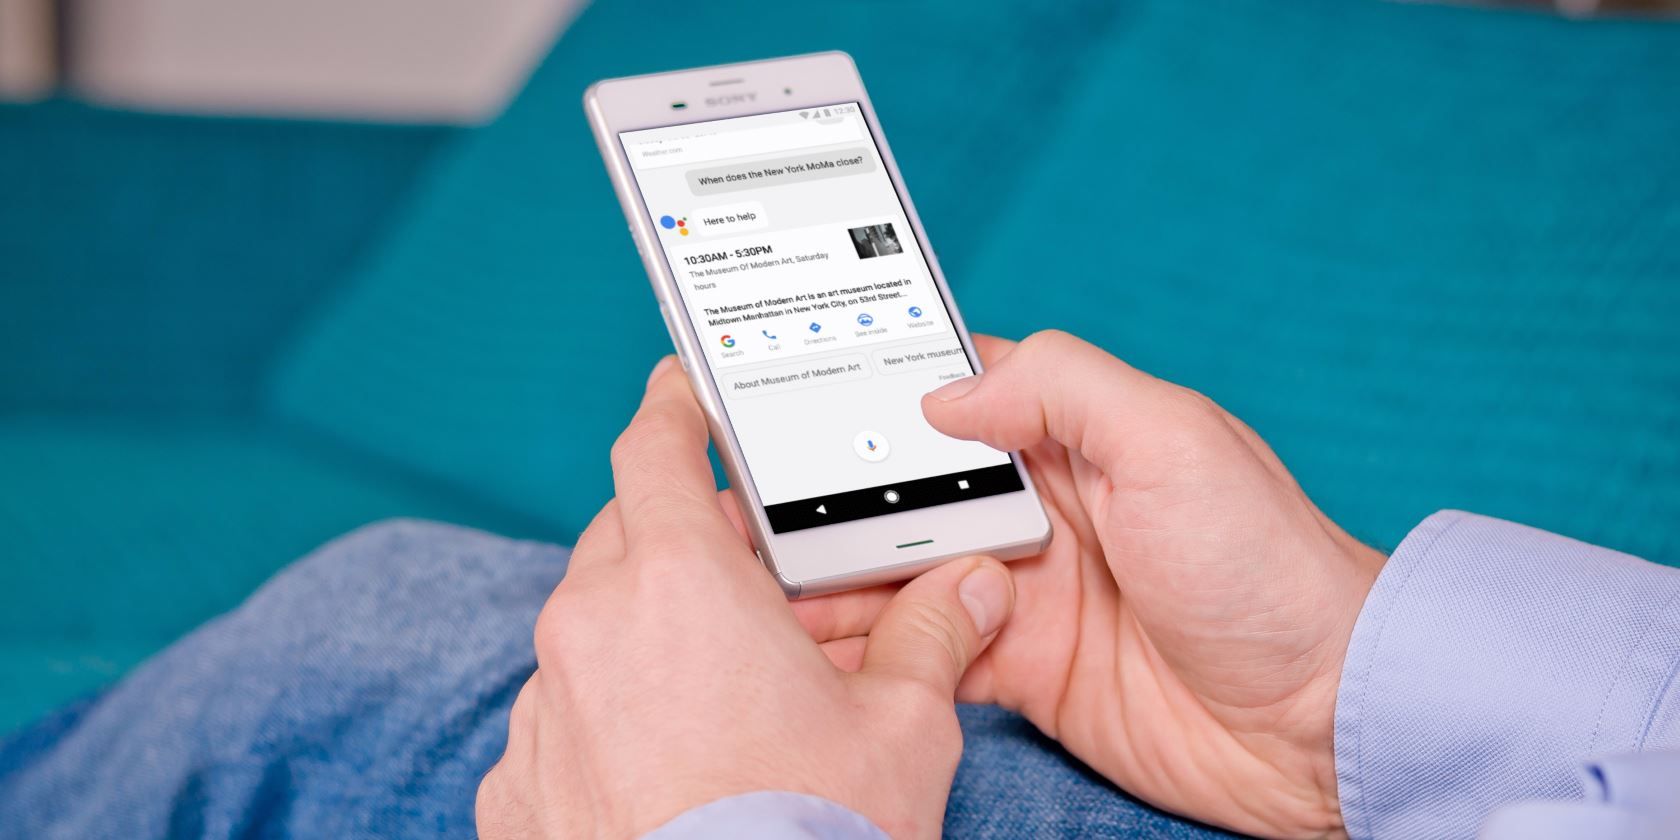
Until fairly recently, Google Assistant wasn’t the best at reading text out loud. It could only read your text messages and, even then, was limited to the five most recent messages. However, in March 2020, Google implemented an upgrade that allows Android to read web pages out loud.

If you don’t already have Google Assistant ready to go, find out how to use Google Assistant first. From there, getting Google Assistant to read text out loud is super easy. Simply launch Google Assistant (using a voice command or shortcut gesture) and you’re ready to hear text read aloud.

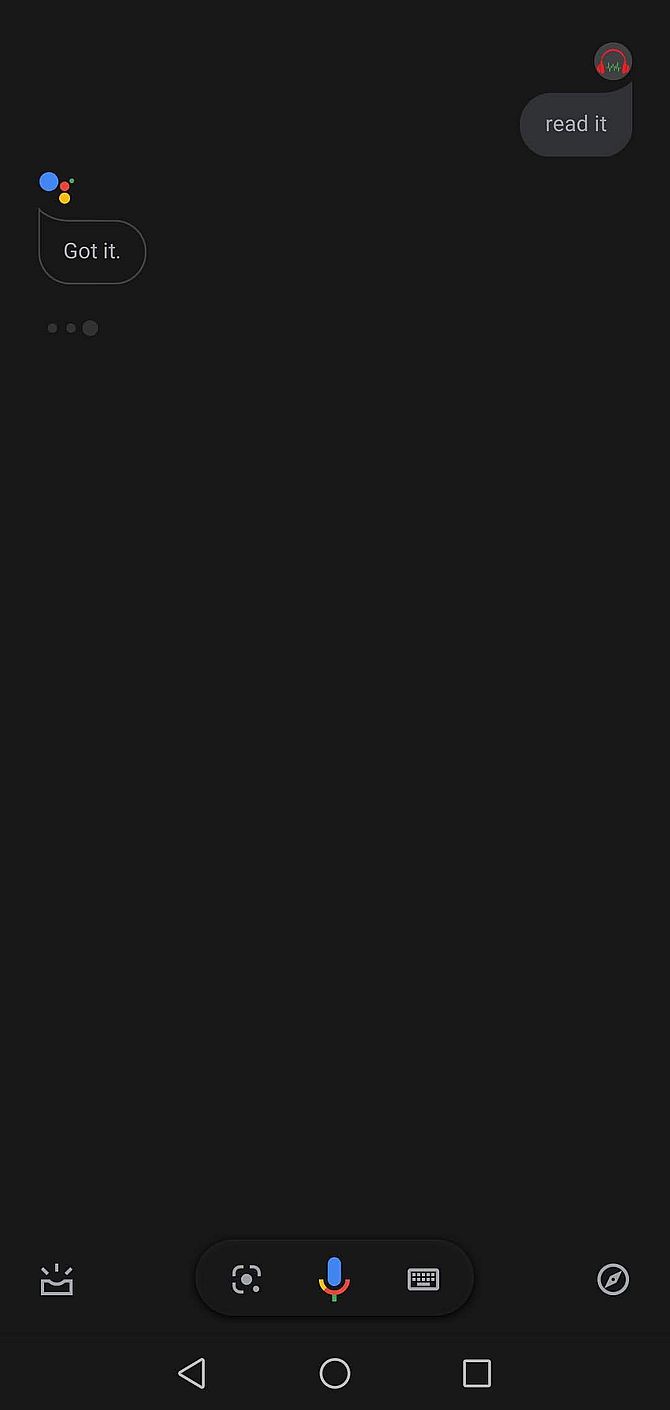
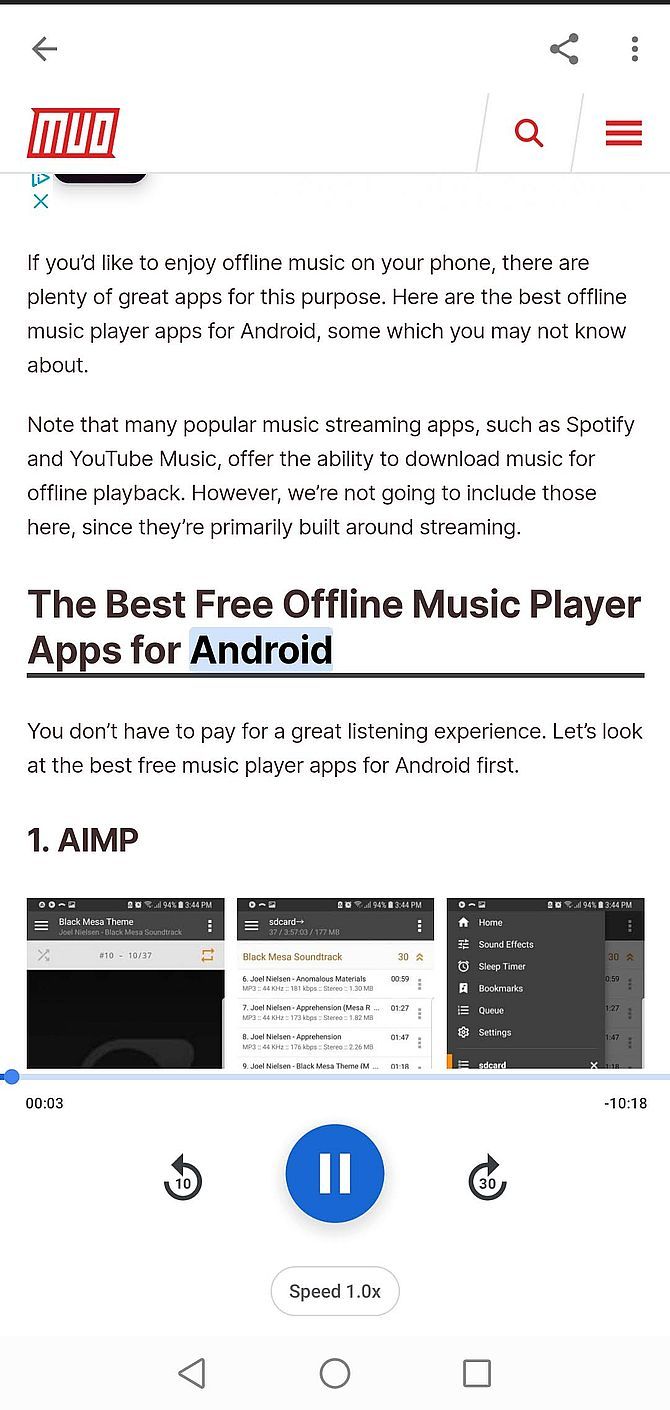
To have Google Assistant read out a web page, first navigate to the page you want it to read. Then, launch the text to speech function with the Read It command. The assistant will confirm that it plans to read the text to you, then it will then start reading. That’s all it takes—the Assistant will highlight words in blue as it reads them.

This also works with text messages, as previously mentioned. To have text messages read aloud, simply ask Google Assistant to do so by saying Hey Google, read my text messages. If you have any new, unread messages, Google Assistant will read them for you.

You can even respond using your voice, if you want. This is still fairly restrictive in what it can do, though, as it won’t read older messages.

2. Use Android’s Text to Speech Feature

If you don’t want to use Google Assistant to read text out loud, you can use your phone’s native text-to-speech function. This is relatively easy to set up and use by navigating a menu or two. It’s actually an accessibility feature designed for those with little or no sight. However, it also comes in handy for getting Android to read text aloud to you.

To get text-to-speech working, here’s what you need to do:

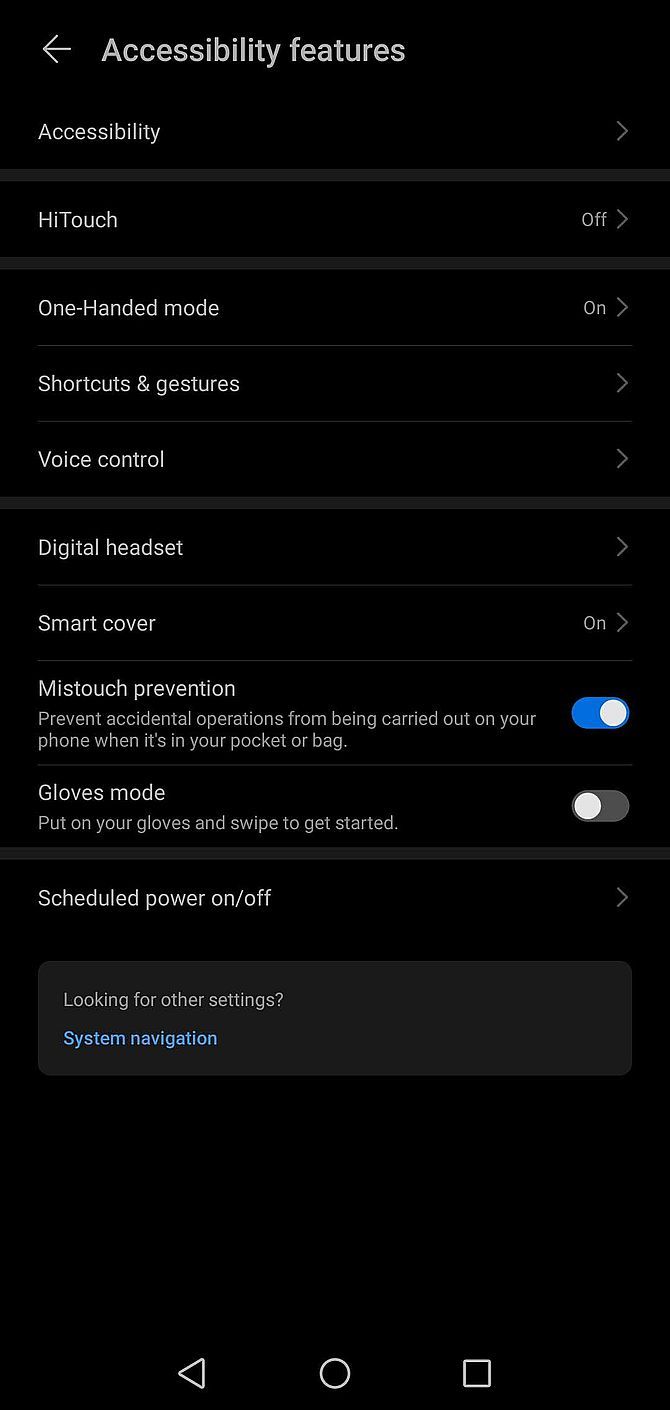
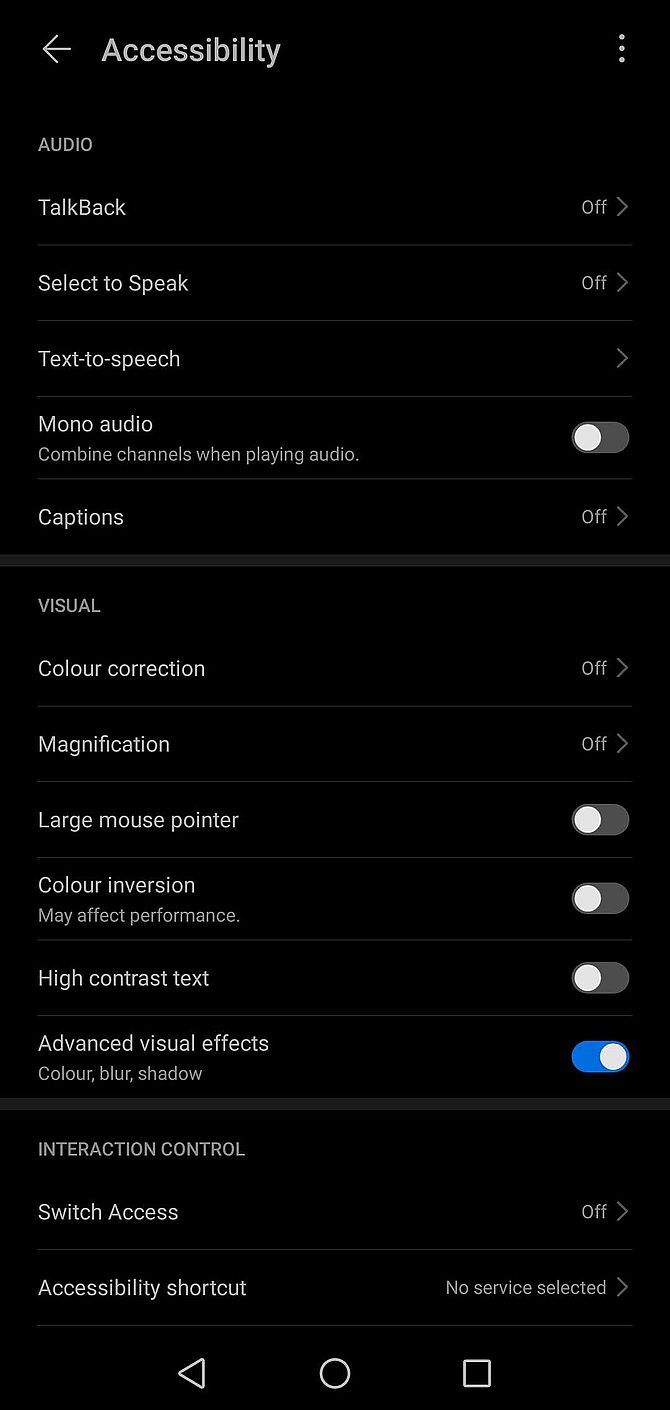
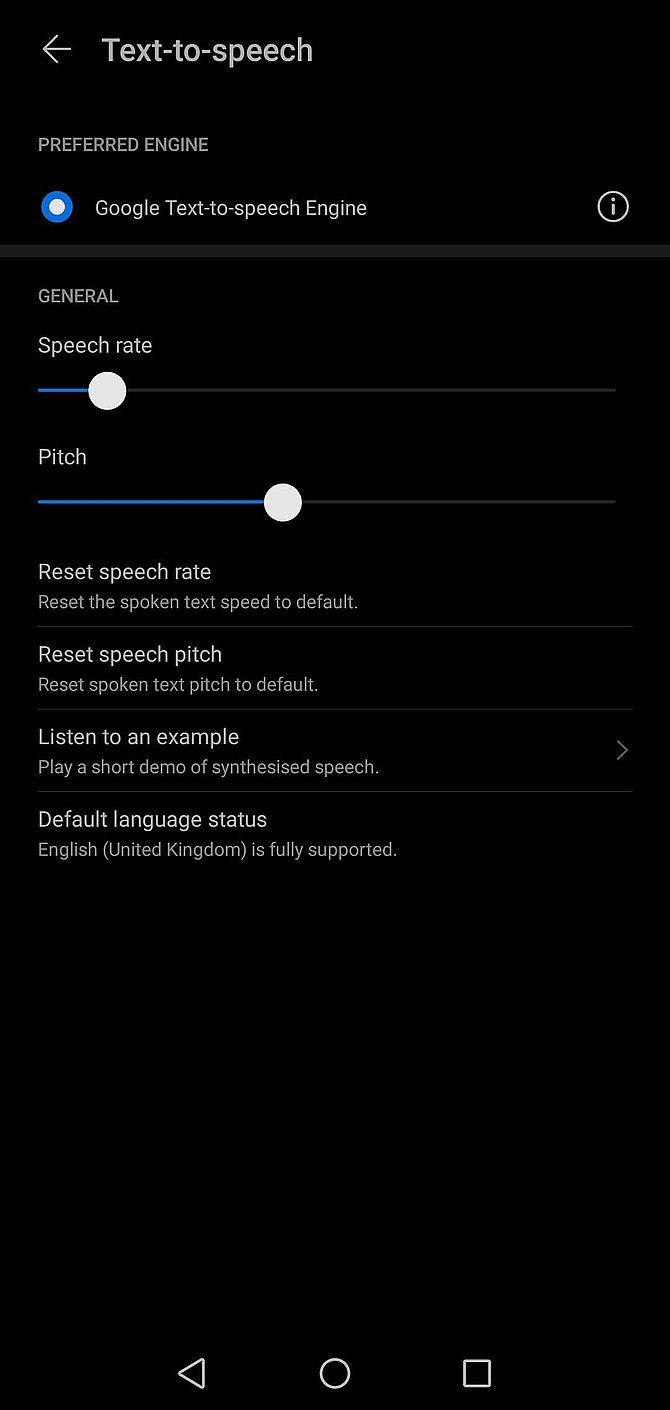
  1. Go to Settings > Accessibility > Text-to-Speech.
    1. This path and the options available may vary depending on your Android version or manufacturer. For example, Samsung users can choose between Google’s text-to-speech function or Samsung’s.
  2. Take a look at the options and change them as you see fit. Tap the Settings gear to change options for it. On the main page, you can adjust the speech rate and pitch, plus play an example to hear how it sounds.
  3. Go back to the main Accessibility screen, tap Select to Speak, and toggle it on.

Now, navigate back to your home screen, and you should notice an extra icon in the bottom right-hand corner. This looks like a little person inside a circle. That’s your text-to-speech assistant, which can read any on-screen text out loud. Operating text-to-speech is simple; here’s how to use it:

  1. Navigate to the app or page you want Android to read out loud.
  2. Tap the new icon (it will turn blue).
  3. Select the text you want Android to read out loud.

Android will now read out your text. Unfortunately, it probably won’t sound as good as Google Assistant (in our testing, it sounded fairly robotic). But at least it can read out more than your last five messages.

3. Third-Party Text to Speech Apps

If neither of the above options work for you, there are a number of third-party apps available that provide text to speech on Android. However, in a lot of cases, these aren’t worth it. This is because a lot of them rely on Google Assistant to read text out loud, meaning they can’t provide much more than the built-in tools.

For the best options, have a look at our favorite text-to-speech apps for Android.

Making Use of Android Text to Speech

We’ve shown you the best solutions for text to speech on Android. Thankfully, the default options are now good enough that most people shouldn’t need to install a third-party app. Enjoy having text read aloud to you anywhere on your Android phone!

To try out the opposite of this, see our guide to using speech-to-text on Android.

Read the full article: How to Read Text Out Loud on Android: 3 Methods You Can Use


Read Full Article