Snapchat has launched a new lens that lets you age and de-age yourself before your very eyes. This new Snapchat lens is reminiscent of the FaceApp filter that went viral earlier this year. Because everyone wants to see what they’re going to look like when they get old.
From FaceApp to Snapchat
In July 2019, FaceApp went viral thanks to a filter that shows you what you’ll look like when you’re older. However, due to the way FaceApp applies filters on its (Russia-based) servers, people soon realized using FaceApp wasn’t such a great idea.
Still, that didn’t lessen people’s desire to see what they may look like when they get older. So, Snapchat has launched a new lens called Time Machine that does just that. The results aren’t as refined as FaceApp’s, but they’re still likely to freak you out a little.
How to Use Snapchat’s Time Machine Lens
To use the new Time Machine lens on Snapchat, first, open the Snapchat app. Then, open the filter carousel (the icon of a face to the right of the Capture button. Then scroll across until you see the splitscreen image of a baby and an old person.
You can then use the slider to make yourself look younger and older. Or flick between the two. Sliding the slider to the left de-ages you, while sliding it to the right ages you. Badly. Time Machine works with both front- and rear-facing cameras.
Our Guide to Snapchat Filters and Lenses
Time Machine is almost guaranteed to go viral, so expect to start seeing how your friends and family are likely to look when they’re much older. Just be careful not to look too shocked when you discover you’re going to look just like your mum or dad.
Snapchat boasts a huge number of different filters and lenses designed to jazz up your selfies. And while many are aimed at teenagers, absolutely anyone can have fun with them. So, with that in mind, here’s our guide to Snapchat filters and lenses.
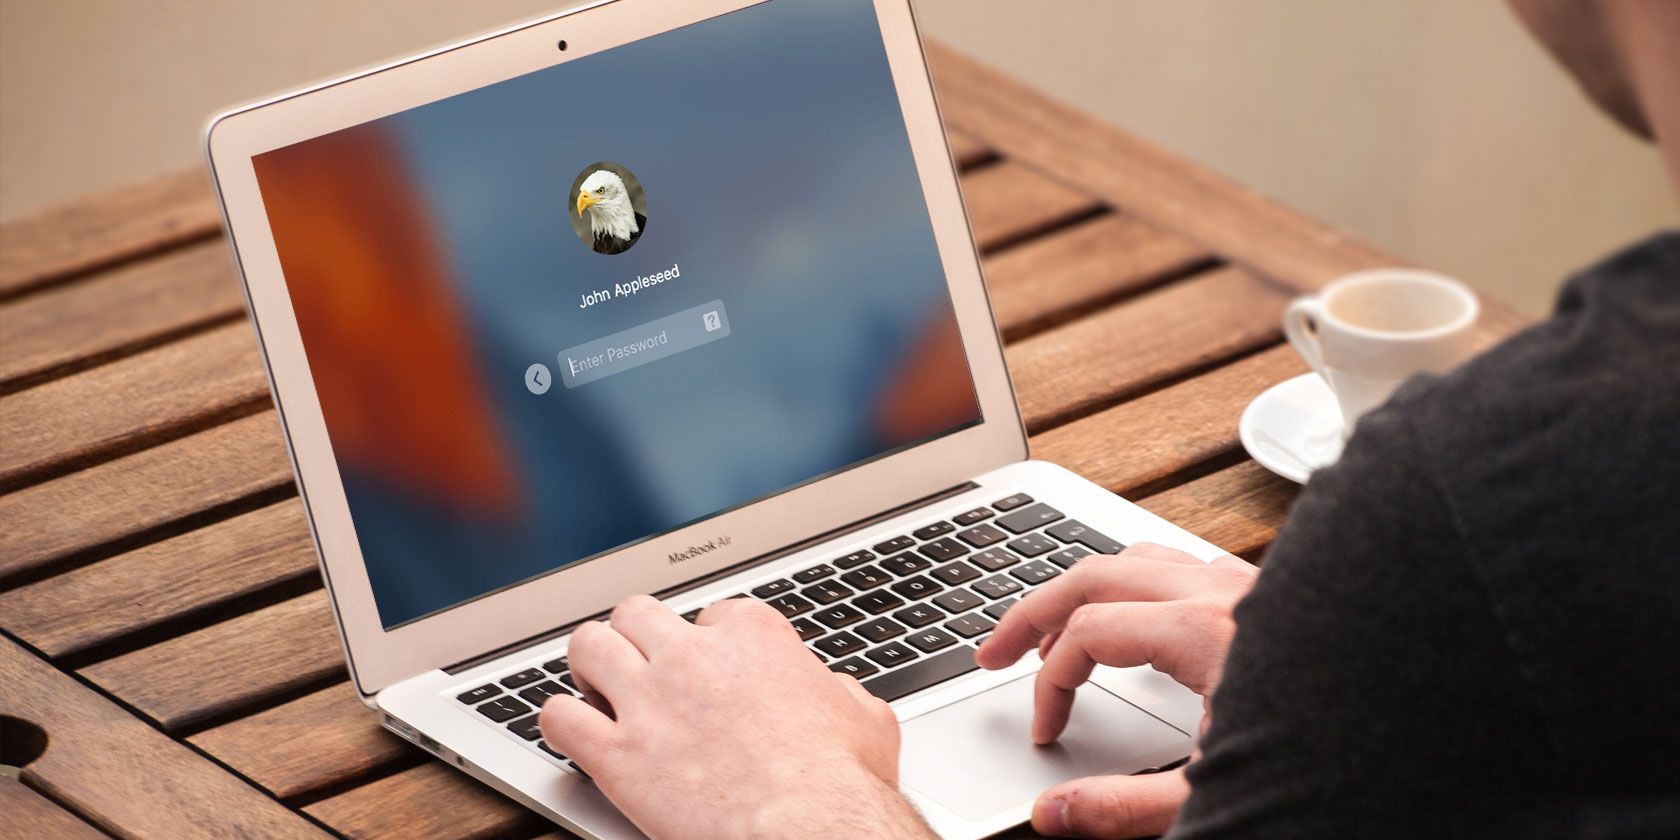
You’ve probably customized the menu bar, Dock, and other elements on your Mac. But did you know macOS lets you change the login screen to suit your needs as well?
Maybe you want to require both a username and password when you log in for additional security. Or maybe you forget your password often and would like to display a hint. Have a favorite quote you like to start your day? You can add that to your login screen too.
Here we’ll walk you through how to easily change the login screen on a Mac.
Change Your Mac Login Screen
Most of the login screen settings are located in your System Preferences. These settings let you make tweaks like enabling automatic login, displaying a list of users, showing control buttons, turning on VoiceOver, and more.
To get started, click on the Apple menu > System Preferences from the menu bar and select Users & Groups.
Before making changes to the login screen, you may need to unlock the Users & Groups preferences. If so, click the lock icon in the lower-left corner of the window, enter your password when prompted, and click Unlock.
Now, click Login Options at the bottom of the left pane. On the right side of the resulting page, select from the following options that you want to use on the login screen.
Mac Login Screen Settings
Automatic login: This feature lets you head directly to the desktop when you start your Mac, rather than having to enter your credentials first. Turn on automatic login and enter the user’s account name and password to enable it. It’s convenient if you’re the only user of your Mac and always keep the computer in a safe location.
If you have FileVault turned on, automatic login is disabled by default. For more on this feature, check out our helpful FileVault guide.
Display login window as: You can choose from List of users and Name and password. The former lets you pick your username and then enter your password, while the latter requires you to enter both.
If you’re concerned about security, choose Name and password since it requires you to know both the username and password.
Show the Sleep, Restart, and Shut Down buttons: Check this box to display these controls on the login screen.
Show Input menu in login window: Enabling the Input menu lets the user pick the language to use on the Mac before logging in. This is helpful if you regularly switch between languages or keyboard formats.
Show password hints: You can enable the display of password hints when you click the question mark or enter the password incorrectly three times in a row.
To add or change a password hint, click a user on the left and select Password. Next, hit the Change Password button. Enter your old password, along with a new one, and confirm. Then add your password hint at the bottom and click Change Password.
Show fast user switching menu as: This option lets you switch between users quickly from your Mac menu bar. You can choose to display full names, account names, or an icon.
When you’re done making your selections, click the lock button again to prevent further changes.
Enable Accessibility Options on the Login Screen
VoiceOver, zoom, sticky keys, and additional accessibility options are also available on the login screen. Click the Accessibility Options button and then check the boxes for those items you want to display.
When you turn on any of these accessibility features, your settings will apply for every user on the login screen. Turning off a feature will disable it for all users on the screen as well.
Add a Custom Message to the Login Screen
You can add a custom message to the login screen. For instance, you might want to set your favorite motivational quote to start your day. Or you could add your contact information, so an honest person who finds your Mac can get in touch with you to return it.
To add a message to your login screen, click the Apple menu > System Preferences from the menu bar and select Security & Privacy.
If necessary, click the lock button and enter your password to make this change. Then follow these simple steps:
Click the General tab.
Check the box for Show a message when the screen is locked box and then click Set Lock Message.
Enter the message you want to display on the login screen in the popup dialog box, then click OK.
The next time you lock your screen or start up your Mac, you’ll see your message at the bottom of the login screen.
Change Your Profile Picture
If you use the login screen with a list of users as described earlier, the user profile pictures display above the names. You can change your profile picture easily if you like.
To change your picture, click the Apple menu > System Preferences and choose Users & Groups. Then do the following to change your picture:
Select your user profile on the left.
Move your cursor over the profile picture and click Edit when it appears.
In the popup window, select the location of the image you would like to use or pick Camera to snap one with your Mac’s camera.
Optionally, use the zoom slider to adjust the photo.
Click Save.
Login With Your Apple Watch
While technically not a login screen “customization,” there is another way to log into your Mac besides the automatic login or name and password options we’ve mentioned. If you own an Apple Watch, you can log into your Mac with it too.
To enable the feature, click the Apple menu > System Preferences and choose Security & Privacy. Then walk through these steps:
Select the General tab.
Check the box for Use your Apple Watch to unlock apps and your Mac. (If your Apple Watch is running watchOS 3, 4, or 5, the box will have the label Use your Apple Watch to unlock your Mac instead.)
Enter your Mac user password if prompted.
Once you enable this feature and land on your Mac login screen while wearing your Apple Watch, you’ll see a brief message on the screen that says Unlocking with Apple Watch.
Your Mac’s Own Look and Feel
You can experiment with any or all of these options to discover what you like best on your Mac login screen. And since the features are so easy to change, you can adjust them whenever you like.
Cleaning your smartphone or tablet screen is easy—but you need to make sure you’re doing it the right way. This means employing the right type of cleaner, as well as a material suited to cleaning.
After all, if you don’t know what to avoid, you might end up damaging the touchscreen. This can potentially render the device useless. Below we cover how safely and correctly clean your mobile phone or tablet touchscreen.
How Not to Clean a Cell Phone or Tablet Touchscreen
Before we go over a quick and easy method to safely clean your device’s touchscreen, let’s cover some mistakes you should never make when cleaning a smartphone touchscreen:
Never use harsh chemicals, including Windex, anything with ammonia, or alcohol-based cleaners. If a liquid is necessary, you should only use a small amount of water on the cloth. While you can purchase special cleaning solutions (such as iKlenz, recommended by Apple) these are not necessary.
Never use abrasive cloths, paper towels, or tissue paper, which can scratch the touchscreen. The scratches may be small, but they will build up over time, damaging and dulling the screen. Instead, use microfiber cloths, which are specially designed to clean sensitive surfaces.
Never use a large amount of water. If water is necessary to clean the screen, you should dampen your microfiber cloth instead. It’s a good idea to power off your device ahead of time if any water is necessary.
Never press too hard while cleaning the screen. Excessive pressure can damage your device.
The steps outlined below are intended for cleaning glass screens. If your screen is covered in a plastic screen protector, you can use other types of cleaning solutions. Check the screen protector’s packaging or refer to the manufacturer’s website for details.
Want a Clean Tablet or Phone Screen? Use a Microfiber Cloth
To clean a touchscreen, all you really need is a microfiber cloth. For dirtier screens, you may also need a small amount of plain water (soap is not necessary).
The term “microfiber cloth” may sound a bit fancy, but they’re extremely common and cheap. If you have a pair of eyeglasses, they probably came with a microfiber cloth for cleaning the lenses.
Cloths like the MagicFiber Microfiber Cleaning Cloths safely clean sensitive glass surfaces without scratching, whether it’s a pair of glasses or a glass touchscreen. You may also have received a microfiber cloth with another device.
Why are microfiber cloths suited for this task? They contain very small fibers which won’t scratch your touchscreen. The microfibers also attract dust and oils, pulling them off your device’s screen instead of rubbing them around the display. A few quick wipes with a microfiber cloth and your phone’s touchscreen should be clean.
Don’t have one? In a pinch, you can use a cotton cloth or the corner of a cotton t-shirt. However, the best results will always come from a microfiber cloth.
How to Clean a Mobile Touchscreen
Now that you have the appropriate cloth to clean your screen, the process is simple:
Turn off the device. This step is optional, but if plan to use any water, it’s a good idea. At the very least, turning off the device’s screen allows you to see the dirt more easily.
Wipe horizontally or vertically across the touchscreen in one repeating direction with the microfiber cloth. This motion sweeps grime away and is the safest way to clean the screen.
For example, start at the left side of the screen and wipe straight across to the right side of the screen. Afterwards, move the cloth a bit lower and repeat this process to clean the entire screen.
If necessary, use a small amount of water to make a corner of the cloth slightly damp. Make sure you apply the water to the cloth, not the device. Use the damp part of the cloth to clean the screen in the same way. (Rubbing in a small circle may be necessary if the grime refuses to come off.)
For particularly troublesome grease, you may consider a screen cleaning fluid, which you can buy from a store like Walmart or Amazon. You can also make your own using ten parts distilled water and one part white vinegar. Decant your mix into a suitable spray bottle—remember to spray the cloth, not the phone or tablet.
Wipe the screen with the dry part of the microfiber cloth. Leave any remaining moisture on on the screen to air-dry; don’t try too hard to dry it with the cloth.
While it might sound confusing, this is the most complicated way to explain the process. In most cases, simply turning the device’s screen off and giving it a few wipes across with a microfiber cloth will be enough to remove any dust and oil in just a few seconds.
To clean the microfiber cloth itself and prevent build-up of dirt, soak the cloth in warm soapy water, rinse well, and let it dry. Don’t use any harsh chemicals to clean the cloth, as they can damage it.
How to Clean Your iPad or Tablet Screen
Looking for a way to clean your iPad screen? Since the construction of most tablets resembles large phones, you can follow most of the steps to clean your tablet.
Nevertheless, the cleaning challenges facing tablet owners can differ considerably. For example, any iPad or other tablet stored in a silicon case is likely to have significant dust and dirt gathered under its edges.
As such, it is wise to remove your tablet from the case before cleaning. With a child’s tablet, the accumulated crud may require several attempts before it’s back to spotless.
Can You Clean a Touchscreen With Windex?
As noted above, you should not put standard Windex on a smartphone touchscreen. It’s unsuitable for use with phones and tablets.
This doesn’t mean that you have no options around Windex, however. The Windex range includes a vinegar glass cleaner and an ammonia-free option. Nonetheless, we recommend avoiding these as well, since they’re made for use on standard glass.
Instead, if you really want to use Windex products, try the Windex Electronics Wipes. These are intended for use on TVs, smartphones, tablets, ereaders, and more. You can use these as you would a microfiber cloth to remove fingerprints, dust, and smudges.
While you can buy cleaning kits and expensive cleaning solutions like iKlenz and Monster CleanTouch, these aren’t necessary. A simple microfiber cloth and some water will work just as well in most situations.
Keep Your Touchscreen Clean
Once you’ve cleaned your phone or iPad touchscreen, it’s a good idea to keep it as clean as possible. Follow these tips to keep your device looking pristine:
Wash your hands regularly. Less oil on your hands means fewer smudges on your touchscreen.
Keep your device in a case. This will help keep it clean and a case with a soft interior can absorb some of the grease.
Don’t let children use your phone. Doing so almost guarantees that you’ll have to spend time cleaning your tech.
Good things come in small packages with the Amazon Echo Dot. The most reasonably priced smart speaker in Amazon’s lineup brings Alexa to anywhere in your home with thousands of skills, smart home control, and more.
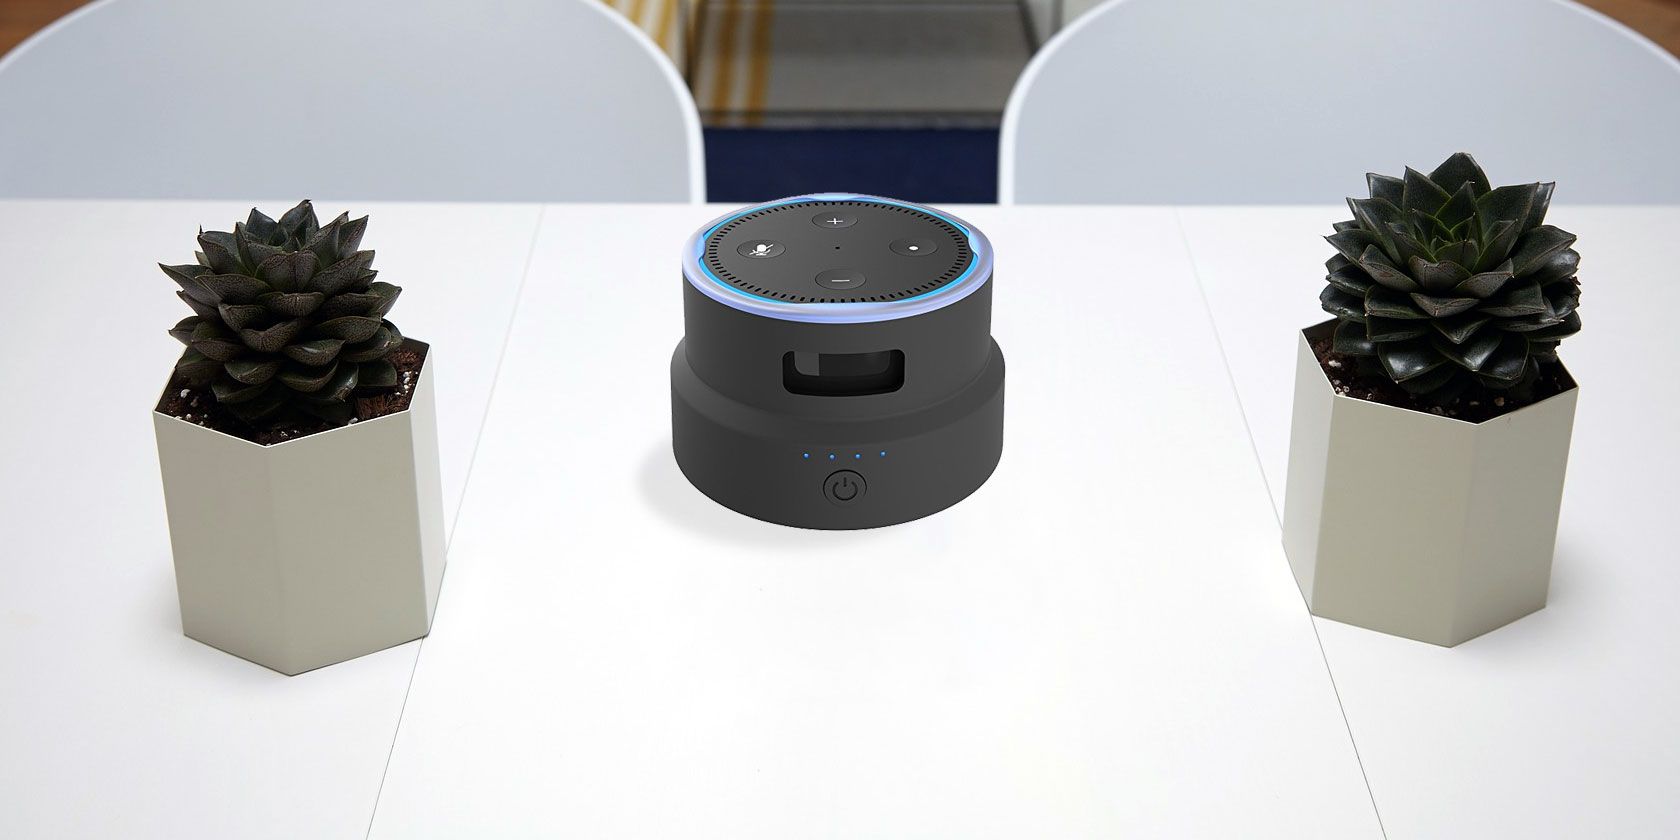
But you might know that the speaker doesn’t need to be tied down to an electrical outlet. There are many batteries that can help make the Amazon Echo Dot portable. Here are some of the best for both the second-generation and third-generation Echo Dot.
You can take a third-generation Echo Dot anywhere with the GGMM D3 Echo Dot Battery Base. The plug-and-play design makes using the base simple. Just place the Echo Dot on the top of the base and press the power button for two seconds. Then it’s time to rock. There’s no need to worry about carrying any other cords.
The open design also ensures the smart speaker isn’t damaged and won’t interfere with sound quality. You can fully charge the 5,200mAh battery in 3.5 hours. That will provide eight hours of use at 50 percent volume on the Echo Dot. You can select from either a white or black version of the battery base.
The i-Box Echo Dot Battery Base and Docking Station provides more than just portable power. Designed for the third-generation Echo Dot, just place the speaker into the top of the base and plug in the connectors. Once set up, the docking station sports a 12-watt stereo speaker and a passive subwoofer for additional bass.
It provides up to eight hours of music on a single charge. As a nice touch, the built-in battery can charge other smartphones using the 1A USB port. Even without an Echo Dot, you can connect a laptop, smartphone, or tablet to the speaker using the 3.5mm AUX input.
Another low-profile option to charge your smart speaker on the go is the Wasserstein Rechargeable Battery Base for Echo Dot. The 7,000mAh battery provides around eight hours of music playback on a single charge. To make sure a third-generation Echo Dot stays in place on the base, you’ll stick a magnetic plate to the bottom of the speaker.
That plate aligns with magnets on the base for a secure fit. There’s no need to provide any additional cords. A front button turns the base on and off while also showing you how much charge is left. The battery base is available in black or white.
Turn up the noise, and the lights, with the Cyber Acoustics Portable Alexa Docking Station Speaker and Battery. Made for the third-generation Echo Dot, the speaker features a 1-inch tweeter, 3-inch front and back driver to deliver 16 watts of room-filling sound. A rear port optimizes performance and enhances bass response while also doubling as a handle to make moving the dock more convenient.
When it’s time to party, the multi-colored LED-lit main driver can showcase six different colors. You can select from two light settings; solid or color shifting. The built-in battery can provide up to six hours of music playback on a single charge. If you’re near a power outlet, the dock can also be used in a powered mode. As a nice touch, you can play audio from other sources using the AUX input jack.
The UGREEN Portable Charger for Echo Dot is for the second-generation smart speaker. It takes just a few seconds to install the charger onto the Echo Dot. The charger will also keep the smart speaker in place and protect it from damage. The large 10,000mAh battery provides 13 hours of music playback time and 40 hours of standby time.
There’s also no need to carry additional cables as the device sports an integrated power cord. With an additional USB port, you can also use the charger to juice up a smartphone. Four LED lights on the base show how much power remains.
The iHome iAV5 Color Changing Rechargeable Echo Dot Speaker is a great choice as a full-time home or a portable option for your second-generation Echo Dot. The speaker sports a built-in power cable for the second-generation device.
The integrated battery provides up to eight hours of playback away from a power source. To help brighten up any room, you can select from five different color modes like pulse to music and slow fade.
The i-Box Echo Dot Portable Speaker Dock is a multi-purpose option for the second-generation smart speaker. Insert the Echo Dot inside the dock, and you can mount it on the wall, use the included stand, or lay it flat on any surface. Thanks to the round design, along with a 10-watt amplifier and passive subwoofer, the dock can help punch up the sound from an Echo Dot.
A built-in battery provides up to six hours of music playback on a charge. There is an AUX input for attaching a smartphone or other device, too. The speaker is also Bluetooth-enabled, so you can connect other devices like a smartphone or tablet wirelessly to play music.
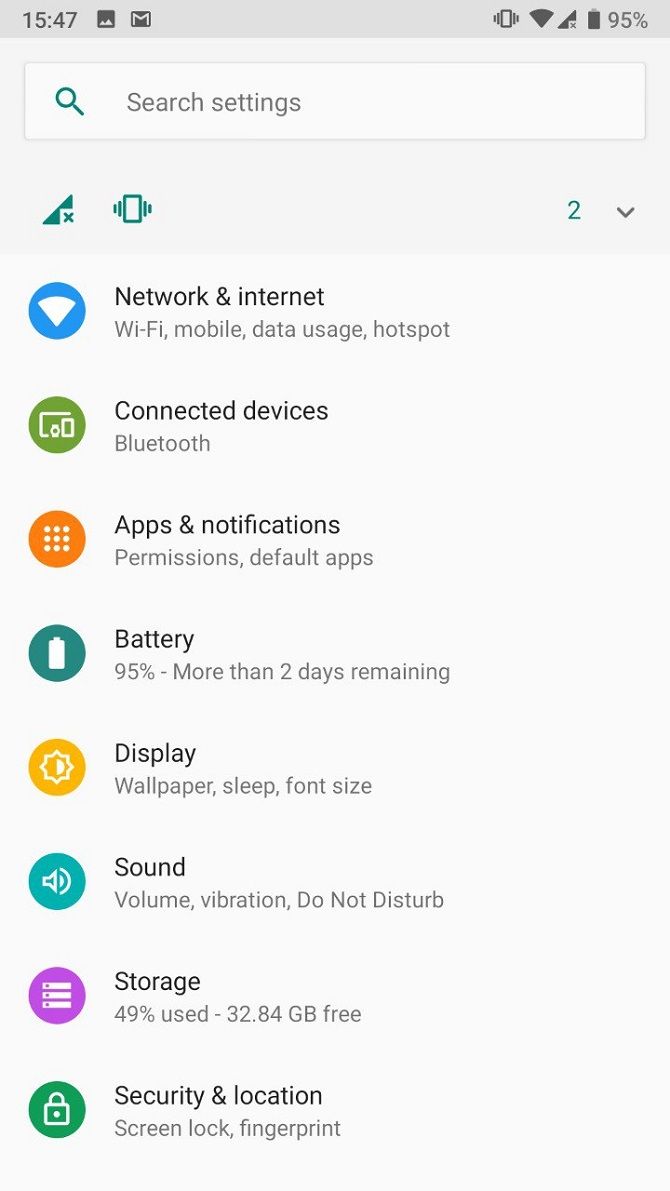
While the third-generation Echo Dot sports a proprietary charger that requires a special cable, the older version receives its power from a regular micro-USB cable. That means all you need to make the smart speaker portable is to use an external battery pack and cable. The Q Portable Charger powers your Echo Dot and more.
A 10,000mAh cell will easily power the Echo Dot for hours of music playback using the built-in micro-USB cord. The battery also has an included Lightning and USB-C cable for Apple and Android smartphones. All three cables store compactly inside the battery when on the go. You can juice up the battery pack with a micro-USB cord or just plug it into any outlet with the foldable AC plug on the rear.
The Best Amazon Echo Dot Batteries
These Amazon Echo Dot batteries can help you take Alexa almost anywhere you can imagine. While the Amazon Echo Dot is a great way to make any house smarter, playing music is still one of the best ways to use the voice-enabled speaker.
While Android is the most-used operating system in the mobile market, many people don’t know the difference between stock Android and other versions of the OS. As a result, you may miss out on the multiple benefits of using stock Android.
So what is stock Android? And why should you consider using it on your next device? Here’s an overview of what stock Android is and what it offers.
What Is Stock Android?
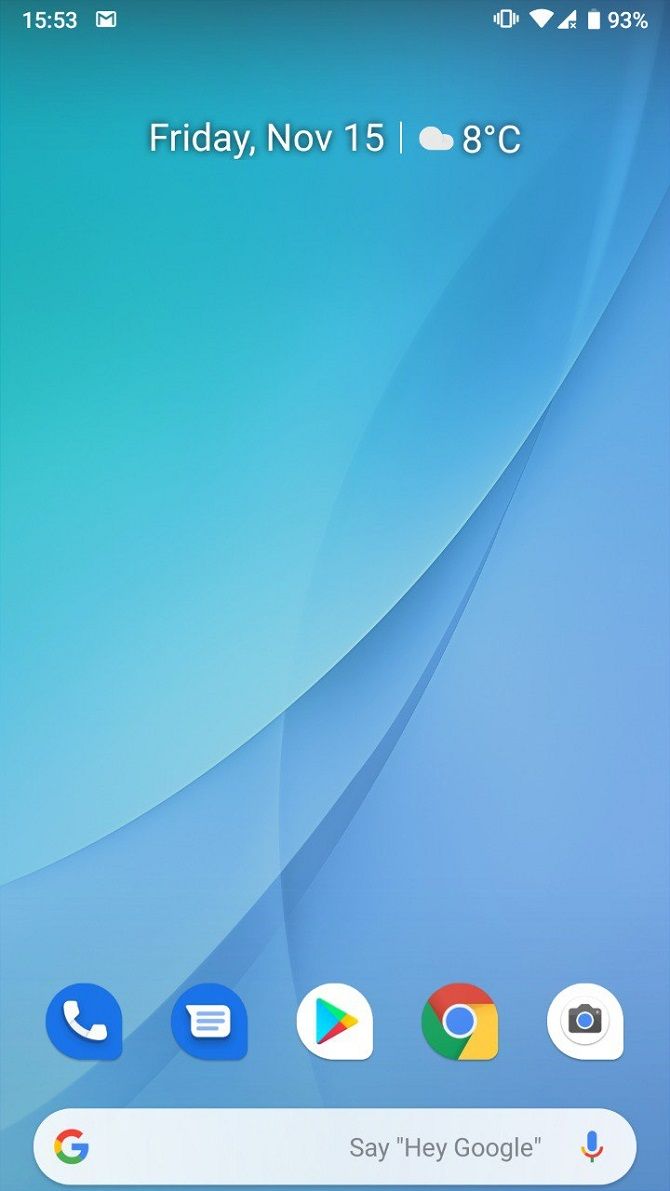
Stock Android, also known as pure Android, is the version of the mobile operating system as shipped or released by Google. It has no alterations or changes by smartphone manufacturers. This contrasts with original equipment manufacturer (OEM) skins or custom versions of Android, which usually include changes or proprietary apps made by smartphone manufacturers.
For example, Samsung’s Galaxy S10 and Note 10 smartphones carry a custom operating system called One UI. While this OS is based on Android, it contains drivers, apps, and other software that is not shipped with stock Android. As another example, Huawei uses its own custom Android-based OS called EMUI.
As of 2019, the majority of Android device manufacturers still use custom versions of the OS. However, more brands are releasing devices with stock or pure Android. Meanwhile, the Android One line of devices use a near-stock version of Android with the stock Android UI.
If your phone didn’t come with stock Android, you can still get or approximate it. This is possible either by rooting your device or using apps that provide a stock Android experience.
Is Stock Android Better? Reasons to Choose Stock Android
Many Android enthusiasts will argue that pure Android is the best Android experience. However, this isn’t simply about preference. There are some real, tangible benefits to using stock Android.
Here are a few of the major benefits of using stock Android over modified OEM versions of the OS.
1. Security Benefits of Stock Android
One of the biggest criticisms facing Android, especially from iOS fans, is the potential for security issues and malware. And while the platform isn’t exactly a hotbed for malware, it’s true that multiple security flaws have been found in Android over the years.
While Google is quick to develop patches for these flaws, these updates take longer to roll out on devices with brand-specific versions of Android. Manufacturers need to customize updates based on their specific iteration of the operating system to make sure everything is compatible. This delay increases security risks for affected users. After all, you should always keep Android up-to-date for security reasons.
Google has taken steps in recent years to improve the rollout of security patches. However, the best way to get the latest security updates on time is to have a pure version of Android.
2. Latest Versions of Android and Google Apps
Another issue with branded versions of Android is that manufacturers are notoriously slow at rolling out new versions of the operating system. Many customers spend years on the same version of Android, despite new ones becoming available.
Sometimes the only way to get the newest version of Android from specific manufacturers is buying their latest device. Of course, with the pace of development, you’ll soon find yourself in the same situation again.
Stock Android devices, on the other hand, tend to receive updates soon after Google releases them. Like security updates, manufacturers don’t need to customize new versions of Android for their phones if they run the stock OS. This makes the update process much quicker for users.
In a sense, stock Android future-proofs your device. With the latest operating system also comes the latest versions of Google apps, like Google Assistant and its newest features. There are also UI and performance improvements included in new Android patches, which many miss out on due to device manufacturers.
3. Less Duplication and Bloatware
Phone manufacturers change pure Android in various ways to create their custom skins. A notable example is the inclusion of manufacturer-branded apps. The problem is that these various apps are also accompanied by the pre-installed Google apps.
As a result, you end up with a significant amount of app duplication. Google gives you Chrome, while your manufacturer gives you their own internet browser. Gmail is usually accompanied by the phone manufacturer’s own email client app, while Google Play is often accompanied by the brand’s own app store (like the Galaxy Store for Samsung devices).
This creates a lot of unnecessary clutter. You’re not likely to use many of these duplicate apps and there’s no way to uninstall them.
4. Better Performance and More Storage
Bloatware can impact the battery life and performance of your device, especially if those apps run in the background. Google has recently made strides to improve Android’s performance, including battery optimization.
But bloatware can obstruct these enhancements and end up slowing down your device. One of the most annoying consequences of a heavily-branded version of Android is that the operating system will take up extra storage space. And because it’s not possible to uninstall the bloatware apps in most cases, you’ll have to find workarounds to free up extra space.
If you have a phone without expandable storage, you’re more likely to miss those extra few gigabytes of space. A severe lack of storage can also slow down your device, creating a vicious cycle of bad performance.
5. Superior User Choice
Many consumers want the power of choice, without apps and skins forced onto their devices. One of the benefits of stock Android is that the core apps are far fewer in number, so you choose which apps you want to install on your device.
In the past, stock Android has been criticized for not having quite the same functionality as other versions of the operating system. But Android is becoming increasingly advanced, with useful shortcuts and various optimization options appearing throughout its many revisions.
Now that a lack of features isn’t as much of a problem with stock Android, many people have called manufacturers to give them the pure Android experience on their devices.
What Stock Android Phones Are Available?
So if you want to buy a phone with stock Android already installed, which manufacturers provide this option? In recent years, more smartphone makers have moved to pure Android or near-stock Android.
A few smartphone brands that consistently use pure Android, or near-stock Android, include:
HMD Global: Nokia smartphones
Google: Pixel smartphones
Lenovo: Motorola Razr and Motorola One
Any phones that are part of the Android One program also use near-stock Android. Manufacturers create these phones in partnership with Google, with an agreement to not alter the OS. You can see a full list of Android One phones on the program’s website.
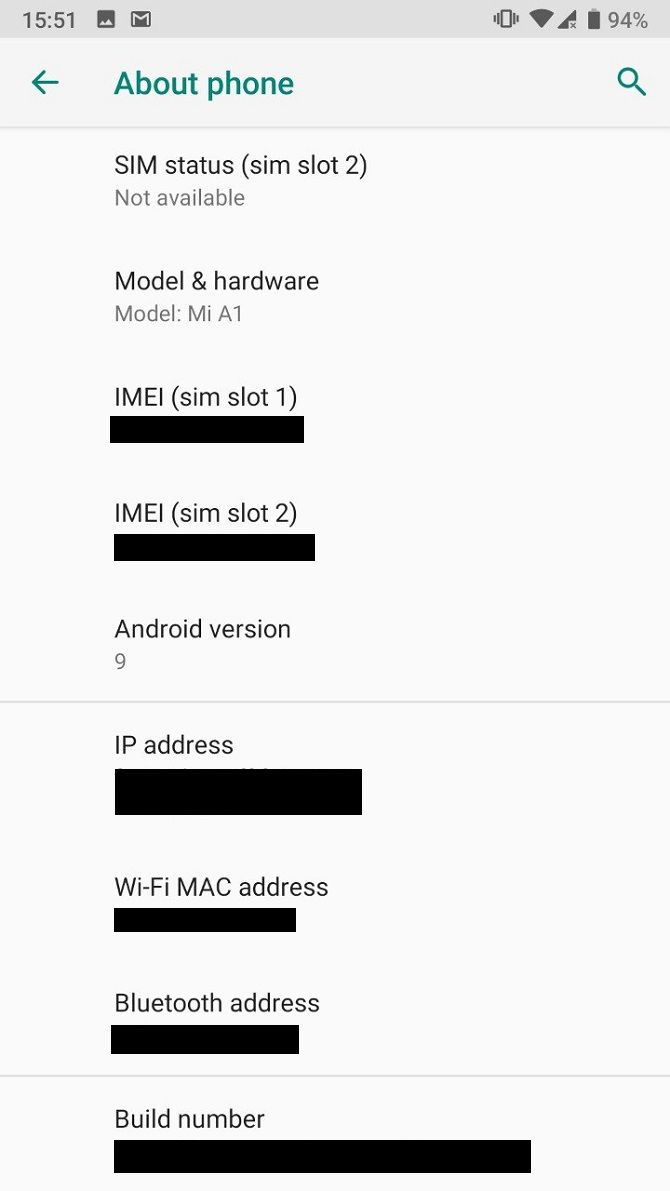
A few notable Android One smartphones include the Xiaomi Mi A devices, the LG G7 One, and the Nokia 9 PureView.
Ways to Improve Your Android Phone With Updates
One of stock Android’s best benefits is certainly timely updates. This is largely because of the major role updates can play in improving device performance, not to mention the fun features that yearly upgrades of Android bring.
YouTube is making changes to its platform in 2020. These changes revolve around how children are using YouTube, with YouTube trying to comply with the COPPA law in the US. The new YouTube rules are designed to protect children, but they’ll have serious implications for YouTubers.
This article is designed to help YouTubers comply with the new YouTube rules. We’ll explain what COPPA is and why YouTube is making these changes. We’ll also explain how you, as someone who uploads content to YouTube, can comply with the new YouTube rules protecting children.
What Is COPPA?
COPPA, which is an acronym for the Children’s Online Privacy Protection Act, is a US law passed in 1998 and put into place in 2000. Its main purpose is to define rules about how online entities can collect data about children (which the law defines as those under the age of 13). While it’s a US law, it applies to US-based companies no matter where their users are located.
The law has several requirements and restrictions, which are too detailed to review in-depth here. For the purposes of this discussion, the most important part of COPPA is that it requires explicit parental permission for companies to collect and use data about kids.
It’s easy to see this law in practice around the web. For example, most social media sites require their users to be at least 13 years old to sign up. They could obtain parental permission to comply with this law, but it’s not worth it due to the hassle.
YouTube’s COPPA Violation
In September 2019, the Federal Trade Commission (FTC), which is responsible for enforcing COPPA, brought a $170 million fine against YouTube for COPPA violations. This is by far the largest fine ever paid for breaking this law.
The company’s primary offense was knowingly using the viewing history of children under 13 to show them targeted advertisements on videos. Because YouTube did not obtain parental permission to track this data, it was breaking the rules of COPPA.
In addition to the monetary penalty, the FTC’s settlement with Google requires the company to set up a new system on its platform. It must allow content creators to mark their videos as child-directed or not, so that YouTube can comply with the COPPA rules.
YouTube has now released details about this system, as the burden will fall on individual content creators. Let’s look at these new rules and explain what they means for your channel.
Marking Videos as “Made for Kids”
In November 2019, YouTube rolled out its new measures to comply with COPPA. These rules go into effect on January 1, 2020.
YouTube channels will now need to specify every video as Made for kids or Not made for kids. You can choose a setting for your entire channel, which will automatically apply it to all of your videos, but you’ll still need to confirm it every time you upload a new video.
What Constitutes “Made For Kids”?
Unfortunately, the line on what “for kids” means is vague. The FTC uses the term “child-directed” (the equivalent of YouTube’s “made for kids”) to describe videos where “children are the primary audience” or “children are not the primary audience, but the video is still directed to children” based on several factors. These include:
Whether the video revolves around educational content for young kids
If the video includes child actors
Whether your video “includes characters, celebrities, or toys that appeal to children”
If the language the video uses “is intended for children to understand”
Some types of content are clearly for kids, like educational lessons and preschool songs. Other kinds of videos are obviously not for kids, such as political essays and adult-oriented comedy. The confusion is mainly due to the gray areas, where your content might not be “kid-directed” but is still “kid-attractive”. This is the case for channels dedicated to gaming, toys, and vlogging.
To comply with COPPA, YouTube will significantly reduce the data it collects on children going forward. YouTube’s help page on video audiences details that videos marked as “made for kids” won’t have many major YouTube features available, including:
Personalized ads
Appearing in search and recommended videos
Comments
End screens
The notification bell
Users’ ability to save the video to playlists, including Watch Later
In addition to the above, if you set your entire channel as “made for kids,” you will lose the following functions:
Stories on YouTube
The entire Community tab on your channel page
Channel memberships
This has enormous implications for content creators.
What This Means for Your Channel
Now that we’ve looked at YouTube’s upcoming changes based on COPPA and what they require from you, let’s see how the new YouTube rules may affect your channel.
Notably, while YouTube could take action against you for improperly labeling your videos, you are liable for COPPA violations with the FTC itself. The FTC has stated that breaking these rules (such as uploading a video made for children but not tagging it as such) could result in a fine of up to $42,000 per video.
If You Only Upload Videos Made for Kids
As of today YouTube is asking its creators to mark their channels/videos as 'Made for Kids' or not. Doing this has huge consequences for smaller creators like myself and sadly it may mean making far fewer videos or stopping completely… pic.twitter.com/lZUlpxGf7c
Those who specifically create videos for kids and mark their channels as such will see all of the above features removed from their channels. This will make it much more difficult to engage with your audience because you won’t have comments. It’s also next to impossible to bring in new viewers without search or recommended traffic.
The worst blow to these creators is the lack of personalized advertising. The vast majority of ad revenue (about 90 percent) comes from personalized ads, so you can expect to see a huge drop in revenue from your videos.
While creators who upload videos aimed directly at children are hit the hardest by these rules, those who upload a mix of content have confusing guidelines to sort through. As we’ve explained above, COPPA’s guidelines are both vague and out-of-date for the modern web.
Say you create a video focusing on a video game that kids find appealing, like Minecraft or Fortnite. If that video contains excessive swearing, you’d naturally think to mark the video as “not for kids”.
However, the FTC may look at the thumbnail of the video, see cartoon graphics that appeal to kids, and decide that your video actually is made for kids. Without watching the video, they won’t realize that you used strong language in it. In this case, you would be in violation of COPPA and potentially have to pay a life-altering fee.
This is a major catch-22. On one hand, marking your videos as “for kids” is basically a death sentence for your channel financially. However, if you mark your content as “not for kids” and the FTC decides it is for kids, you could be in trouble.
If you upload general-audience videos about toys, cartoons, or other kid-appealing content, we recommend you seek legal counsel in order to protect yourself.
If You Only Upload Videos for Adult Audiences
Those who upload content that nobody would reasonably think is “made for kids” will have the fewest problems from these new rules.
If you can confidently mark your videos as such and are sure that even someone who’s not familiar with internet pop culture from the FTC would agree, you are most likely safe to continue as usual.
How to Set the Audience for Your YouTube Videos
To change these settings for your own channel, head to YouTube Studio, which you can access by clicking your profile picture in the top-right of any YouTube page and hitting YouTube Studio. Select Settings from the left sidebar, then go to Channel > Advanced settings.
Under Audience, you can specify whether your channel always uploads content that’s made for kids, never does so, or choose to review the setting on every video. You’ll also see a button for this each time you upload, pre-selected with what you chose here.
To change the audience on an individual video, select it in YouTube Studio. On the Details tab, you’ll see an Audience section.
YouTube has noted that it will also perform automated reviews of content. If it decides that a video is directed at children, it may override your setting and set it as made for kids anyway. You cannot change this once YouTube sets it, though you can use the Send feedback button on the video to let the company know you disagree.
For Kids vs. Age Restriction
As a final note, you should know that this new “not for kids” designation is different than YouTube’s age restriction designation. A video becomes age-restricted either voluntarily by the channel owner or automatically by YouTube after review.
Videos with strong language, sexually suggestive content, violence, or dangerous activities will often be age-restricted. When this happens, users under 18, people who aren’t logged into YouTube, and those in Restricted Mode won’t see the video. Age-restricted videos are also not eligible for monetization.
Just because a video is “not for kids” doesn’t mean it’s age-restricted.
Understanding COPPA and YouTube
You should now have a basic understanding of how the new YouTube rules will affect you. We hope this article helps, but unfortunately we cannot provide legal advice.
So, if you’re concerned about how these new YouTube rules will affect you, we recommend you talk to a lawyer.
We guarantee that the YouTubers who make serious money will be taking these new rules seriously, so we recommend you do the same.
Your router is a gateway to the internet. It’s also an entry point for hackers looking to exploit vulnerabilities. Do you trust your router to protect your network?
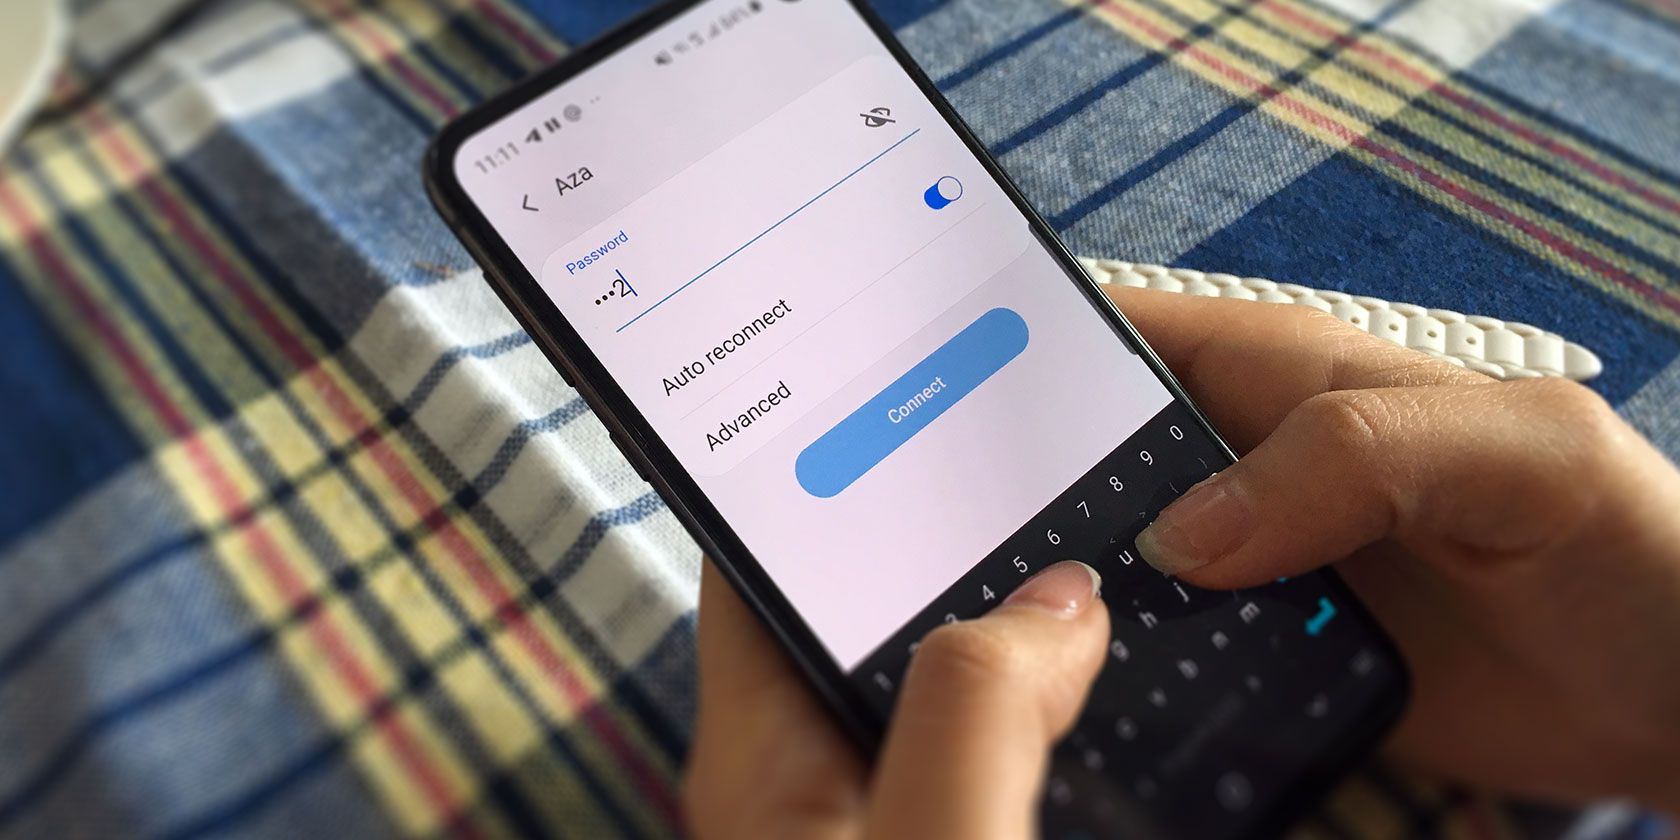
One way to increase Wi-Fi security is to set up a guest network on your router. Here’s how to do that, and five reasons why a guest wireless network improves network security.
How to Set Up a Guest Network on Your Router
A guest network is a network that runs parallel to the standard network on your router. Both originate with the same router, but they have different SSIDs (Service Set Identifier, the broadcast name of the router).
It’s easy to set up a guest network on a router.
That is, assuming your router has a Guest Network option. Because wireless routers are so different from manufacturer to manufacturer, specific instructions for this are tough to explain.
So, in very general terms, you have two options to set up a guest network:
Check the documentation, find the Guest Network option, enable it
Create a guest network manually
Whether your router supports guest networks will determine if you can use it or not. If the router has no guest network option, you might consider installing DD-WRT or some other custom router firmware.
But why do you really need a guest network setting up on your router? These five points should convince you.
1. Stay Secure from Hackers
Hackers want your data. They want to control your devices, force you to pay for release, sniff around for interesting data, steal your identity, that kind of thing.
For the best results, ensure you have changed the default password on your router. Also, take the time to change (or even hide) the SSID for the main network.
Then create a guest network to obfuscate the “real” network. Unless you’re being specifically targeted by hackers, they’re unlikely to spend time looking for a possible secondary network. They’re more likely to take the easy option.
2. Keep Your Smart Home Devices Separate
Smart home technology and Internet of Things (IoT) devices are not known for their inherent security. While the situation is no-doubt improving, many devices (smart cameras, lights, locks) have been sold with security flaws.
These flaws allow hackers to access the devices remotely. There’s potential there for further access to other devices on your network, particularly hardware running apps to control the smart home gear.
By using a guest network for smart home and IoT devices, you protect other hardware. Laptops, PCs, tablets, and phones, NAS devices, consoles—they’re safely connected to your main network. It makes sense for devices with less robust security to be kept remote from those storing your vital data.
3. No Need to Share Your Router’s Main Password
You have guests. Perhaps it’s party night, or simply a babysitter. The guest(s) wants access to your Wi-Fi network. Do you give them the passkey?
While suggesting they use their own mobile internet connection is tempting, the better option is to allow guest access.
Now, many routers ship with a feature called WPS. Wi-Fi Protected Setup was intended to make it easier for devices to connect to wireless routers. However, it offered an opportunity for hackers to exploit, and as such is discouraged from use.
In fact, WPS should be disabled on your wireless router. If it’s not, disable it right away.
Instead of WPS, you can simply suggest visitors use your guest network. Keep your router’s main password secret.
4. Manage Access to Your Router
Another advantage of using a guest network is that you can manage access to your router. So, keep your TV, console, PC, etc. connected to the main network. Save the guest network for visitors, kids, smart home devices, and so on.
That way, you know that hardware you rely on is connected securely, safe from intrusion from other devices.
It might be worth taking the time to check who has access to your network from time to time. You can do this by signing into the router’s admin screen. Alternatively, employ an app like Fing, a network tool available for Android and iPhone. It displays all devices on a chosen network.
It’s a useful way to see what connections have been made and which devices you might like to eject from your network.
5. Disable the Guest Network to Limit Access
Finally, you can disable the guest network without losing connectivity for other hardware. Why might you do this?
First, there may be an issue with your IoT or smart home tech. Keeping it separate from your main network is clearly wise. Disabling the hardware’s internet connection while keep your other more reliable tech online is wise. After all, you might need to research the issue.
Second, you might want to simply deactivate access to the guest network. Perhaps a visitor has outstayed their welcome, or a child is watching kids shows on Prime Video.
While parental control software is a better option for managing child access to the internet, this works too. Just remember to re-enable the guest network when it is required again.
If Your Router Supports Guest Networks, Enable It!
Setting up a guest network on supported routers is simple. Enabling the feature improves security, keeping your activity private and secure. It helps to prevent unauthorized access and intrusion on your network, protecting the data you send and receive.
Using a guest network on your router:
Keeps you secure from hackers
Allows you to separate smart home devices from PCs and smartphones
Avoids having to share the password with visitors
Allows easy access management
Can be disabled at any time
Want more security on your home network? Check our guide to the best VPN routers for the ultimate in online privacy.
Web development is soaring in popularity, both as a career choice and an added skill for computer scientists. The term “web development” is very broad—it can cover many different styles of development.
Typically, these are separated into two categories: front-end development and back-end development. Figuring out which kind of development to learn is a very common question asked by developers when they start out. Let’s take a look at the differences and see which one is right for you.
Front-End vs. Back-End
Let’s break down the specific differences between these two forms of development. Before getting specific the two styles really boil down to this:
Front-end development is coding to build the side we interact with on websites and web apps we use every day. Front-end developers decide how they’re designed, how they’re styled; how they actually work when people use them.
Back-end development is coding to build the server-side of websites and web apps. Back-end developers create the technology that stores information on servers and loads information onto web apps.
Front-End Development
The Basics
The “front end” of a website or application is the layout and design you see when you view it. Take a look at the presentation of this article, the buttons, menus, colors, fonts, and navigation. Everything was programmed to create the finished product you see.
This is front-end development, using code to create website structure and layout.
Front-end developers typically have a sharp eye for design and User Experience (UX). Not necessarily to the mastery of a web designer, but those who have a passion for both coding and design will find a nice middle ground.
Languages and Tools
Front-end coders should be experts in modern HTML, CSS, and JavaScript.
HTML is the backbone of all web development so developers of both front-end and back-end should be comfortable with it. You can get off the ground pretty quickly understanding basic HTML code.
CSS is critical in creating the design of a website, so naturally, front-end developers are constantly using and improving their skills with CSS. JavaScript controls dynamic elements on a web page or application, contributing to an interactive experience.
Frameworks exist which make working with these languages even easier, but they only really work when you have a fundamental understanding of the base language. Some examples would be SASS for CSS or React for JavaScript.
Typically, front-end developers use text editors to program. They may also use browser consoles to test layout and UX, or a free UI/UX design tool like Adobe XD.
Helpful Skills
Aside from programming, front-end developers can benefit from branching out to learning other skills. Search Engine Optimization (SEO), Content Management Systems (CMS) like WordPress, code testing tools, static website builders, and even some back-end knowledge can improve overall abilities.
Back-End Development
The Basics
Think about your banking apps, social media, or a news website. Every time you log in or visit these apps, you’re given current information.
For example, your banking app always loads your current balance when you log in and can be refreshed in real-time. You might come back to this post in a month and see new comments that a reader typed up. Programmers aren’t typing up new code for every piece of information, so where does it come from?
This information comes from servers that load information from a database into a web app. Back-end developers create the logic that allows this to happen in real-time, whenever a change happens.
Back-end programmers are tuned in to the logic of apps, comfortable with databases and delivering information from web servers.
Languages and Tools
While front-end developers typically work in the same three languages, back-end developers have a little more flexibility in choosing a web programming language.
Many high-level languages can be used to work with servers. Ruby, PHP, Scala, Python, and C# (.NET) are examples of languages you can use to code the back-end. If you’re comfortable with a language already, you’ll find a nice entry into coding techniques.
Back-end developers don’t just work with servers, they work with databases as well. Databases hold the information that servers send to websites, and are coded with a database language. Languages such as SQL, SQLite, MongoDB, and PostgreSQL.
Working with full-scale languages is easier on an integrated development environment (IDE) like Visual Studio or XCode.
Helpful Skills
Back-end developers should have a strong understanding of software architecture. This becomes important as projects become larger. Coding a small blog is simpler than coding an app for an international banking service with millions of customers.
Strong working knowledge of databases is important, some developers choose to work exclusively with databases.
Many developers are choosing to learn cloud programming, which is becoming just as popular as traditional server-side programming.
Which Is Best for You?
As you’ve read through the breakdown you may have already decided which path sounds more appealing. Maybe the thought of grand colorful designs and smooth layouts gets you excited to code. On the other side, you may be inclined to engineer server code and leave the UX to the designers.
There are plenty of career options available in both fields.
The front-end path will take you through jobs such as:
Front-End Developer
UX Designer
JavaScript Developer
Web Designer
Freelance Developer
Meanwhile, the back-end path gives you options as well:
Back-End Developer
Database Administrator
CMS Engineer
Cloud Engineer
QA Tester
Freelance Developer
If you’re feeling like both fields appeal to you, you’re not alone. Some developers elect to dabble in both, either for the experience or career advancement. The term for developers who are knowledgable in both is full-stack developer.
Your Next Steps in Web Development
Now that you’re learning about web development, keep the momentum up! Learn all about JavaScript and how it works, JavaScript is prominent in both front-end and back-end. After that, decide your chosen path and study hard.
When people talk about breaking the internet, they are probably referring to a viral social media post or news story. However, it does make you wonder if it would be possible for the internet to really break. After all, websites and even our networks go down all the time.
So, what does breaking the internet really mean, and is it even possible? Let’s take a look.
What Does It Mean to Break the Internet?
Urban Dictionary, defines breaking the internet as “causing a large commotion on the world wide web with many social networks and news outlets discussing the same thing.” That is what most people think of when they hear the phrase.
In recent years, the term has entered the popular language and has often been used as soundbite by publications covering internet regulation. For example, it was mentioned frequently by those trying to understand the EU’s Article 13 in early 2019. The concept was even central to the plot of Disney’s 2018 film; Ralph Breaks The internet.
However, according to Know Your Meme, it can actually be traced back to the early 1990s, when there was a widespread misconception that the internet was a single machine that could be broken. This mainly developed because the internet as we know it was still on the fringes of society, and a gadget reserved purely for techie folks.
We first have to separate two terms that are used interchangeably, but mean different things; the internet and the world wide web. The internet is a global network of computers. These can range from private networks, like your home Wi-Fi, to business networks, and then networks of networks, too. The US government first developed the internet in the 1960s.
The World Wide Web is a system that allows you to connect to and view resources on the internet by using a web browser. This is through the use of a Uniform Resource Location (URL). The URL, more commonly referred to as a website address, converts a numerical IP address into a memorable one in the form www.makeuseof.com, for example.
Without the invention of the world wide web in the early 1990s, the internet probably would have remained a governmental or business tool. However, the ability to instantly access any document or page on the internet through a standardized URL and easy-to-use web browser opened the internet up to billions of people around the world.
The internet is a collection of networked computers. So, in its simplest form, you could imagine it to be a handful of physical computers in a single room all connected to one another. This network is then, in turn, connected to another similar collection of computers somewhere else.
Each computer on the network can share data with another, whether they are on the same local network or not.
Compared to pre-internet days, this allows for information to be shared far quicker over vast geographical distances. However, it would need you to connect to each device to share this data manually. The world wide web—or the web—enables each of these computers to talk to one another as if they were already connected. All you need is the URL.
Entering the URL into your web browser doesn’t immediately take you to the site, though. The URL is converted to an IP address, which gives the physical server location where the information is held. This is made possible through the use of the Domain Name System (DNS).
The DNS is like a digital phone book that receives the URL and looks up the corresponding IP address.
The Role of Your Router
Just like in the real world, though, the path to that address isn’t straightforward. The request has to travel through many different networks to reach its destination. It would be unworkable and incredibly slow were it not for routing tables. Your routing table is a map of how computers are connected to one another.
Just as when you use Google Maps to find the most efficient route to drive, routing tables do the same for digital data. You can find your router map on your router. While they are critical to the proper functioning of the internet, they aren’t the only piece of the puzzle.
We’ve looked at how the internet works at quite a high-level; there are many more technical details that underpin the internet. However, there are a lot of failure points. Your internal network needs to be operating well, and your router’s routing and NAT tables must be up-to-date.
Externally, the DNS network must be functional, and the host server responsive. If any of these systems fail, then the internet, or at least, your connection to it, may break, too. The internet has become increasingly centralized as well, leaving only a handful of companies to operate the most critical infrastructure.
Your Internet Service Provider (ISP) usually operates the physical infrastructure to carry data to your network. Then there are Content Delivery Networks (CDN). These CDNs have multiple data centers all around the world where they mirror content.
This is how, for example, you can access the same YouTube video from anywhere in the world without having to wait five minutes for it to buffer.
The 2019 Cloudflare Outage
The most prominent CDN is Cloudflare, which hosts data for the majority of the internet’s most popular websites. Not only is Cloudflare a CDN, but they also offer security and DNS services too. In July 2019, these websites were inaccessible for almost 30 minutes. This included, ironically, Down Detector—a tool used to check if a website is down.
The outage was caused by an update to the Cloudflare firewall, which accidentally consumed all of the company’s CPU power, rendering HTTP and HTTPS services unavailable.
While the outage was only temporary, it is an example of how you really can break the internet. It also highlighted the problem with centralization, as a issue with a single operator can cause widespread outages.
The Future of the Internet
You’ve probably heard breaking the internet as a way to describe viral social media posts. However, there is an element of truth to the statement. While the internet, and the world wide web, seem simple to us as users, there’s a lot that can wrong; everything needs to work correctly.
As soon as something goes awry, it is possible to break the internet.
The Cloudflare outage, in particular, shows how catastrophic the centralization of the internet can truly be. Although the internet has seemingly become more centralized over the past decade, it may not always be this way.
Since 2016, you’ve been able to listen to Spotify on your Amazon Echo. However, this has only been available to Premium users willing to pay to stream music. Now, Spotify Free users are being invited to the party, through Echo, Sonos, and Bose speakers.
Millions of people now pay to stream music. And the number of streaming music services is growing all of the time. However, not everyone can afford the $10/month asking price, and want to stream music for free instead. And that’s now available on more devices.
How to Listen to Spotify on Your Smart Speaker
For the first time ever, Spotify Free users can now stream music through their Echo, Sonos, or Bose smart speakers. While you can’t stream individual tracks on Spotify’s free tier, users in the US, Australia, and New Zealand can at least listen to playlists.
In a post on For the Record, Spotify explains that, “Incorporating Spotify into these devices is all part of our goal to create a truly frictionless experience for our users.” Meaning you can switch from your phone to your smart speaker to your car. Seamlessly.
Using @Spotify on Sonos just entered a new era. Easier to use, a cleaner look, and streaming for listeners with free Spotify accounts – all with a simple update of the Sonos app. pic.twitter.com/5QttoXnfUa
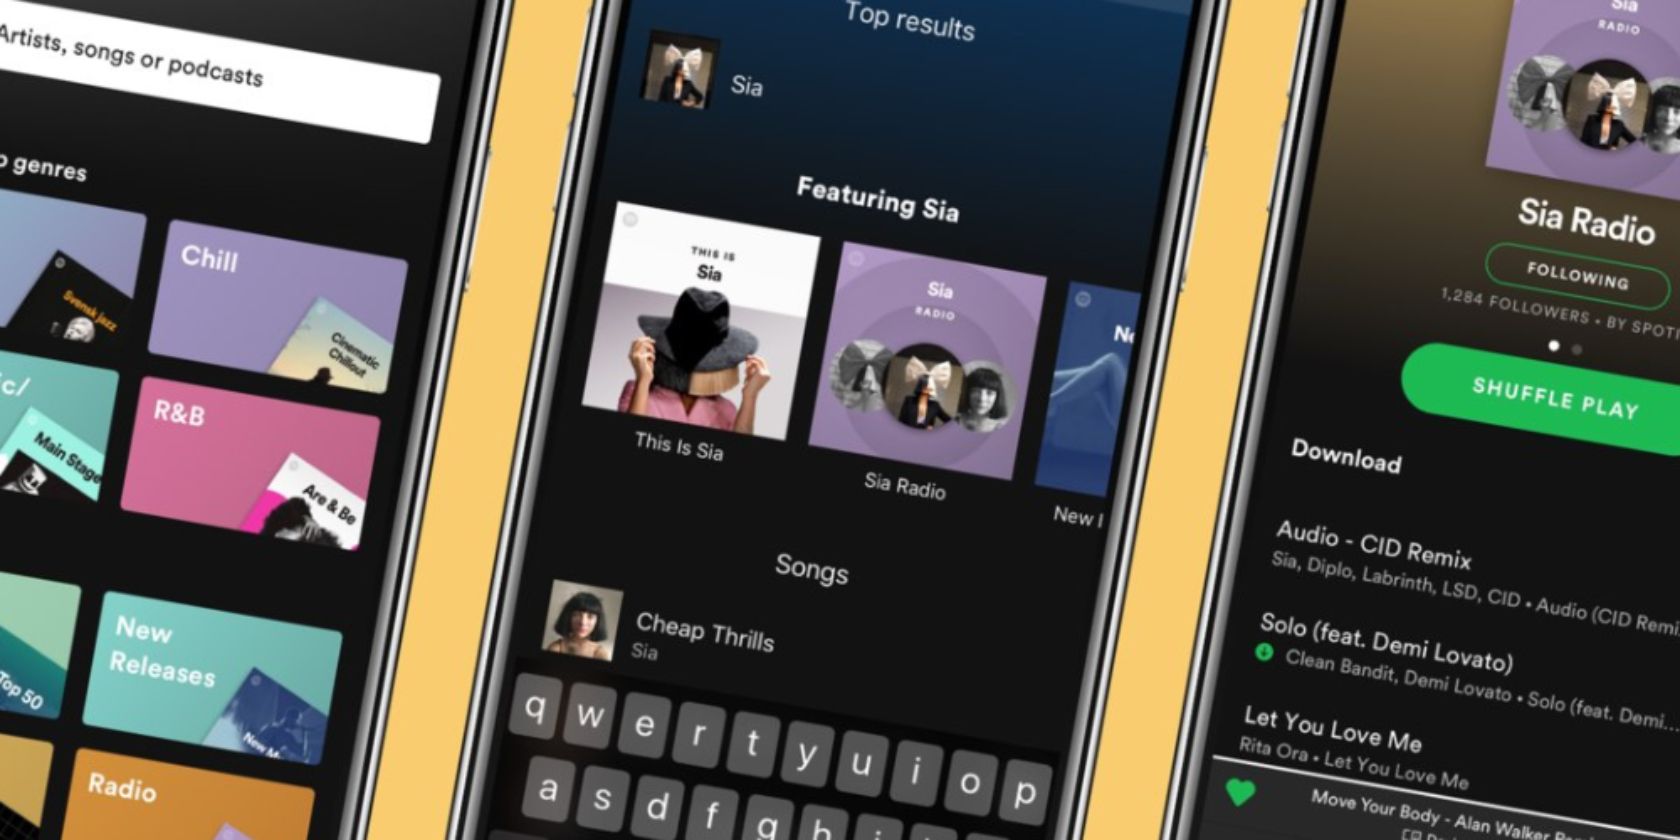
To start listening to Spotify on your Amazon Echo, open the Alexa app and go to Settings. Then, select Music, and click Link New Service. Tap Spotify, and enter your username and password. You can even set Spotify as your default service for music.
To start listening to Spotify on your Sonos or Bose speaker, use Spotify Connect. First, update your speaker to the latest firmware. Then, open the Spotify app, play a song, and select the devices icon in the bottom-left. Finally, select your speaker from the list.
Making It Easier to Stream Music for Free
The option to stream Spotify Free through smart speakers comes in the same week that Amazon Music landed on smartphones. This is obviously great news for people who want to stream music for free, as long as you can resist the continuous prods to upgrade.
Either way, this news could prompt more people to start using Spotify, and more people to buy an Echo, Sonos, or Bose smart speaker. If you do decide to start using Spotify based on this news, we recommend reading our unofficial guide to Spotify.
The FCC has finally put the seal of approval on its plan to cut funding going to equipment from companies it deems a “national security threat,” currently an exclusive club of two: Huawei and ZTE.
No money from the FCC’s $8.5 billion Universal Service Fund, used to subsidize purchases to support the rollout of communications infrastructure, will be spent on equipment from these companies.
“We take these actions based on evidence in the record as well as longstanding concerns from the executive and legislative branches,” said FCC Chairman Ajit Pai in a statement. “Both companies have close ties to China’s Communist government and military apparatus. Both companies are subject to Chinese laws broadly obligating them to cooperate with any request from the country’s intelligence services and to keep those requests secret. Both companies have engaged in conduct like intellectual property theft, bribery, and corruption.”
The Chinese companies have faced federal scrutiny for years and vague suspicions of selling compromised hardware that the government there could take advantage of, but it was only at the beginning of 2019 that things began to heat up with the controversial arrest of Huawei CFO Meng Wanzhou. The companies, it hardly needs mentioning, have vehemently denied all allegations.
Increasingly complicated relations between China and the U.S. generally compounded the difficulty of ZTE and Huawei operating in the States, as well as selling to or purchasing from American companies.
The FCC’s new rule was actually proposed well before things escalated, a fact that Commissioner Jessica Rosenworcel, though she supported the measure, emphasized.
“This is not hard,” she wrote in a statement accompanying the new rule. “It should not have taken us eighteen months to reach the conclusion that federal funds should not be used to purchase equipment that undermines national security.”
Working out the details may have been difficult, however, given the generally chaotic state of the federal government right now. For instance, one month this summer it was going to be illegal for U.S. firms to sell their products to Huawei — and then it wasn’t. Just yesterday several Senators wrote to protest the Department of Commerce issuing licenses to firms doing business with Huawei.
Furthermore, it may be a financial burden for smaller carriers to comply with these rules. There’s a plan for that, though, as Chairman Pai explained: “To mitigate the financial impact of this requirement, particularly on small, rural carriers, we propose to establish a reimbursement program to help offset the cost of transitioning to more trusted vendors.”
Another, earlier proposal, to make communications companies actively remove hardware purchased from those companies, was not considered at November’s open FCC meeting. I’ve asked the agency about this and will update if I hear back.