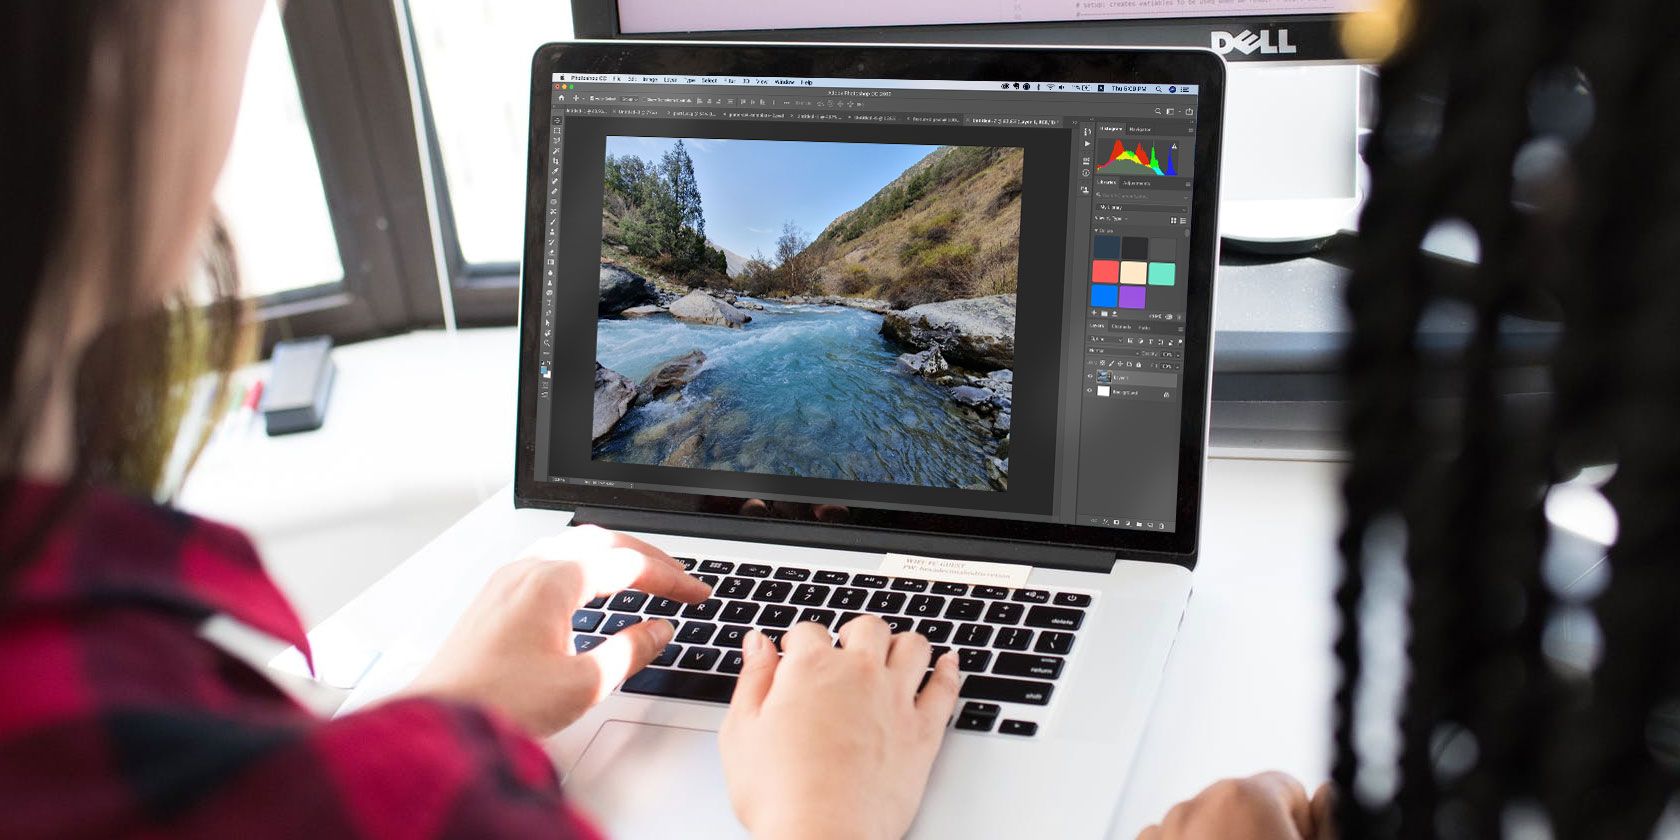
Picture yourself walking into work. You arrive at your desk only to find that someone at your workplace has decided to reorganize it for you. For the sake of efficiency, they have decreed that everyone will have to work with a standardized setup across the board.
The problem is a standardized setup doesn’t work for everyone. Which is why everyone who uses Photoshop should be using a custom workspace. In this article we’ll explain how to get started using custom Photoshop workspaces.
Reasons to Use Custom Photoshop Workspaces
When launching Photoshop for the first time, the Essentials workspace appears for everyone. Along with the other preset workspaces, it offers a very generic build for anyone trying to learn how to use Photoshop.
However, these are training wheel workspaces, and you really need to start using a custom workspace to make Photoshop shine.

Make Photoshop Complement Your Workflow
In the right hands, Photoshop operates as a powerhouse of a program. On a professional level, videographers, graphic designers, photographers, web designers, 3D modelers, digital painters, and more use the software every day. As a result, Photoshop needs to accommodate these different work processes.
While the premade workspaces are OK, they cannot account for everyone. When you begin to customize Photoshop to be a better fit for your process, your workflow will start getting easier. Instead of having to work past the panels that don’t apply to you, everything you need to do your work will be there.
The ability to make and save multiple workspaces for different needs also allows for additional efficiency. Swapping between custom workspaces with a click of a button offers a ton of value.
Keep Your Computer Screen From Feeling Overcrowded
As Photoshop users encompass a diverse range of people, an equally diverse range of devices uses the software too. If you’re using a laptop, it goes without saying that a 13-inch screen will obviously have far less to work with than a 27-inch desktop monitor made for image processing.
Depending on the task at hand, a lack of screen space can easily create additional challenges and annoyances when the panels bleed over into your work area. Even if you’re the type to be able to work with any setup, eventually a work area can become too cluttered.
How to Get Started Using Custom Photoshop Workspaces
Now that you know why you should be using custom Photoshop workspaces, here’s how to get started.
In most cases, the crafting of a new workspace begins in a similar way as before. Open Photoshop, then go to Window > Workspace > Essentials (Default).
After you’ve selected a workspace, all changes made to the workspace remain until Photoshop resets to the saved workspace file. After you have made changes that you are happy with, you can keep your new workspace by using Window > Workspace > New Workspace and clicking Save after assigning it a new name. It will then pop up above Photoshop’s default workspaces.
Now that you know how to save a custom workspace, let’s look at how to customize your new work area.
Remove Unnecessary Panels
The first thing to do is remove any unnecessary panels. Drag panels out into the work area from their columns and close them by pressing X in the upper-right hand corner. You can also close panels by accessing the menu on any expanded panel and selecting close (or close tab group to remove multiple panel tabs at once).
If you accidentally close a panel, you can restore panels from the Window menu individually. You can also reset your workspace fully by going to Window > Workspace > Reset (insert name of the currently selected workspace). For a more detailed look on how to do both, here’s how to reset Photoshop back to its default appearance.
Dock Panels Together to Save Space
When it comes to organizing panels, a lot of the more personal arrangements come with the formation of groups and moving panel tabs around. As seen below, we have the option to arrange a number of panels in a group together.

Separate panels into individual groups if you ever need to isolate one from the rest. When moving any tab around, simply watch for the blue highlights of the placement indicator when trying to place a panel.
If you accidentally create a column or otherwise misplace your panel, pull it out of its location and move it to the desired spot. Do note that if you try to close the panel and then turn it back on, it will still return to its previous location unless you reset your workspace.
Expand and Shrink Panels to Your Liking
Expand your panels or hide them by pressing the double arrow icon at the top of any Photoshop column. If you want more control, stretch or shrink your panels to change your work area. Simply hover the mouse between a group or column until a double arrow appears.

Afterwards, you can make them bigger or smaller based on your personal preferences.
Change Your Thumbnail Graphics for Your Panels
Some panels allow you to adjust the thumbnail size under panel graphics. While not a super-mandatory customization, the thumbnail adjustment can be nice while working with panels such as channels or layers.

Whether you have a big monitor or a small laptop screen, you can adjust the thumbnail size to your liking.
The Benefits of Using Custom Photoshop Workspaces
When it comes to improving your workflow, the ability to personalize your workspace can make a big difference. Taking the time to create a custom workspace in Photoshop will give you a workspace you can carry with you from task-to-task. Potentially improving your productivity and efficiency.
Once you’re happy with your custom workspace, consider employing these Adobe Photoshop workflow tips to further improve your image editing.
Read the full article: Why You Should Start Using Custom Photoshop Workspaces
Read Full Article
No comments:
Post a Comment