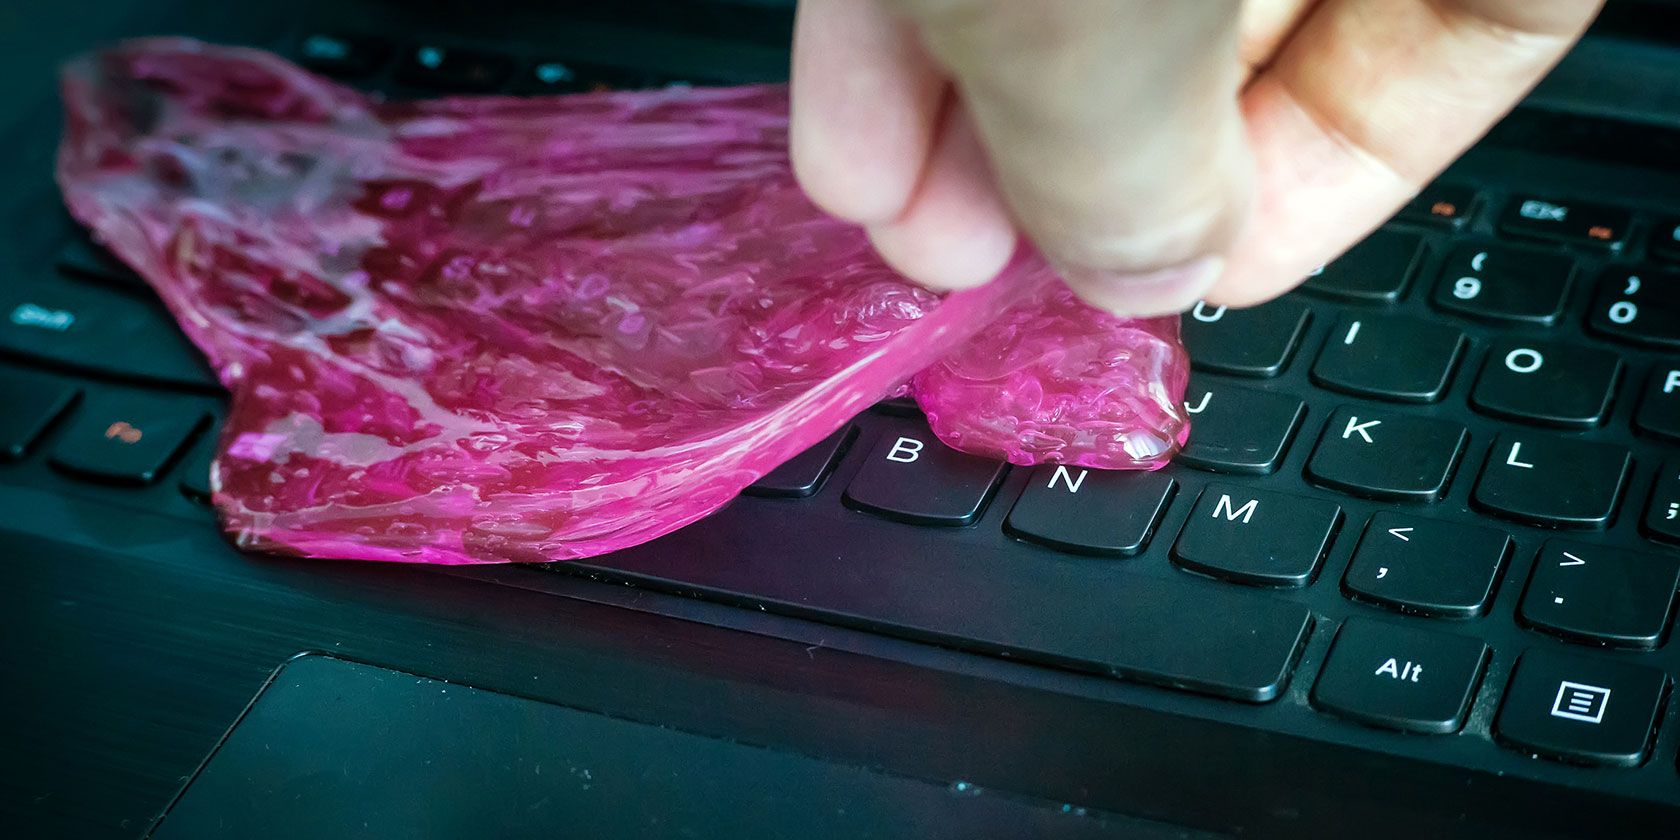
Need a way to clean your laptop keyboard right away? Looking for something that will clear the gunk that accumulates on devices you use regularly?
Cleaning putty or slime has become an increasingly popular solution. But how can you make cleaning putty? How does it clean up without getting gooey? Here’s how to make some DIY cleaning slime and then set to work keep your tech tidy.
Make Your Own Cleaning Slime
To get started right away cleaning up gunk from your gadgets, you’ll need to make some cleaning slime. Start by grabbing some rubber gloves and measuring out the following ingredients:
- 1 ½ cups of warm water
- ¼ cup of Borax (NOTE: there is a burning risk as borax is caustic. Use rubber gloves when mixing.)
- 5 oz of white PVA glue
To make your slime:
- Mix a cup of the water with the Borax, stirring until dissolved.
- In a separate container, mix the remaining half cup of water with the glue. (If you want colored slime, add a couple of drops of food coloring at this stage)
- Stir the borax liquid into the glue mixture, transforming it from a gooey splodge into a firm putty. (If it refuses to stiffen up, add more borax, a teaspoon at a time.)
- As the mixture stiffens, place in a larger bowl or on a flat surface and knead, like bread dough.
The slime should roll up into a ball when pinched, a little like adhesive putty. If it doesn’t, keep mixing; don’t put it anywhere near your tech until it firms up.
This video demonstrates making slime with fewer ingredients: PVA glue, baking soda, and contact lens cleaner.
Don’t Want to Make Cleaning Slime? Buy It Instead
Making slime might be difficult for you. After all, there is a danger if you get it wrong. Then there’s the clean-up afterwards. So, what’s the solution?
Fortunately, several retailers stock cleaning slime that can be used in a similar way. Visbella cleaning putty is one example, capable of picking up dust, gunk, crumbs, hair, and other dirt.
5 Ways to Clean With DIY Cleaning Putty
With some freshly made cleaning gel ready to use you can put it to good use. Typical tech cleaning with putty includes:
- Cleaning your keyboard (especially laptops)
- Pulling gunk out of the speaker jack or charging port on your phone
- Cleaning your computer mouse
- Clean the air vents on your car
- Picking up dust from standing hardware like PCs and games consoles
Here’s a bit more detail about how to clean with DIY clearing putty.
1. Clean a Keyboard With Cleaning Gel

The number one reason to use cleaning gel is to get the crumbs and dirt out of a keyboard.
While desktop keyboards are prone to dirt, they’re generally easier to clean than laptop keyboards. Here, you need to be careful how you clean the device. Break the putty up into small balls, around the size of your thumb, to pick up dirt.
Laying the putty over the keyboard might sound like a good idea to save time, but invariably results in bits of putty being left behind. This just results in even more dirt between the keys on your keyboard.
Cleaning a keyboard is important to maintain performance of the device. Fixing a laptop keyboard is not easy.
2. Clean Up Your Phone or Tablet With Slime
Smartphones and tablets accumulate dirt not just on the display (thanks to greasy fingers) but in the case and ports.
Cases tend to collect dirt when you place your device in a pocket or bag. Ports, too, can find small items of debris wedged inside. Cleaning putty or slime is ideal for unblocking these areas. A brief clean and you’ll soon have your earphones plugged in again, or the device on charge.
Need more help? Here’s how to clean an iPhone charging port.
3. Unclog Gunk From a Mouse
Anyone who has ever used a mouse has spent time hacking gunk from the buttons or underside. In the days of the ball mouse it meant removing the ball and cleaning the wheels inside. These days less cleaning is required, but sweat, grease, and dirt still accumulate.
The buttons, any ergonomic grips, and even the wheel can become clogged up. Use your cleaning putty to get into these areas and grab the gunk.
4. Car Vent Cleaning With Putty
The grilles on your car’s air vent no doubt accumulate a lot of dust. As the distance between the grilles is too narrow to clean with a cloth, cleaning putty is the answer.
Simply press the putty onto the grilles one at a time to pick up the dust and dirt. Take the time (with the ignition off) to also clean the buttons on your steering wheel with the slime. Anything your thumb regularly hovers over probably accumulates gunk. You might also clean up crumbs from between the two front seats if your regularly place snacks there.
5. Use Cleaning Slime to Pick Up Dust

Some items of consumer technology are like giant dust magnets.
Blu-ray players, set-top boxes, TVs, and PCs are the key examples. Using cleaning slime, you can effortlessly pick up the dust and dirt that automatically accumulates.
This is particularly important for PCs. Dust gathering on the top is one thing; if it accumulates around the fans it can block airflow. Reduced airflow results in a hotter PC and slower performance. Keep these areas dust free with cleaning putty! However, if you’re opening a PC, be sure to keep the putty away from the motherboard and RAM components. Instead, concentrate on the accumulation of dust on the fans and cabling.
Keep It Clean and Tidy With Putty or Slime
Fancy cleaning your tech with slime? Admittedly, it’s not an option everyone would take; dust-repellent sprays and cloths are a good option. However, for keyboards, and devices with openings that often collect dirt, it’s a smart idea. The same applies to automobile air vents.
And if you don’t want to make your own cleaning slime, simply buy your own.
Cleaning putty is a great tool for keep tech free of dirt and dust. Once you’ve cleaned your PC, why not head under the desk, and declutter your cables?
Image Credit: diy13@ya.ru/Depositphotos
Read the full article: 5 Clever Ways to Use DIY Cleaning Slime or Putty
Read Full Article
No comments:
Post a Comment