You’ve set up your Raspberry Pi as a retro gaming station, perhaps under your TV, as a handheld, or even in a full-sized arcade machine. But the default look isn’t really rocking for you.
Fortunately, you’ve got a great selection of themes to choose from. Here’s how to install and apply themes to EmulationStation in RetroPie.
RetroPie and EmulationStation
If you’re using RetroPie already, then you’ll be aware of EmulationStation. It’s the “front-end” for the emulators that are grouped together in RetroPie. EmulationStation is the user interface that lets you access the emulators, and the gaming ROMs you have installed.
You see it when you’re browsing through the games on your system; it’s there when you press the menu button in a game to go and choose another game, or restart the computer.
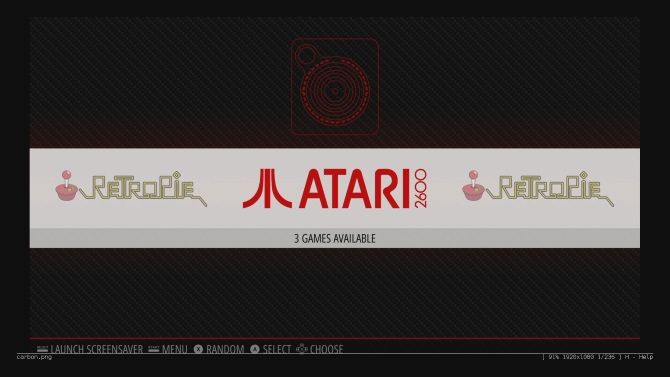
RetroPie itself can be found lurking in the background. In some cases, you’ll come across it via the Configuration menu. It’s here that you can configure various options, which include adding a new theme for EmulationStation.
Finding New Themes for RetroPie
Remarkably straightforward to use, the EmulationStation interface can sadly get old quickly. Fortunately, the alternative themes will give your RetroPie a stunning new look.
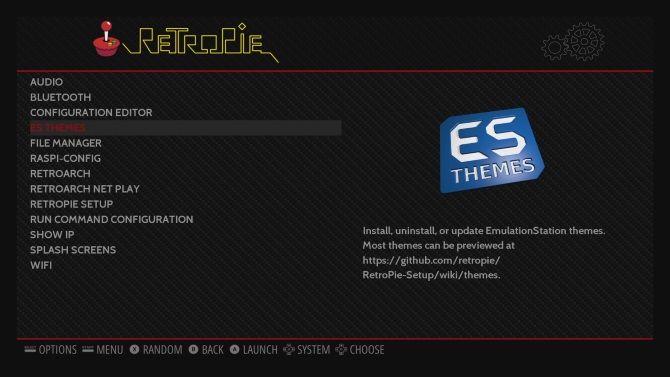
To find the new themes, you’ll need to navigate to the RetroPie menu, and select ES Themes.
Here, you’ll see the RetroPie Setup view. Proceed to select the first option, Download Theme Gallery, and wait as the gallery downloads. (Note that if you don’t want to wait for the gallery, you can simply scroll down and select a theme from the list.)
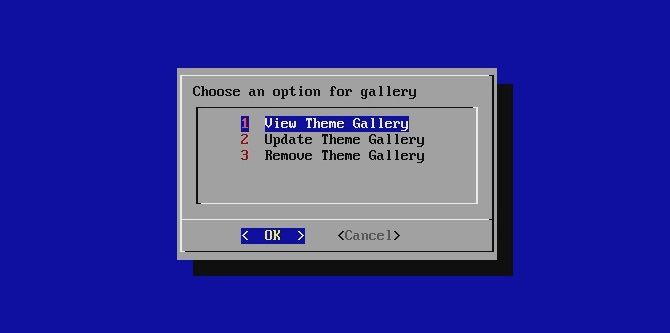
Once this is done, select View or Update Theme Gallery, then View Theme Gallery to see a preview of the themes. This will launch a slideshow, but you can cycle through the options using the main button on your controller. It’s a good idea to make a note of the theme names, as they cannot be installed without going back to the previous menu.
You can also check the themes on the RetroPie wiki.
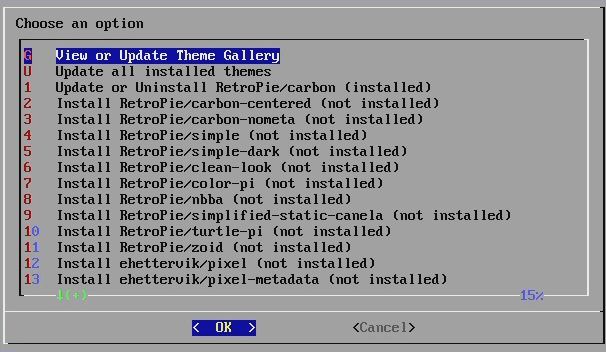
To install a new EmulationStation theme, simply scroll down to highlight the one you want, and click OK. You can install as many as you need, or pop back into this screen later to add more.
But which themes should you choose?
The Best Themes You Can Add to RetroPie
To get you started with a brand-new look for your RetroPie system, we’ve had a look through the themes to find the best ones. Some of our favorites include:
- Minimal: a stripped back version of the main EmulationStation theme (Carbon), this has a white and blue color scheme.
- SNES-Mini: boasting a SNES-themed user interface, this is heavy on 1990s style pixels and neon colors. If you’ve turned your Raspberry Pi into a DIY SNES classic, this is a good option.
- ComicBook: far more sophisticated than the name suggests, this is available in 16:9 and 4:3 resolutions.
- Stranger Stuff: as the name suggests, this is inspired by the Stranger Things TV show, and is certainly as evocative. Along with a few other retro gaming platform themes, this looks particularly good when RetroPie is running on an old TV.
- Vertical_Arcade: finally, if you’re planning on building your RetroPie box into a full-sized arcade machine, this theme is ideal. Note that you will need to change the orientation of your Raspberry Pi’s output to use this (as well as your display!)
If you’re using the vertical_arcade, or any other suitable theme, you’ll need to change your Raspberry Pi configuration. This can be done easily by accessing the config.txt file in the /boot/ directory, and setting the display_rotate value as shown:
display_rotate=2
Remember to save the file before exiting, and reboot your Raspberry Pi to apply the tweak.
This will set orientation of your Pi’s display output to portrait mode, ideal for the vertical_arcade theme.
While these are good options, they’re not our only suggestions. Other themes you might check include the Nintendo Wii-inspired pii_wii; you might prefer retrorama, or perhaps the library feel of boxcity. If you’re a fan of Game of Thrones, Star Trek, or Star Wars, some themes dedicated to those franchises are also available (look for tributeGoT, tributeSTrek, and tributeSWars.)
Selecting a New RetroPie Theme
To select an installed theme for your RetroPie system, you’ll need to open the RetroPie Main Menu. You’ll find this by pressing the Menu button on your controller.
Here, select UI Settings > Theme Set and use the controller’s left and right buttons to select one of the installed themes.
Select Back when the preferred theme is selected, and close the menu.
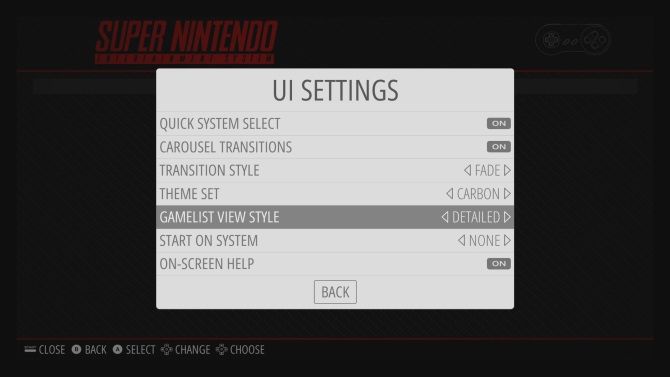
It’s that simple, and in a few moments time you’ll be enjoying a stunning new look on your RetroPie system. You can benefit from changing the default options, too, to view more game information. Once again in the UI Settings menu, change the Gamelist View Style from the default Basic to Detailed, or even Video. The end result is a slick looking new interface for your retro gaming hub.
Don’t like the new look? Simple! Just head back to the ES Themes menu and revert to the original theme. It should be easy to find; if not, look for a theme called “carbon”.
Improving RetroPie Even Further
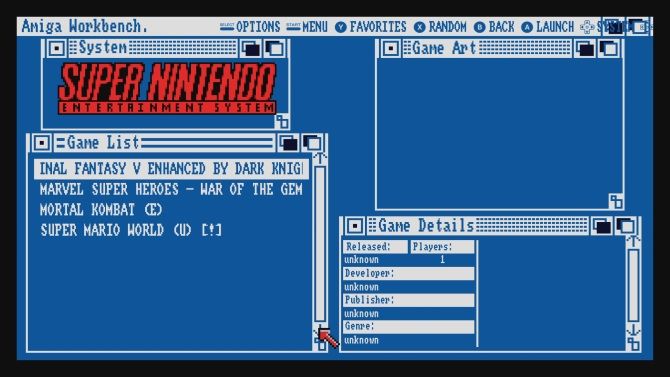
Because RetroPie is so easy to install (even as an app), you might not have considered how easy it is to give it a new look. Once you’ve personalized it, however, you probably won’t look back.
However, don’t go into this blind. Make sure you have a few themes in mind before you install them. Also, don’t feel that you must stick to a new theme if it turns out you don’t like it. Just swap back to Carbon, or choose a different theme.
Your new RetroPie set up might look pretty slick, but does the performance measure up? See our RetroPie tips for better gaming performance.
Read the full article: How to Install New Themes on RetroPie for an Awesome New Look
Read Full Article

No comments:
Post a Comment