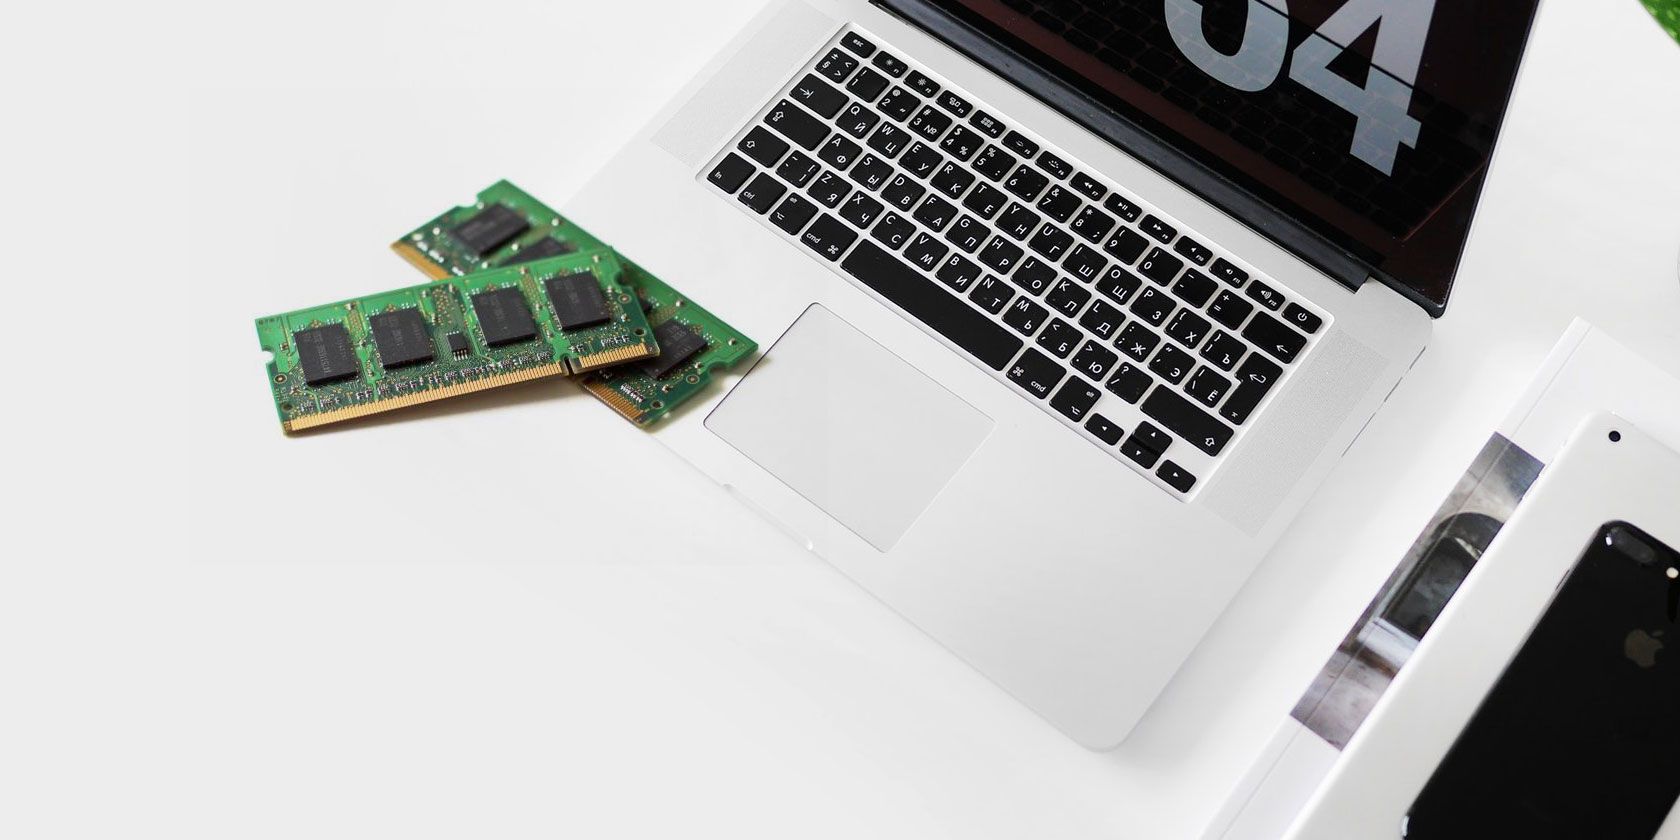
Random Access Memory (RAM) is a vital component of any computer. When you launch an app on your Mac, it requires a portion of your available memory to run. Serious problems can arise if there are problems with your computer’s memory.
Today we’ll look at how to find out how much memory you have, what’s using it, and how you can perform thorough testing to ensure it’s working correctly. If you recently installed a new stick of RAM and you’re encountering problems, testing is a vital part of troubleshooting your issue.
Find Out How Much Memory You Have
To find out how much memory your Mac has, click on the Apple logo in the top-left corner of your screen and select About This Mac. On the Overview tab, the Memory line lists the amount of RAM in GB, the speed of the RAM in MHz, and the generation of double data rate (DDR) you’re currently using.
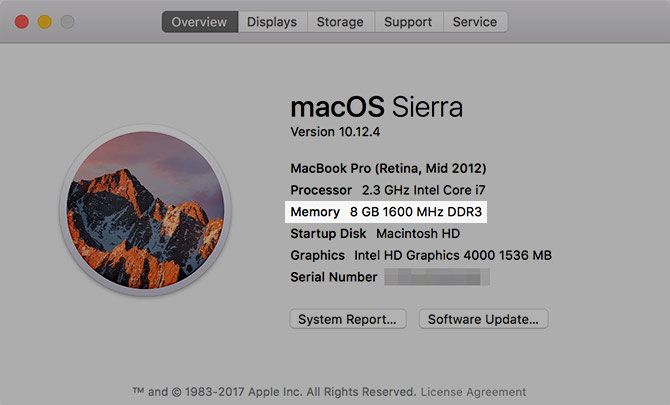
This is important if you intend to add more RAM to your machine, since you’ll want to match your existing RAM with any you install. This is mostly advice for owners of iMacs and older MacBooks, since the RAM on Apple’s newer laptops is soldered to the logic board.
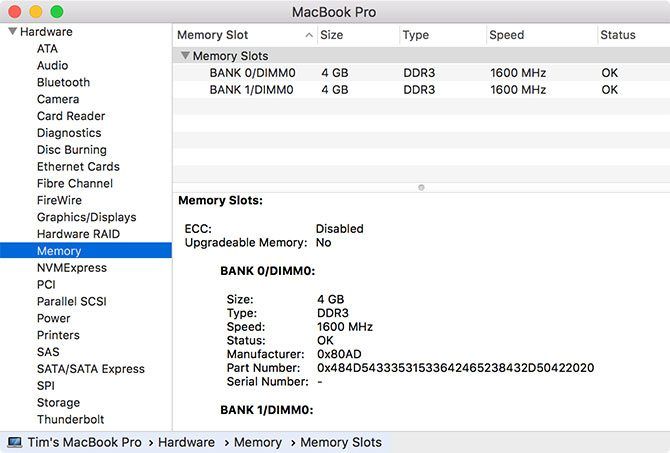
Click System Report and navigate to the Memory section to find out even more information. Here you can see how many sticks of RAM you have installed, which is another important piece of information to keep in mind if you want to upgrade. macOS will also give you a status report of your memory’s current condition (though you’ll need further testing to isolate problems).
Find Out What’s Using Your Memory
Activity Monitor is a small app that lives in your Applications > Utilities folder (launch it with Spotlight) that provides information about what’s currently running on your machine. You can also use it to find out which apps are using your available memory, and how much they’re using.
Launch Activity Monitor, then click on the Memory tab. Sort the Memory column by descending order (it will show a downwards pointing arrow) to see processes that are using the most memory at the top. If you see “kernel_task” using a lot of memory, that’s the operating system ticking along in the background.
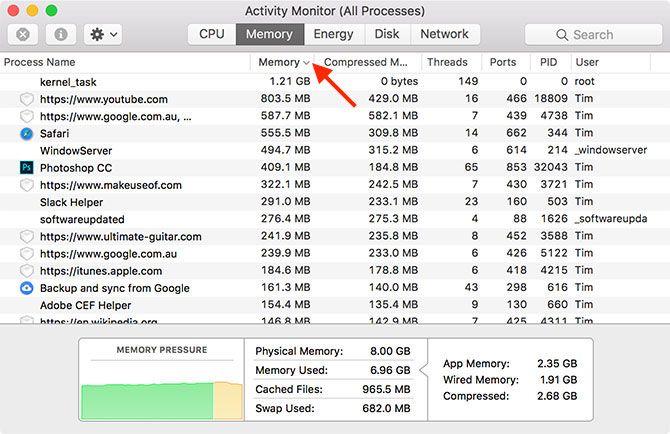
You can kill any processes by selecting it, then clicking on the X at the top of the window. Keep in mind this will close the corresponding app or browser tab. To avoid data loss, quit the application as you normally would, or by selecting it and using the Cmd + Q shortcut.
At the bottom of this screen, you’ll see a summary of your total memory, the amount you’re currently using, and a graph showing memory “pressure” over time. Try opening a few apps to see how they affect performance.
Learn the Symptoms of Faulty Memory
There are a few telltale signs that suggest your memory may not be working correctly. Watch out for any of these problems:
- Apps crash unexpectedly, more often than they used to.
- Your operating system freezes or restarts with no warning.
- Poor performance means your computer gets slower the longer you use it.
- Files and settings become corrupted easily.
- Problems occur even after you have reinstalled macOS.
- Boot problems, including three beeps on startup.
The best way to check your Mac’s memory for problems is to perform memory testing while using as little of it as possible. Since the operating system uses quite a bit of RAM in the background, testing memory by booting into a lightweight testing environment is recommended.
There are two methods of testing that we’ll look at today: Apple’s own set of user diagnostics, and a third-party tool called MemTest86.
Check Your Memory Using Apple Diagnostics
Testing your RAM with Apple’s user diagnostics tools is easy. Simply restart your Mac, then hold down D as soon as it restarts. If you did it correctly, your computer will either boot into Apple Diagnostics or Apple Hardware Test, depending on the age of your machine.
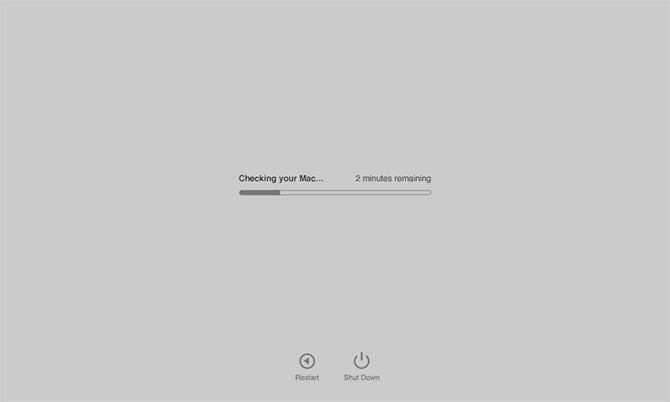
Follow the prompts and let the test complete. It can take a while, particularly on older computers. When you’re done, you should see a report giving you a brief overview of any detected issues. Unfortunately, the test will only tell you whether or not problems were detected. You won’t be able to tell which stick of RAM is faulty.
Problems running the test? Holding down Option + D at startup will run this test from the internet. It will take longer to gather the required files, but it should work just as well once the download completes.
Check Your Memory Using MemTest86
If you want to learn more about any problems Apple’s diagnostics detected, or you want to run another test for peace of mind, MemTest86 is one of the best tools for the job. There are a few memory testing tools that use similar names, but MemTest86 is still regularly maintained and updated.
In order to test your machine, you’re going to need to make a bootable USB drive from which to run the test. The first step is to find a suitable USB drive and make sure there are no important files on there, since the whole drive will be erased. Insert the USB drive into a free port.
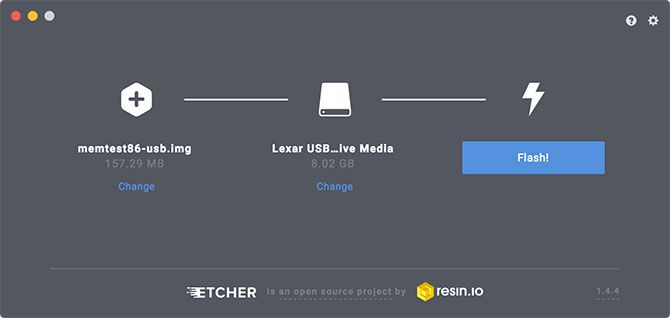
Now download free drive creation tool Etcher, mount the DMG, and install it to your Applications folder. Head to the MemTest86 Downloads page and grab the Image for creating bootable USB Drive under Linux/Mac Downloads.
Once MemTest86 has downloaded, extract the archive and launch Etcher. Click Select image, navigate to the extracted archive you previously downloaded, and choose the memtest-usb.img file. Now click Select drive and choose the USB drive you want to use. When you’re ready, click Flash! and wait for the process to complete.
Next, shut down the Mac you want to test and insert the USB drive you just created. Press and hold the Option key and power on your Mac. When prompted, select the external drive you created (it may show up as EFI Boot) by clicking the arrow to boot into MemTest. Don’t select Macintosh HD, since this is your internal drive.
Wait for MemTest86 to initialize. Testing should begin after a short pause, but if it doesn’t, select Config then Start Test. Allow time for the test to complete; it took around 40 minutes on our test machine. At the end you’ll be given a summary, and an option to save a report to the USB drive in HTML format.
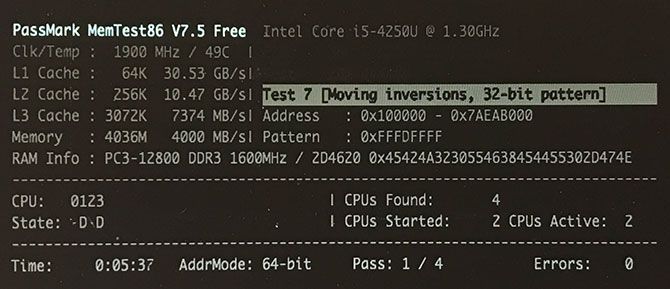
Save the report if you find anything unusual and use it to seek help on message boards like Apple Support Communities, or from a technician.
Free Up Disk Space on Your Mac
Some people use “memory” as a catch-all term for free space, but macOS specifically refers to this as “storage.” You can find more information about this by clicking the Apple logo, selecting About This Mac, then clicking on the Storage tab.
Don’t forget to try out a few of our recommended free tools to inspect how much free space you have on your Mac, and remedies to create as much free space as possible.
Read the full article: How to Check Your Mac’s Memory for Problems
Read Full Article
No comments:
Post a Comment